December 30, 2011

Ohh la la Alana is six

I made this shirt for a neighbors little girl who recently turned 6!  I really love the way it turned out.  As I have explained the HTV process several times in the past, I'm going to keep this post simple and just show you the finished project.  I used glitter HTV for the design and made the flower out of pink and black tulle. 


This one is a pin, but I also made a matching hair bow.


Hair bow.

December 29, 2011

Another day of organization- glitter and inks


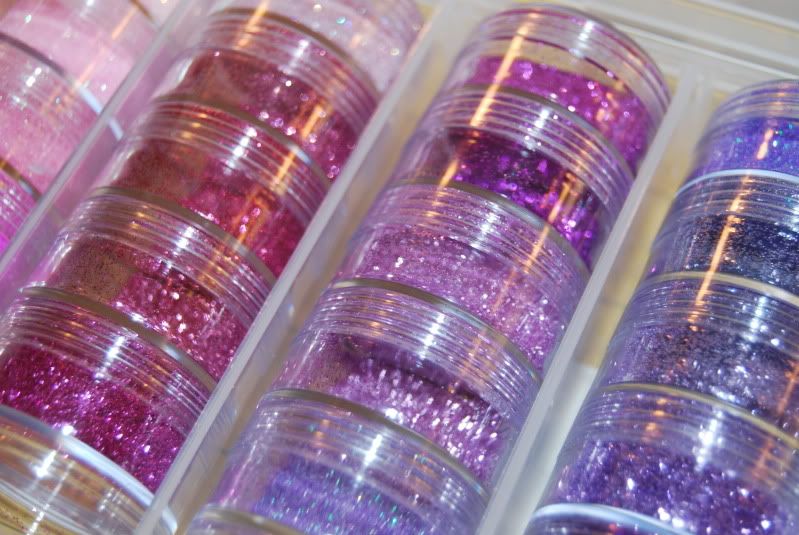
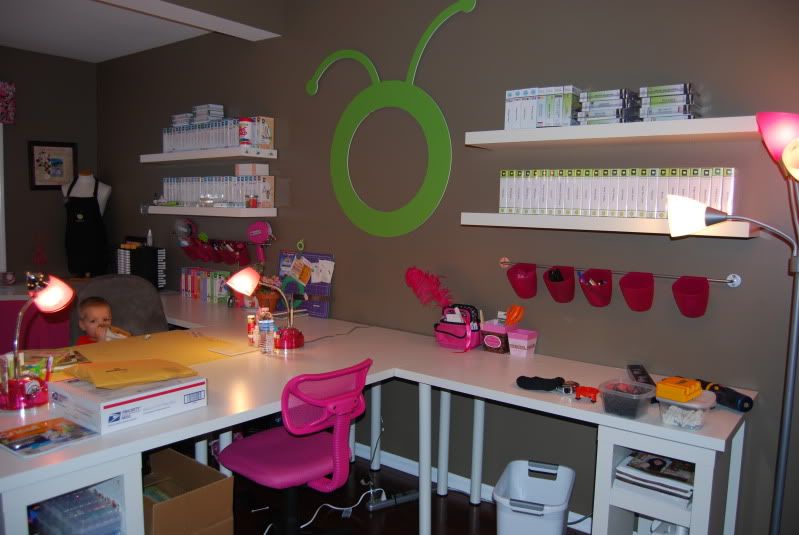
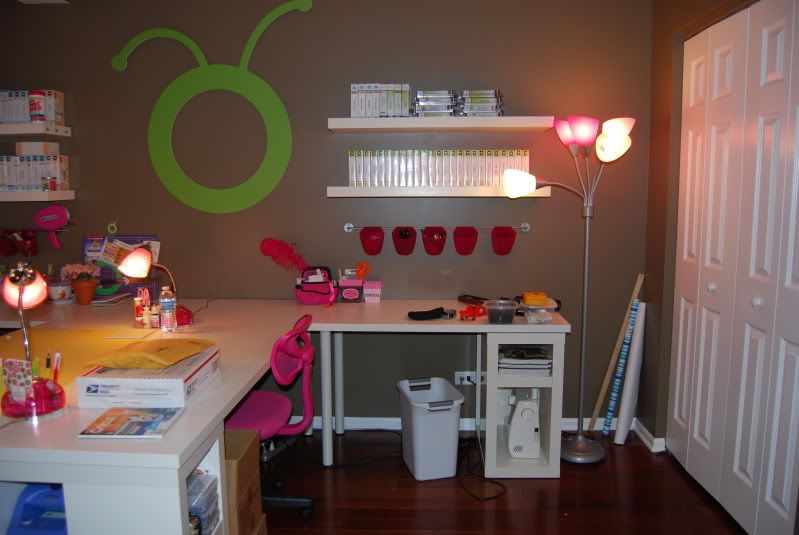
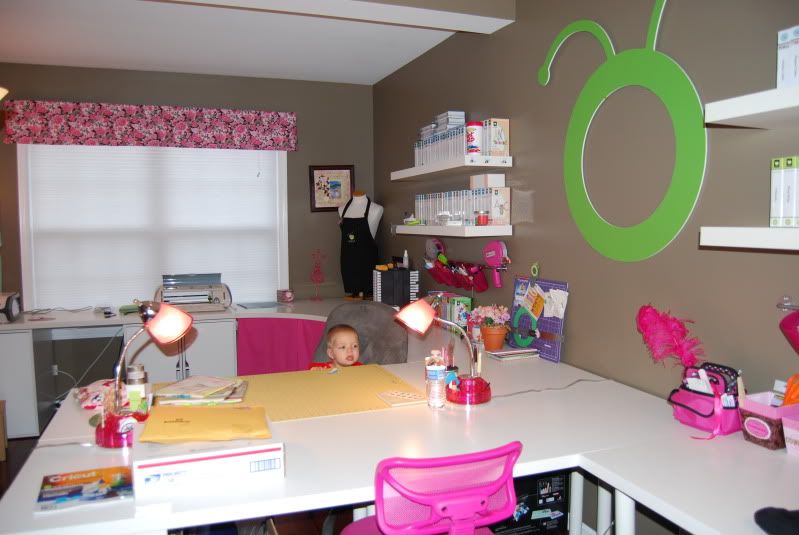
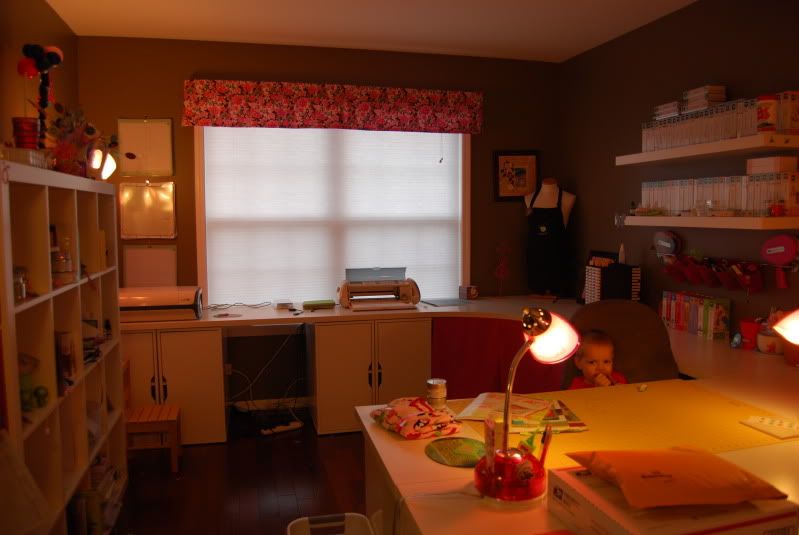
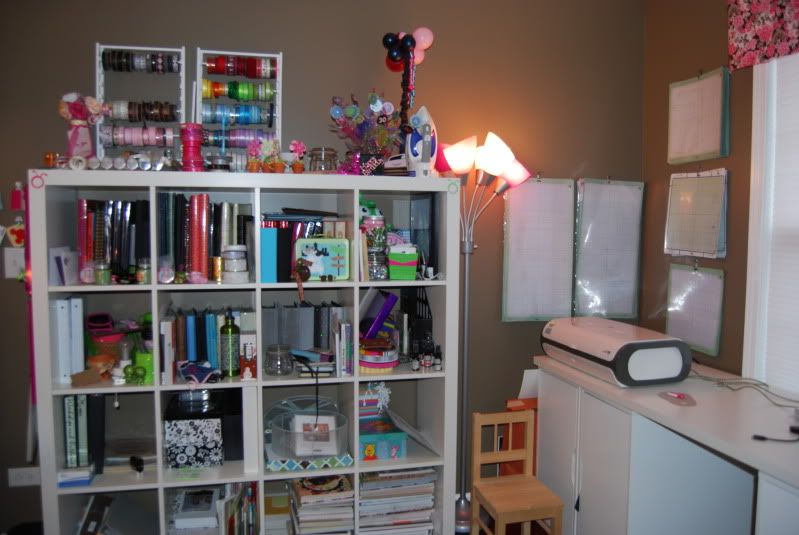
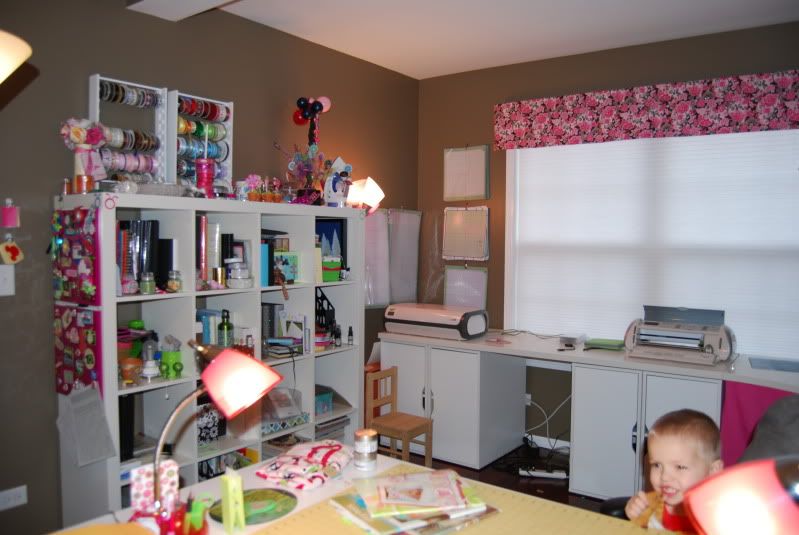
I have been on a bit of an organizing kick this week, starting with getting the new shelves up.  Today I worked on organizing my inks and my glitters.  I know that should be a small task, but it seems I have become a bit of a glitter collector lately.  While, I already two bins of glitter full, recent additions to my stash have required me to purchase two more containers (YIKES).  I have the glitter grouped by basic colors. 


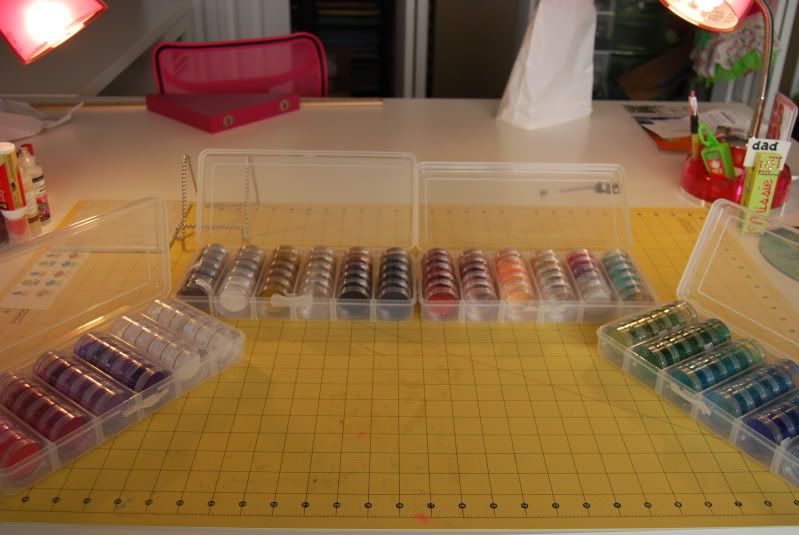
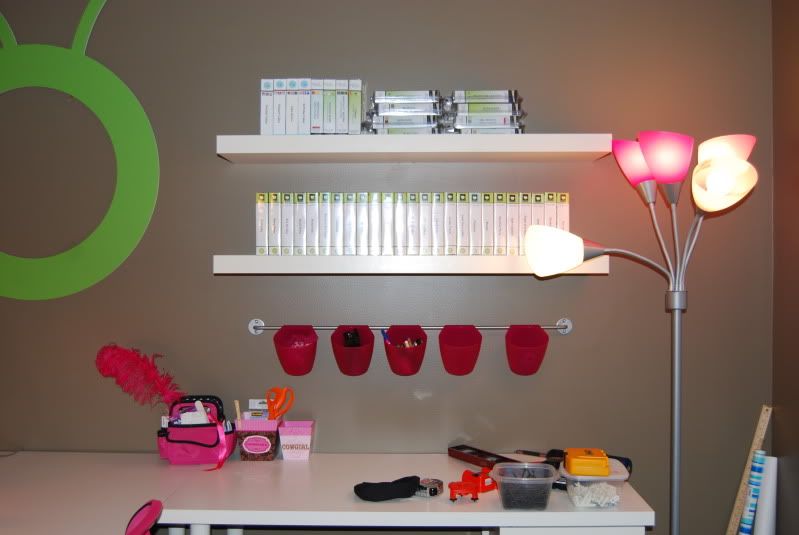
For containers (nearly full) of glitter.  6 stacks in each with 5 jars- so 30 jars per container, and 4 containers = 120 (if it were full) unique glitters :)


A closer look at the container- purchased at Michaels $8.99 retail- I used a 50% off discount


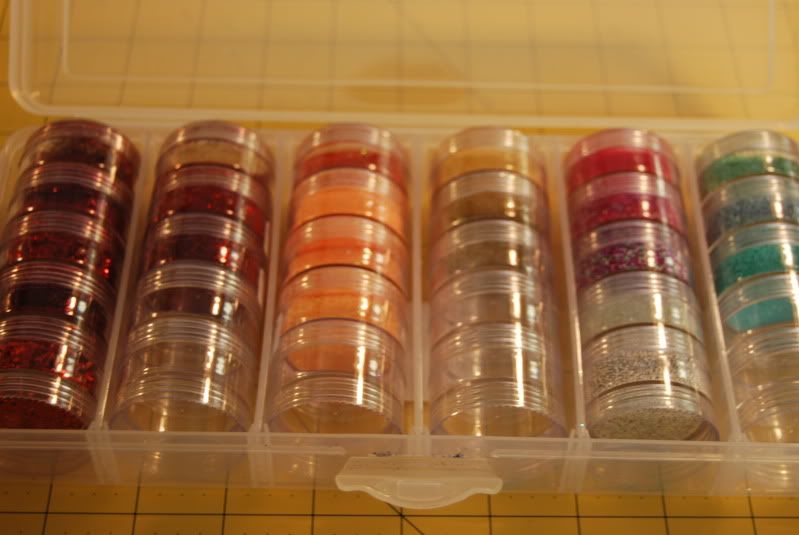
 I seem to be lacking in selections for Red, Orange and Yellow glitters- theses are some of the empty spaces I have in the collection.


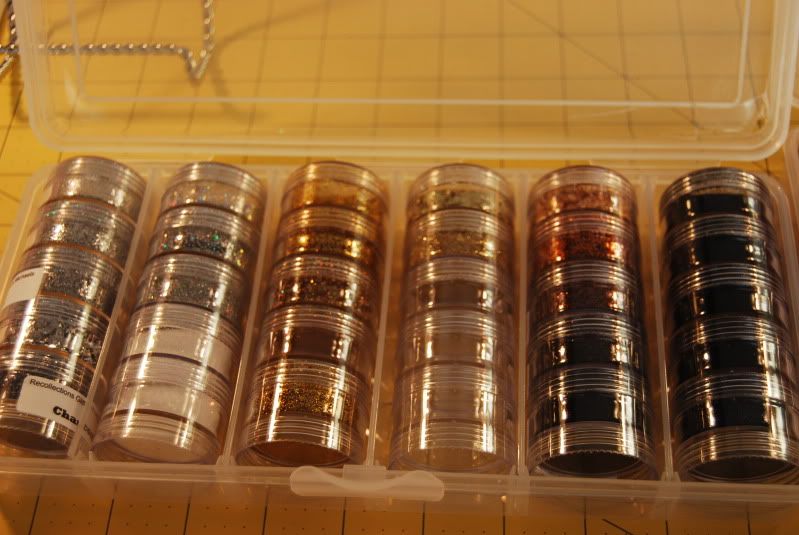
Silver, some of the white, gold, bronze, brown, and Black.  I could use some more selection in the brown/bronze family too.

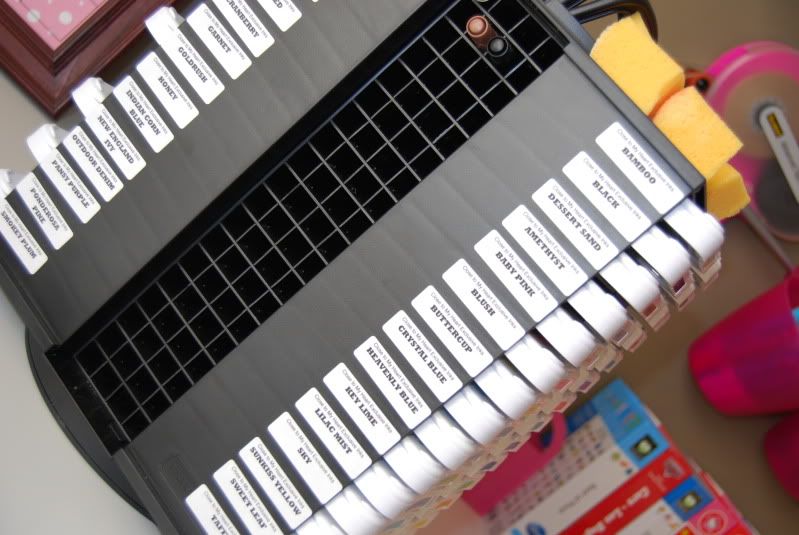
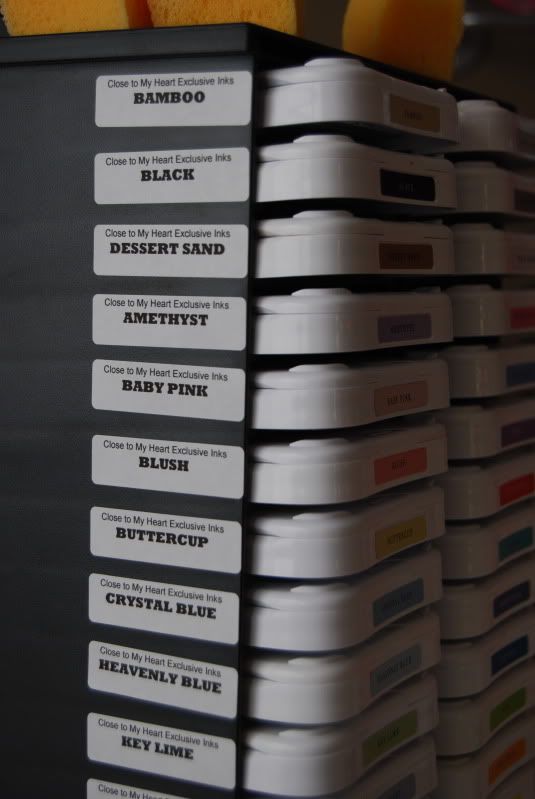
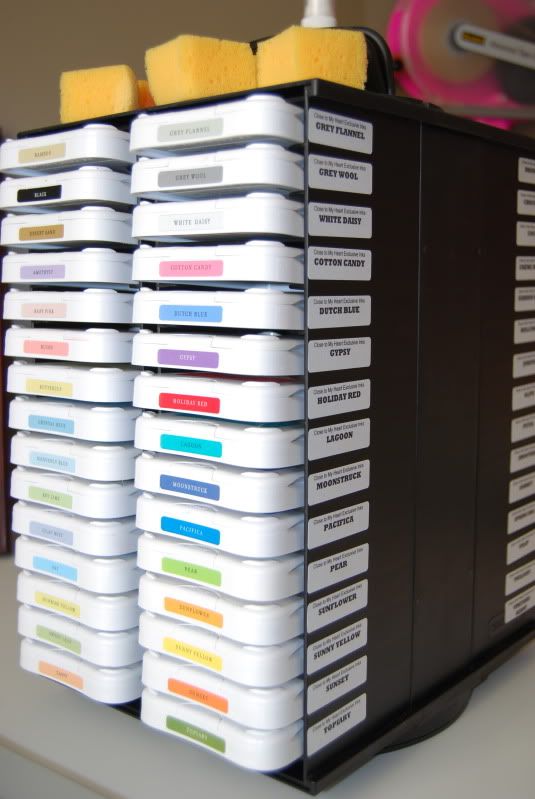
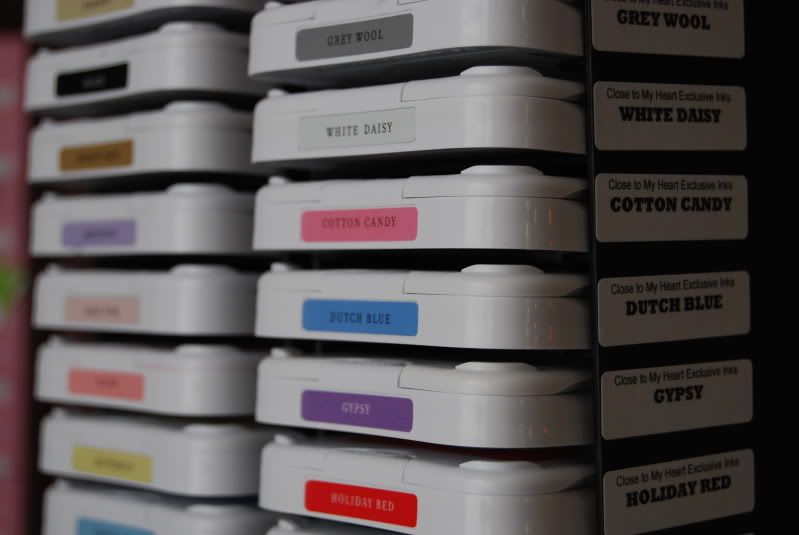
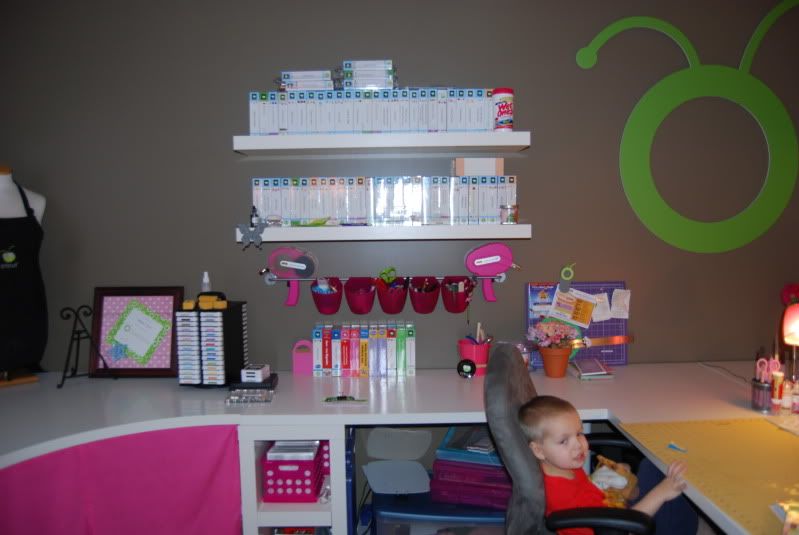
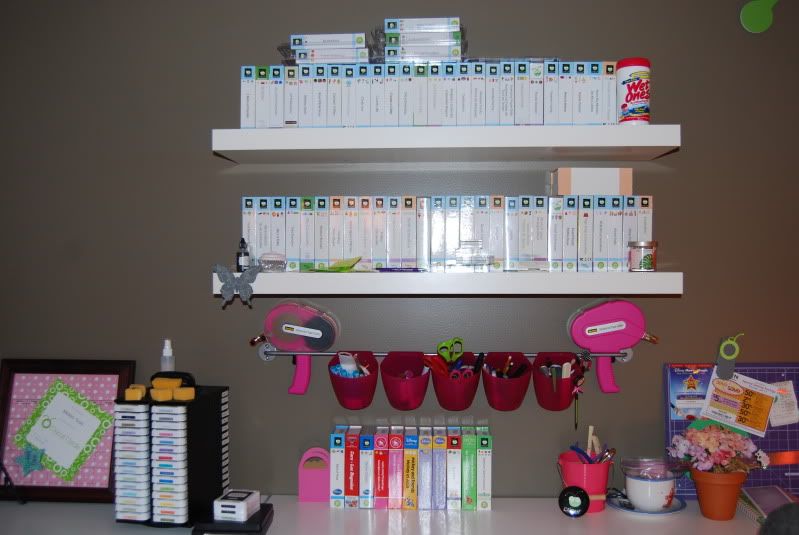
And now for the inks.  I have a variety of CTMH inks (not all of them just yet).  I love the tower that CTMH sells, but my OCD was getting really irritated with how to organize the inks.  I had originally placed them in there in the order that they are found on the ink organization checklist, but found that it is difficult to know where to put them away when I am done.  So, today I sat down and typed out a list of the colors, formatted them onto return address labels with the help of MS word and an Avery add on.  Then I was able to print the labels and add them to the organizer.  Now it will be easier to know just where to put the inks when I am done with them.


December 28, 2011

More craft room organization

First of all I need to thank my hubby, Brian, for taking the time to help me up up some shelves today.  I have had some Ikea shelves that needed to go up in my craft room for a while, but the job never seems to get done.  Brian, took the initiative today and did it for me!  Thanks baby!

Anyway, I just wanted to share a few quick photos today of how the new (ok, it was new in July) craft room is pulling together.


The shelves on the right, and the two bars with pink buckets are new. 


The rest of the room with my son Ian- who wanted to be in the photo!


Left side of the room


Right side of the room


Looks like I need some more organization on this side of the room


December 27, 2011

a fun and easy card for the coffee lover

I spent a lot of time working on gifts for my boys teachers this year.  Between the two boys they have 6 teachers and I also made gifts for the preschool directors at the school they have attended for the last 2.5 years.  All but one of these educational professionals are women, and the cupcake bath bombs just weren't going to work for the one male teacher.  So, I took the easy way out and purchased a starbucks gift card.  However, I wanted to atleast give him a special card to go with the copout gift.  So, here is what I created.


I used the love you a latte cartridge and my gypsy to create this easel card.  I choose a christmas patterned paper for the front and added some red pearls to the reindeer noses to give it a little extra touch.   The inside "merry Christmas" stam is from CTMH.


December 24, 2011

Project of the Day

I woke up today to find a message on my FaceBook page from a friend congratulating me on being project of the day!  Boy was I surprised!  So, I headed over the the cricut circle blog to find that my bath bombs had been selected as the project of the day!  I am so honored that the talented ladies who run the blog felt that my project was worthy of mention!  Thank you so much. 

Photobucket

The original post can be found on my blog dated December 18th.  YOU CAN CLICK HERE TO BE TAKEN TO THAT POST.

On December 19th I posted a tutorial and the directions that I used to create the bath bombs.  YOU CAN CLICK HERE TO BE TAKEN TO THAT POST.

December 21, 2011

Cricut Circle Ornaments

I made a few ornaments last week, and wanted to share them here.  They are pretty simple, but I love the end result.

To create the ornaments I started with 4 inch acrylic circles- that I had made for me.  Using my gypsy I made a snowflake background using the Cricut Cart Doodle Charms.  I cut the snowflakes out of silver glittery vinyl and applied to one side of the Acrylic.

Photobucket

Sorry about the pink tint to the photos. I really need some better lighting in my craft room

Photobucket

I applied to the acrylic using transfer tape.

I then turned the ornament over and applied the circle logo cut from pink vinyl (CART- Cricut EVERYDAY) and my name (GYPSY FONT)

Photobucket

I added a piece of glittery ribbon and a smaller ribbon to use to hang it from the tree and I was all done! SIMPLE, yet I am very happy with the end results.

Photobucket
From the back

Photobucket

Thanks for stopping by!

December 19, 2011

CupCake Bath Bombs

Several months ago I found a tutorial for cupcake bath bombs on the LITTLE BIRDIE SECRETS blog and I just knew that I needed to make them.  I decided that they would be perfect for teacher gifts this year.  So, the first step was to get my hands on all fo the specialized supplies that were required to created the bathbombs.  For that I headed over to Brambleberry.com and found an amazing selection.  (if you head over there be sure to tell them that I sent you) I used the recipe list provided by little birdie scecrets and placed an order for all of the required supplies.  A WORD OF CAUTION- THE TUTORIAL OVER AT LITTLE BIRDIE SECRETS MAKES ONLY ONE BATCH, AND FROM ONE BATCH I WAS ABLE TO MAKE ONLY 10 CUPCAKES.   You may want to plan for making multile batches and order supplies accordingly.


Here is a list of what I ordered.  I ended up with plenty of supplies for the to create one batch, and have the leftover supplies for at least one more batch.  However, if I would like to do more than that I would need to order more of the Citric Acid- so be aware of that when ordering.  Also, I ordered several fregrances and colors so that I would have lots to choose from, but ended up not using them all.  So, it would be more cost effective to just order one color and/or scent.  However, I do plan to make more of these yummy treats and I am glad I have lots of supplies to work with. 


  • 1 of: Holiday Candy Fragrance Oil (4 oz)

  • 1 of: Citric Acid (1 lb)

  • 1 of: Glitter Sampler Pack, 1 sampler pack

  • 1 of: Sweet Treats Colorants

  • 1 of: Sweet Almond Oil (1 lb)

  • 1 of: Bentonite Clay (16 oz)

  • 1 of: Witch Hazel (16 oz)

  • 1 of: Butter Cream And Snickerdoodle Fragrance Oil (2 oz)

  • 1 of: Sodium Lauryl Sulfate (1 lb)

  • 1 of: Cream Cheese Frosting Fragrance Oil (2 oz)

  • 1 of: Iridescent Pink Glitter (1 oz)

  • 1 of: Iridescent Glitter, 1 oz


  • Here are the directions I used for the bathbombs- again, please note that I got this recipe from Little Birdie Secrets, and they certainly deserve the credit for that!


    What you'll need:


    *2 c. baking soda
    *1 c. citric acid (We found this in the bulk section at a local health food store)
    *1 Tbsp. oil of your choice (We like almond oil, but grapeseed oil or even olive oil would work)
    *5 drops fragrance/essential oil
    *3-5 drops coloring (You can use food coloring, but it may fade quickly and even leave a ring around your bathtub. We used a special oil for bath products we found on Brambleberry.com.)
    *1 tsp. Bentonite clay (optional--this just makes them harder; we found it here, too.)
    *1 tsp. to 1 Tbsp. Sodium Lauryl Sulfate (optional--this makes your bombs lather up, and we also found it here.)
    *Witch hazel (poured into a spray bottle)
    *Paper cupcake liners
    *Silicone cupcake molds


    1. Prepare your molds by placing a cupcake liner inside the silicone cupcake mold. It won't fit perfectly--just shove it in.
    2. Place all the dry ingredients in a large bowl and gently mix. Be careful not to inhale it!
    3. Add fragrance to the dry mixture. Measure out the oil and place a few drops of color to it. Add it to the dry mixture. Gently mix.
    4. While kneading the mixture with one hand, begin spraying the mix with the witch hazel. (We did this as a team, but one person can do it alone.) Be careful not to get the mixture too wet--the moisture will activate the citric acid and your bath bomb will be ruined. Continue to slowly spritz the mixture with witch hazel and squish it in your hands until it has the consistency of crumbly pie dough
    5. Quickly pack the mixture into your liners inside the silicone molds. You want it to be packed in tight. Allow the mixture to set in the silicone mold for at least 5-10 minutes before removing. Now let's add some frosting to these bad boys.
    6. Make your frosting.


    Cupcake Bath Bomb Fizzy Frosting (Royal Icing Recipe)
    *3 Tbsp. meringue powder (we like Wilton's) or powdered egg whites (you can use real egg whites or egg white substitute, but we didn't have very good luck with them)
    *1 lb. (measured by weight) powdered sugar
    *1/4 tsp. Cream of Tartar
    *5-6 Tbsp. warm water
    *Few drops of color
    *Glass bowl
    *Hand mixer


    Optional:
    Few drops of fragrance


    7. Mix meringue powder into warm water first in a GLASS bowl. Add cream of tartar and powdered sugar. Start beating on high. If your mixture feels like stiff cookie dough at this point, add another tablespoon of water. Beat for 7-9 minutes. Frosting is done when it forms stiff peaks and is thick and fluffy.
    8. Add color and fragrance and beat until well mixed (one minute or less).
    Note: If you decide to add baking soda (for fizziness) and sodium lauryl sulfate (for lather), you will want to increase your water to about 6-7 Tbsp. Add them with the color and fragrance.
    9. Spoon frosting into a disposable cake frosting bag with the cake decorating tip of your choice.
    10. Frost your cupcake bath bombs however you like. Allow bath bombs to sit overnight to harden before packaging. Be sure to let your children, husband, or dog know these are NOT EDIBLE!

    December 18, 2011

    Teacher gifts 2011

    FOR THOSE OF YOU WHO ARE SEEING THIS FOR THE FIRST TIME PLEASE NOTE THAT THE INSTRUCTIONS WERE POSTED ON 12-19-2011.  YOU CAN CLICK ON THIS UPDATE TO BE TAKEN TO THAT POST!  THANK YOU!

    I have been anxiously awaiting the time to post this project.  As I made this as teacher gifts I had to wait until all of my boy's teachers had gotten them first.  This is by far on of the more intricate projects I have ever done.  Literally everything was made be hand.  I started in November by making the CUPCAKE BATH BOMBS.  I will post more details on that tomorrow, but for today I wanted to show you the finished projects. 


    The boxes were made using the Cricut Cartridge Sweet Tooth Boxes, and I also used the cupcake insert for the inside of the box (made the bakery box).  The tag on the box was made using the Cricut Cartridge Art Philosophy, and the the adorable little girl on the box was made using the Cricut Cartridge Jolly Holidays.  I made a total of 8 of these boxes and each is covered in decorative paper.  I think it took me nearly 3 weeks to finish this entire project between making the cupcakes bath bombs, the boxes, the tags, the embelishments, and the cards that went with these to the teachers.  I sure hope that the teachers enjoy their little treats.


    The outside of the box


    The inside of the box- see the cute little elf card in the corner of this photo.

    A glimps of the cards the boxes and the cupcakes.

    December 12, 2011

    A fun Christmas shirt

    Oh, boy, have I been crafty this week!  I think I have completed enough projects this month to keep my blog regularly updated for the rest of the year! 

    I love making t-shirt and today I whipped out a quick and easy HTV shirt & for once this shirt is actually for me!  I found a lovely image on Pinterest this week.  I have tried finding the designer to seek permission, but it is difficult to trackdown because of the way pinterest works.  This is the image from Pinterest.
    Merry Christmas tree

    I was able to save the image to my computer, the import it into SCAL.  I made a few changes to the image to make it a bit easier to cut.  I love the way it turned out...but after I took the picutures I realized I had somehow weeded out the letter I.  Luckily, I was able to find it in my scraps and fix my mistake!

    Hope you enjoy


    Missing the I....LOL


    EDITED TO SHOW THE CORRECTED IMAGES


    December 11, 2011

    OH so cute SVG files

    As you all know I am a cricut girl at heart.  I love my machines and my cartridges and I am a HUGE collector---SHHHH don't tell my husband, of all things ProvoCraft.  However, I find that sometimes there are things that I want to make that PC just doesn't offer.  I purchased Sure Cuts a Lot long ago and I am so thankful that I did!  The program allows me to use SVG files and cut them with my cricut.  I think it stinks that the program is no longer available.  If it ever stops working on my machine I know it will be time to move on from my PC loyalty and start looking at other machines. 

    So, this morning I was over at SVGCUTS.com and found some really amazing sets.  I bought a few and worked on some projects with them today.  I officially love this set!

    The hat comes off the snow man revealing a hollow tube that can be filled with candy, and the two smaller tubes are also candy dishes.  I am planning to fill them with goodies (yogart rasins, nuts, and such) to take to my MIL's house on Christmas day.  I think the kids will love it and they will have healthy treats to snack on until dinner!

    Oh, and just one more thing to add.  This set is not only amazing it is a FREEBIE.  With any $9.98 purchase from SVGCUTS.com this week you will get the set for free.  You can find the details here!