February 14, 2012

Congratulations to Lindsay

Today marks a very special day for a little girl named Lindsay who is celebrating 5 years of remission from childhood cancer.  While I do not know Lindsay personally, I do know her mother through the scrapbooking community.  I had the privilage to meet Kristen, Lindsay's mom, about a year ago during my trip to Dallas for the Cricut Circle Stampede.  She is truely an amazing mother and crafter. 
To give you the quick version of Lindsay's story ( you can read the full story on her website Lindsayann.net), the little girl was diagnosed with hepatoblastoma in September of 2006 at just 15 months old.  She underwent several rounds of chemo, and surgery to remove a portion of her liver before being declared in remission on February 14, 2007.  Every year on Valentine's day Lindsay and her family return to the hospital where she was treated to take Valentine's Cards and other goodies to the children currently undergoing treatment.  Today marks 5 years of remission for little Lindsay, and in medical terms she will be "CURED". 

So, to make this year extra special for those in the hospital Kristen asked her friends in the crafting community to pitch in with some donation.  I volunteered to make hand made Valentine's day card's for Lindsay to give out at the hospital.  I made two different cards- one is for the boys the other for girls.  I used cuts from 3 Birds-Life's a Party for the astronaut and the bird card was made using 3 Bird's on Parade.


While I had only told Kristen that I would be sending the cards, I wanted to do something special for Lindsay.  As most of you know I have a real passion for making custom shirts, and knew just what to do for Lindsay.  You can see a photo of Lindsay with the shirt I created at the top of this post! The shirt was made using Glitter HTV.

February 13, 2012

PG-13 V-day cards

A challenge has been presented among a scrapbooking group (on the CC MB) for the month of Febuary to create "bra and panty" cards in an effort to draw attention to Breast Cancer.  As many of you know I have a dear friend who was diagnosed with BC last year and this is very near and dear to my heart.  I couldn't pass up an opportunity to do something for this great cause.  It also so happens that this week's theme on the CCblog is to create something valentine's day themes using sequins, gems or ribbon.  So I thought this would be a great week to tie two challenges together.

To create the card I used my Gypsy and a heart from George and Basic shapes.  I made a cut file for the base by welding the shapes together...I also made a cut file for the bra and panties, so the card came together pretty quickly.  For the edge of the bra and panties I used decorative edge sissors and hand cut those layers, then applied glitter.  I also hadded some gems for extra bling.  The necklase is made of a beaded ribbon with a gem attached. 


This is the front of the card.  I decide to make a "full figured" lady, as opposed to a string bikini.


Back of the card. 


Here is a picture of the unfoled card so you can see the front and back and how they fit together.

For a little extra fun, I thought this lady was a bit lonely, and she needed a companion.  The second card (boy) was created using a naughty SVG file :)  It was part of a kit that I purchased from SVGcuts.com that had 24 valentines day cards.  It was a flat image that I welded into a card in SCAL, and decorated to match the bra and panty card.


Front of the boxer card.  I free hand cut the "fly" to help differentiate the front from the back and added a small button brad.  I also added some sattin ribbin to the waste line and a glittered heart for extra fun.


A detail shot


The cards together.


February 10, 2012

My first CCR project

I have to tell you that right now I have a love hate relationship with Provocraft's Cricut Craft Room.  I was a beta tester for the program and to be honest, I am still not fully satisfied with the program.  My love is for the POTENTIAL of this program.  The potential to layer detailed images, print and cut...but in reality that is quite difficult given the current setup of the program.  For the last several weeks I have had a project in my head, that I know CCR could POTENTIALLY help me create.  However, in the process of trying to create the darn thing, I have managed to encounter a dozen error messages in CCR...lock up my computer...lock up my imagine...and fry a perfectly good set of ink cartridges.  After weeks of trying I have managed to come up with something close to my original thoughts, but CCR still has a long way to go before I will be a fully satisfied crafter.


Here is the card I created.  The background, pink pattern (hard to tell it is pink in this photo sorry), the swirls, and the cupcake are all printed on one layer.  I had to do this as a "print only layer" then hand cut around the base- I just used my trimmer as it is a rectangle. 


This is the card base before the layers were added or any embelishments


Then I cut the banner and make a wish sentiment on the bottom of the same piece of paper using the "print and cut" feature. 

I layered using pop dots then added some twine and glitter.  The end result is ok, but a far cry from what I had wanted.  I hope PC continues to tweak this program and get it up to its true potential.  So, PC if you are reading this and would like to know what I suggest, feel free to call me, you have the number :)


February 3, 2012

A fun card with hidden elements

Good morning!  I just want to take a quick moment to thank Bobbi Jo from http://sweetsassydiva.com/ for inviting me to be a guest designer today on her blog.  This is my very first guest designer experience and I am thrilled to have been invited to participate.  For those of you who don't know me, or are new to my blog, I would like to take a moment to introduce myself.  My name is Missie.  I am a wife and mother of two little boys, a member of the Cricut Circle, a Close to my heart Independent Consultant, a part time college student, the wife of a pilot, a scrapbooker, a card maker and an all around crafter.  I enjoy trying new things and crafting is my sanity at this point in my life.  My blog CREATED BY MISSIE began in the fall of 2010 as a way for me to "journal" my projects; I'm proud of all the things I have been able to create and share in that time.

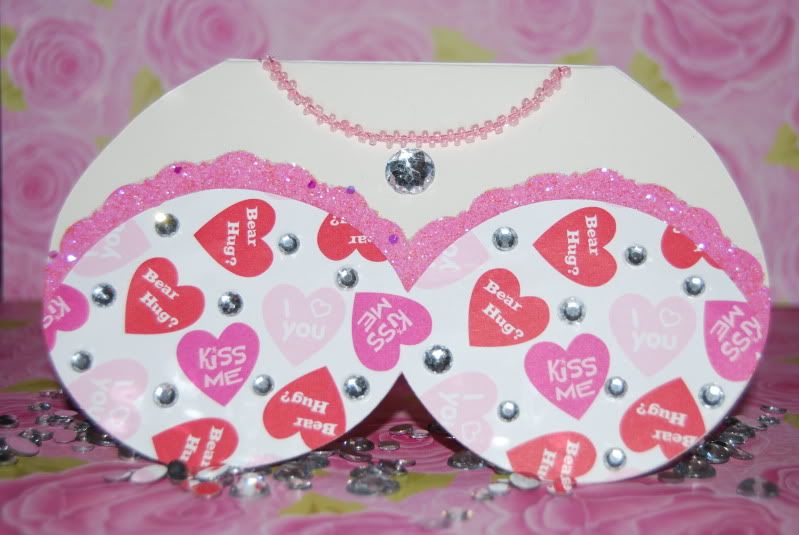
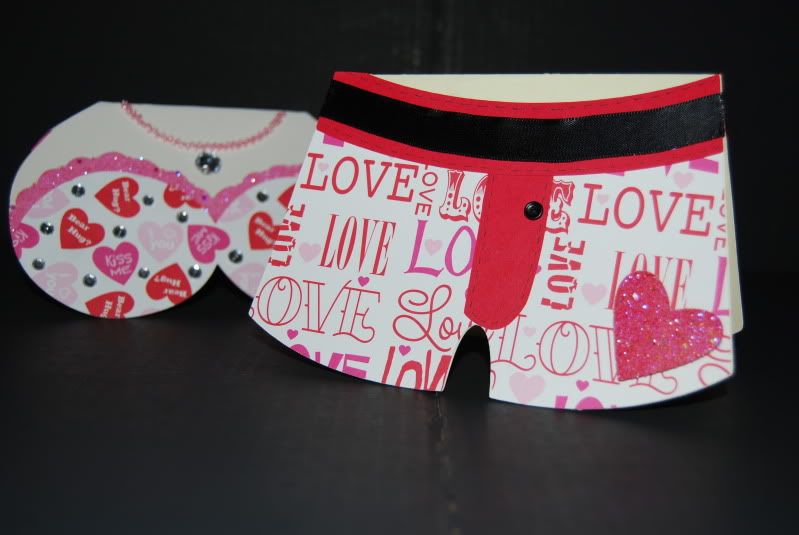
Enough about me, time to share today's card.  
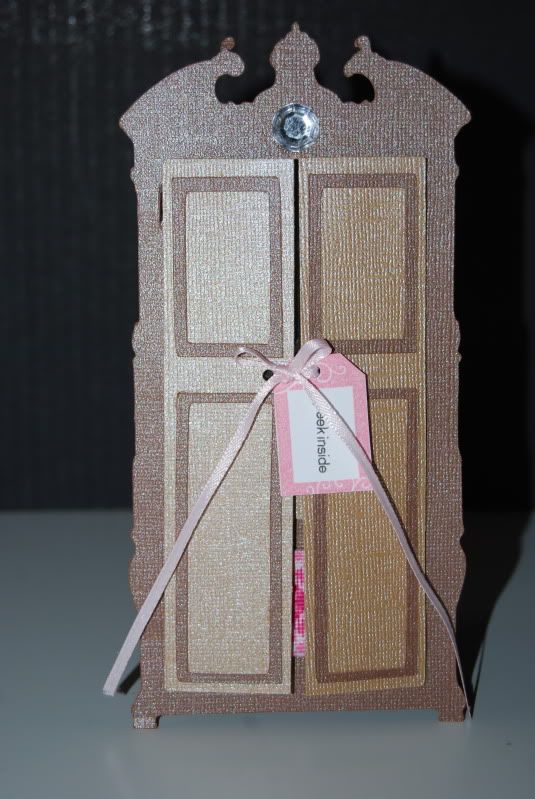
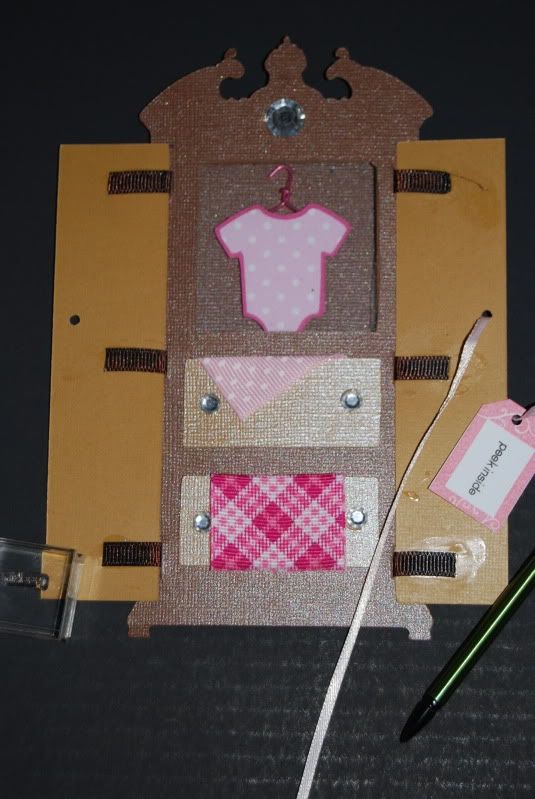
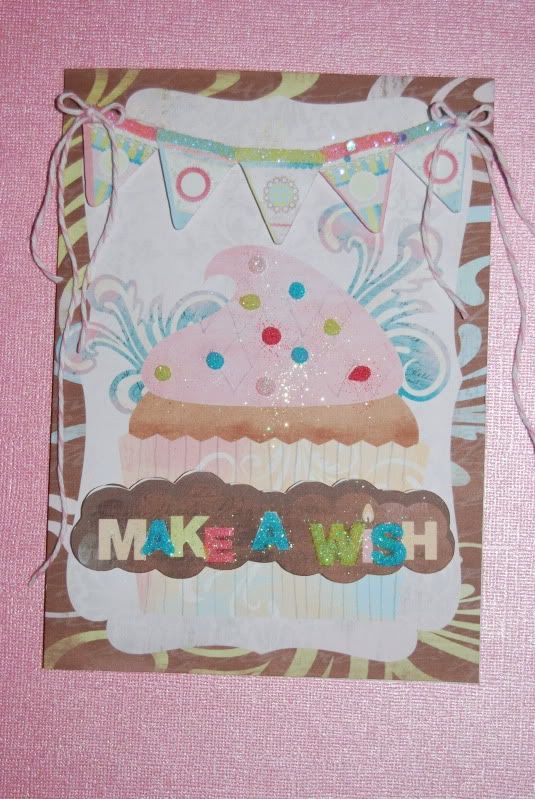
Bobbi Jo is challenging her guest designers to use hidden jounaling or pictures or elements in a layout or card.  So, I created a card that has some fun hidden parts (not so hidden really).  To create the card I used my Gypsy, French Mannor, George and basic shapes, and Life's a party cartridges.  The front of the card is the wordrobe from FM, I used the hide contor feature to hide the door fronts to create a solid pannel, the used George to make a rectangle in the lighter brown color, the back to the G to use the wardrobe again, this time hidding the actual cabinet and cutting only the door fronts.   I cut the rectangle in half to create the two doors then added the door front pieces.

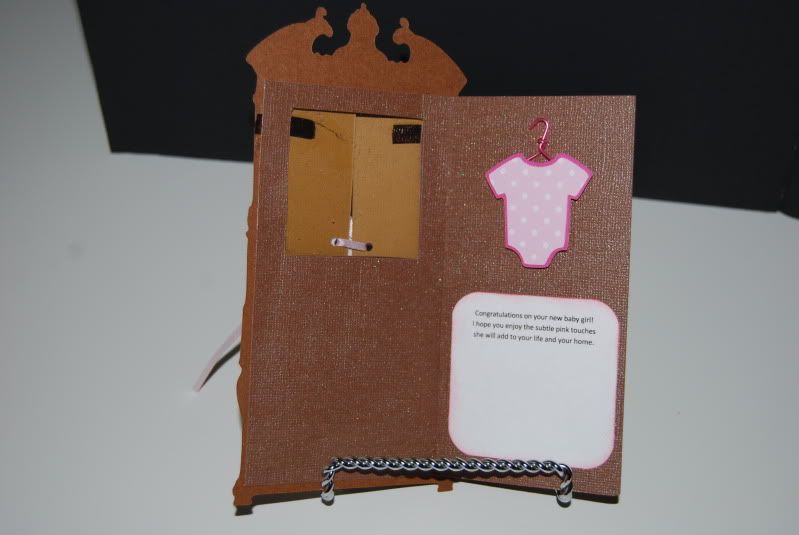
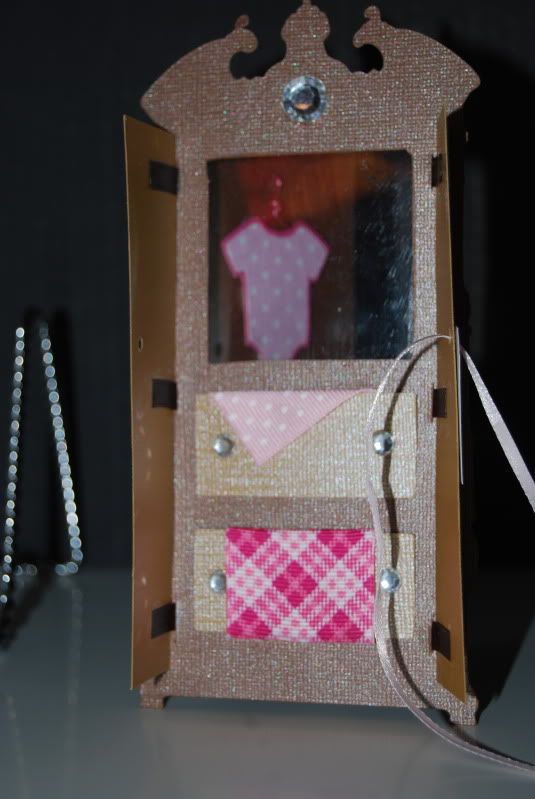
I created the card base in my G using George with a simple rectangle with a square cut out for the "window".  I then lined the base up with the card front and carefully used an exacto knife to cut a matching square in the card front.   I used a piece of plastic from a cartridge blister case and sandwiched it between the card front and the base, and glued it all together to create the "window"

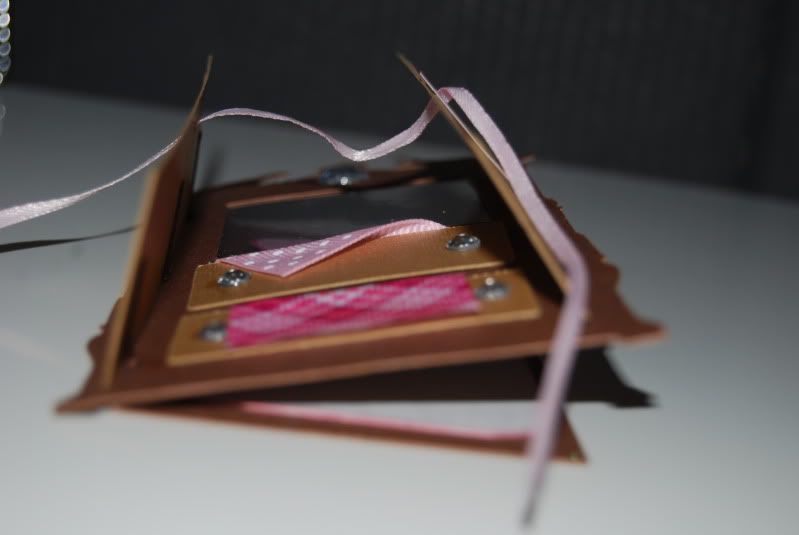
The doors were then attached to the front of the card with ribbon ( I cut slits in the card to attach the ribbon to the inside).  Back to the cricut to cut two small rectangles that would become the drawers inside the cabinet.  I embellished the drawers with pieces of ribbon to look like blankets hanging out of the drawers.  I also added some bling for the drawer pulls. 

Back the cricut to cut the onsie from Life's a Party in pink.  I then made a hanger for the onsie by carefully folding a paperclip to look like a hanger -clever, right?  I typed the message on my computer for the inside, inked the edges with Close to My Heart ink, BLUSH.  I added a ribbon to the front and a small tag to let the recipient know to open the cabinet.  The tag was created using CTMH stamps.  a few little embelishments to pull the whole thing together and there you have the finished card! 

I hope you enjoy!


February 2, 2012

Custom Logo Shirt

Those of you who read here on a regular basis may have notices that a few weeks ago I created a digital layout using the designs created by LittleBees Graphics


Kimberly Phillips, the owner and creative mind behind Little Bees Graphics, asked me to create a custom shirt for her using the Little Bees Logo.  While, I have been making custom shirts for a long time, I generally use very simple designs that I create myself.  This project allowed me to stretch my wings a bit and branch out from my normal.  I hope she likes it.


Because this involved many colors and trying to align the HTV properly on the shirt, I spent a fair amount of time trying to figure out just how to do that.  I thought I would share what worked for me incase any of you have has the same challenge.

I began with the entire image in one layer (mat) in SCAL.  I welded the image and cut it out of cardstock.  I then used the image negative as a bit of a template for possitioning the individual cuts on the shirt.  To ensure propper placement and consistancy I taped the template to the shirt with blue painters tape. 


Placing the template


 Aligning the first few pieces


Ready to heat press


The Adding the final colors