Baby shower that my sister my mom and I threw a few weeks ago for my sister in law Kim who is expecting her first baby
Framed invitation favors and personalized onsieDecember 30, 2013
Baby shower with converse theme
December 29, 2013
You're retro
Just want to share a quick birthday card I made for my mother in law. The camera and other images are from letteringdelights.com (retro camera graphics). I designed the card from those images using the silhouette designer studio and print and cut features.
I used a pop up card design so that the inside of the card stands up. Love the finished product
December 9, 2013
Thank you Card for a Nurse

My third semester of nursing school is drawing to an end. Infact, I have a final tomorrow (lets not dwell on that just now). I wanted to make a thank you card for my instructor and give her a little thank you gift. It can't be anything too over the top, I don't want to suck up- just say thank you. I found this great Christmas ornament at Hobby Lobby and decided to design card around the ornament. Sort of a 2 for 1 deal. It is a card and a small gift all in one.
The card was designed in silhouette studio. I began by measuring the ornament, and finding a way to attach it to the card. I used the product packaging for inspiration and attached the orament to the cardstock in a manner that was very similar to how it was in the original packaging.
Card Front
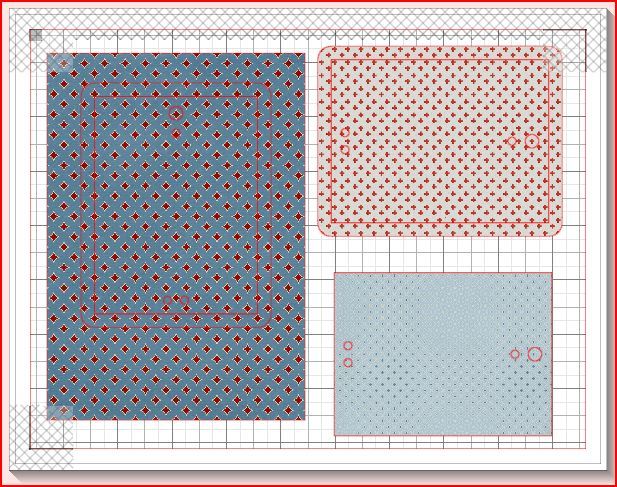
The inspiration for this card came from the nurse ornament that I found at Hobby Lobby. Here is a close up of the ornament.The patterns on the fron of the card were printed and then embossed with my cuttlebug and swiss dots embossing folder. I stamped the thank you sentiment using CTMH stamps (but this could have been printed).
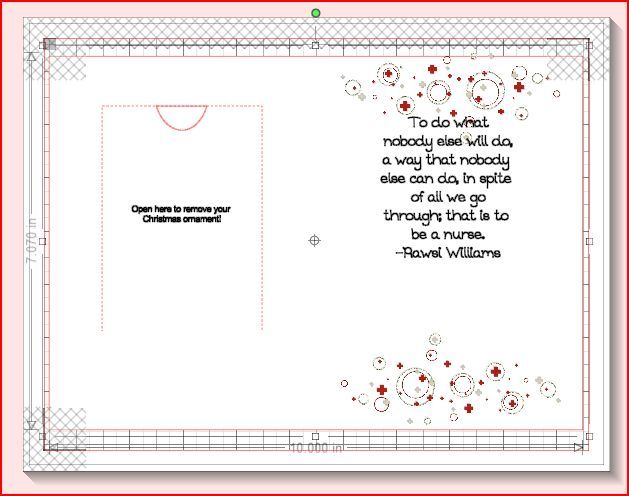
Inside the card as designed in Silhouette studio. On the inside I created a perferated flap that can be opened to remove the ornament from the front of the card (brilliant right!?!)
Inside the card

Close up of the inside left where I have created a perferated flap that can be opened to remove the ornament (held on by twist ties).
Subscribe to:
Posts (Atom)


