February 22, 2013

Thinking of You- Butterfly Shape Card

I made these two lovely butterfly shape cards using the silhouette Cameo.  I started with a simple butterfly shape that I believe was included with the Cameo.  From there I made a base cut to go behind it (in the print paper) and layered the more detailed butterfly cuts on top.  I used an offset of the base to make the card by welding two of the offset shapes together. 


I embellished with some quilled flowers (with Connie Crystal centers) , I rock gems and some pearls, ribbon, and lace. 


On the inside of the cards I printed the sentiment and dashed lines.


February 20, 2013

Connie Crystal Sneak Peak


Come check out my post on the Connie Crystal Blog today!  The project is a great accent when added to the princess themed cards I made a few weeks ago!  Be sure to leave me some love on the CC blog!

February 3, 2013

Never too old to be a Disney Princess

In May of this year I will be heading to Walt Disney World with some girl friends.  While I have been to WDW several times, I am really looking forward to this trip.  There are four of us going for an entire week.  This is going to be a great opportunity to experience the parks KID FREE.  We have already booked the Cinderella breakfast in the Castle, and we all love the princess theme.  So I plan to make a few crafty gifts for the girls.  I have completed the first project today. 

 
Each of the girls will be getting a set of six princess note cards.  They are A2 size cards each with a different princess.  As we are all crafty, I choose to leave the insides blank.  I figured these cards could be good for a lot of different occasions and my crafty friends can simply add stamped sentiments to the inside to fit their own needs.
 

Each of the cards have glittered accents to add a bit of shine to the simple cards.
I designed the cards in the Silhouette Studio Designer software and printed them out.  I then printed and cut using my paper trimmer instead of the Cameo as I simply needed to make one cut on each sheet.  The graphics are from Lettering Delights and I used a variety of background patterns including this cute pink castle one that I created in Photoshop.


February 2, 2013

Love bugs Bingo

My son, Ian, is student of the week in his PreK class the week of Valentine's Day.  As student of the week Ian is to bring his family to school and we are able to do an activity with the class.  So, I decided to got with a Valentine's day theme to go along with the timing of the event.  In order to make it extra special for Ian, I decided to make a game for him and his entire class to enjoy.  As he is only four, I thought traditional BINGO might be a little difficult for some of the kids.  To make it a bit easier I decided to focus on the alphabet (that they have been working on all year). 

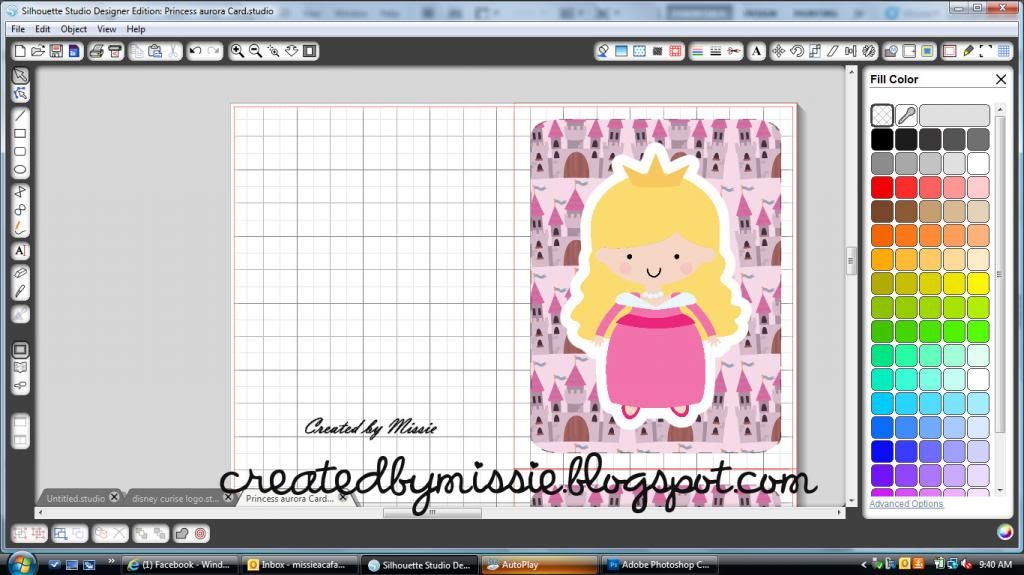
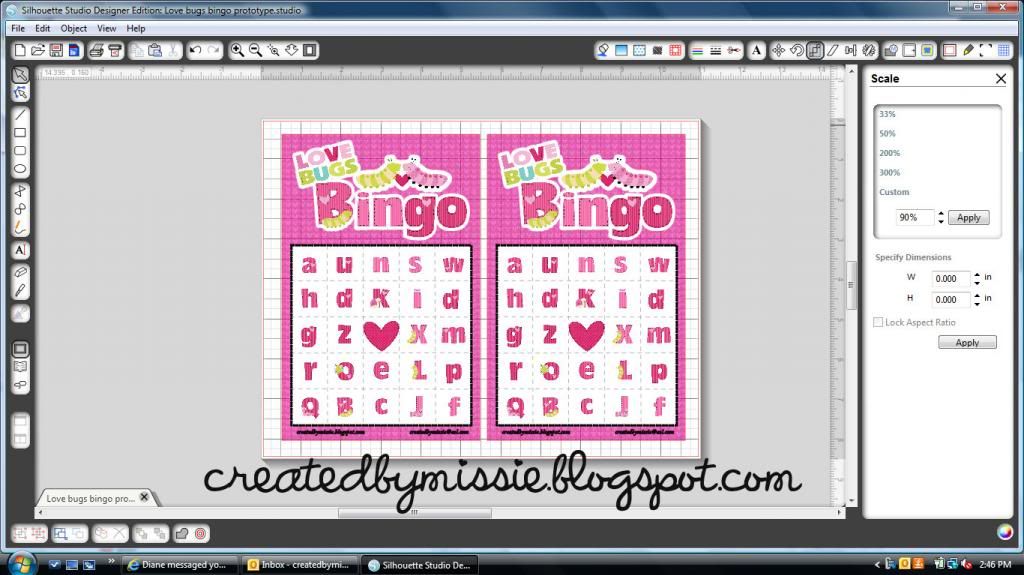
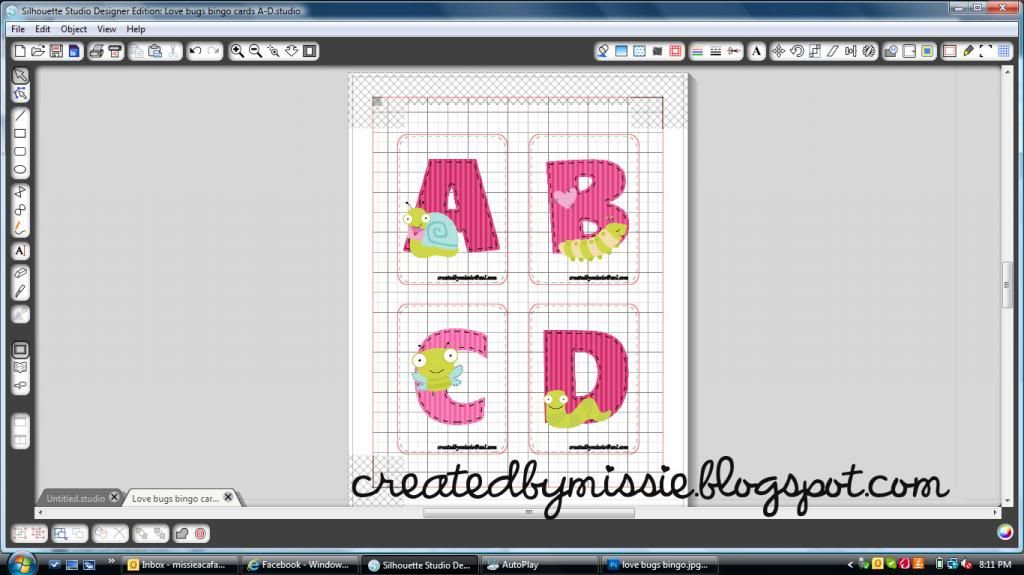
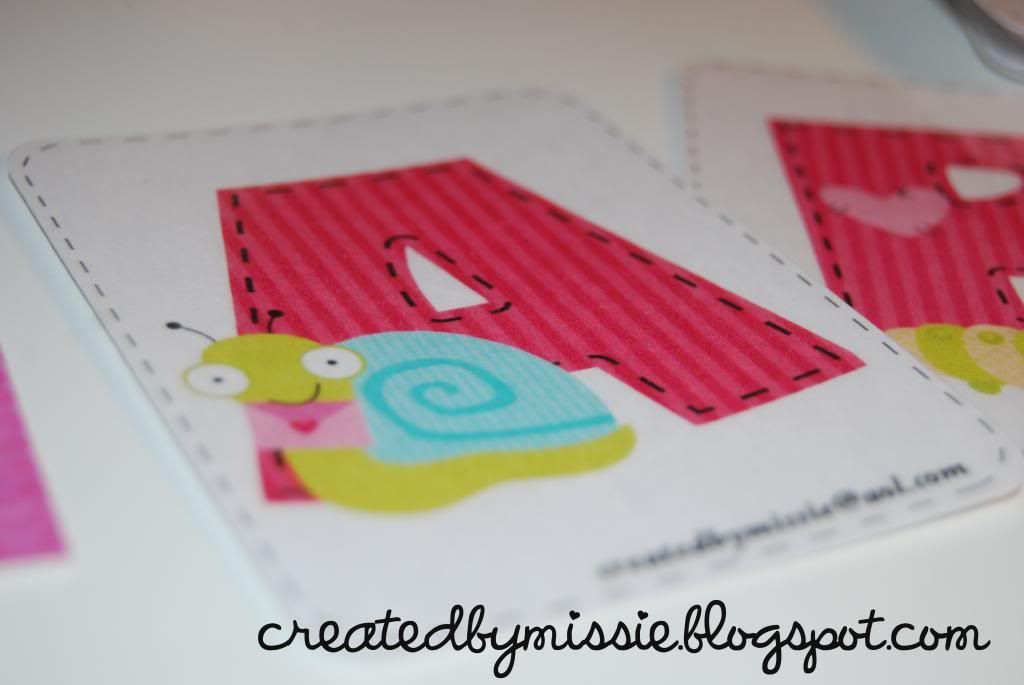
I created the cards using the Silhouette Studio Designer edition software and Lettering Delights graphics, alphabet, and digital papers.  I created 20 unique bingo cards- enough for the entire class.  In addition to the bingo cards I created a set of ABC flash cards that can be used to "call the letters".  Of course they could also be used as traditional flashcards.

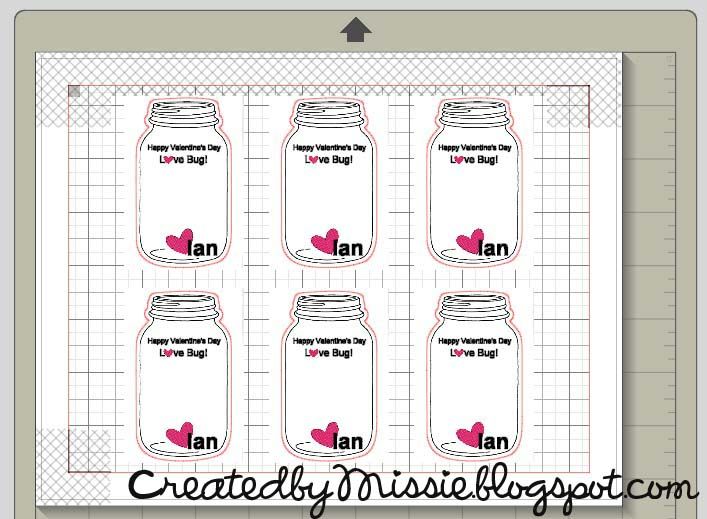
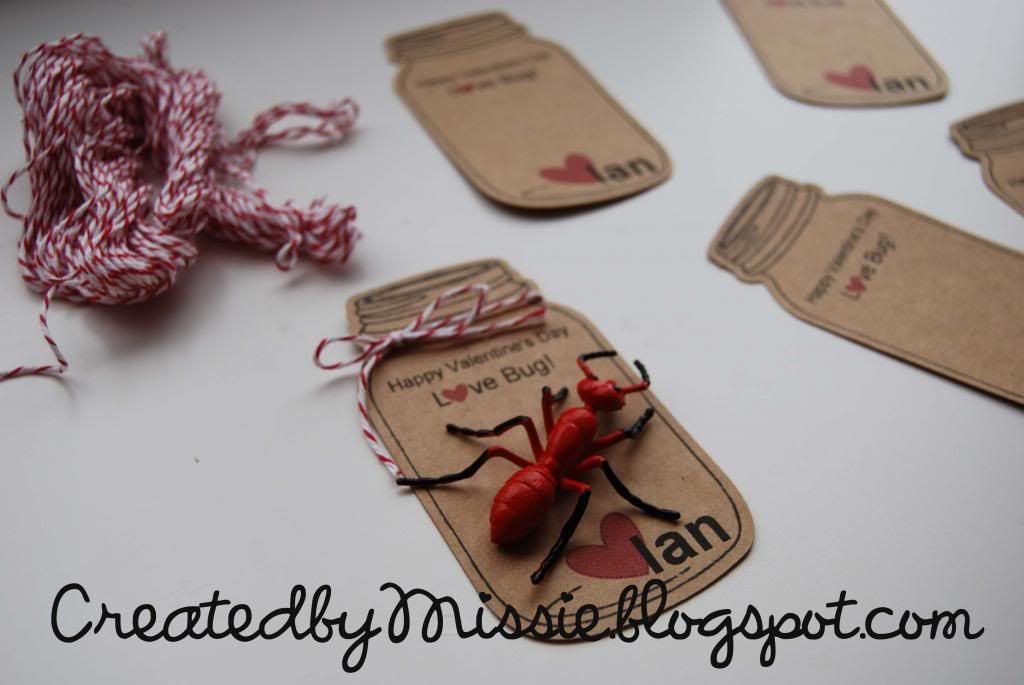
The design work was of course a bit of a challenge as this was one of my first "big" projects using the design and cut features of the cameo.  In the end I am even more in love with this machine than I was before.  I can see a world of creative possiblities at my fingertips. Here are some progress photos for those who might be interested.

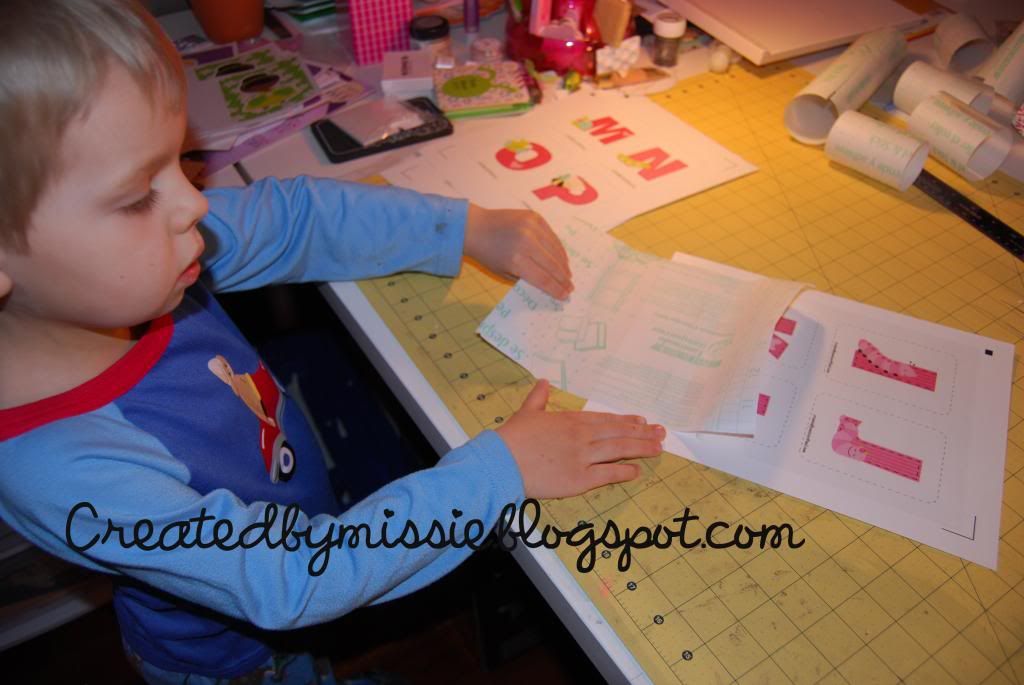
Ian was my big helper- he assisted with adding contact paper to the alphabet cards to make them more durable.

Ready to cut the letters out!

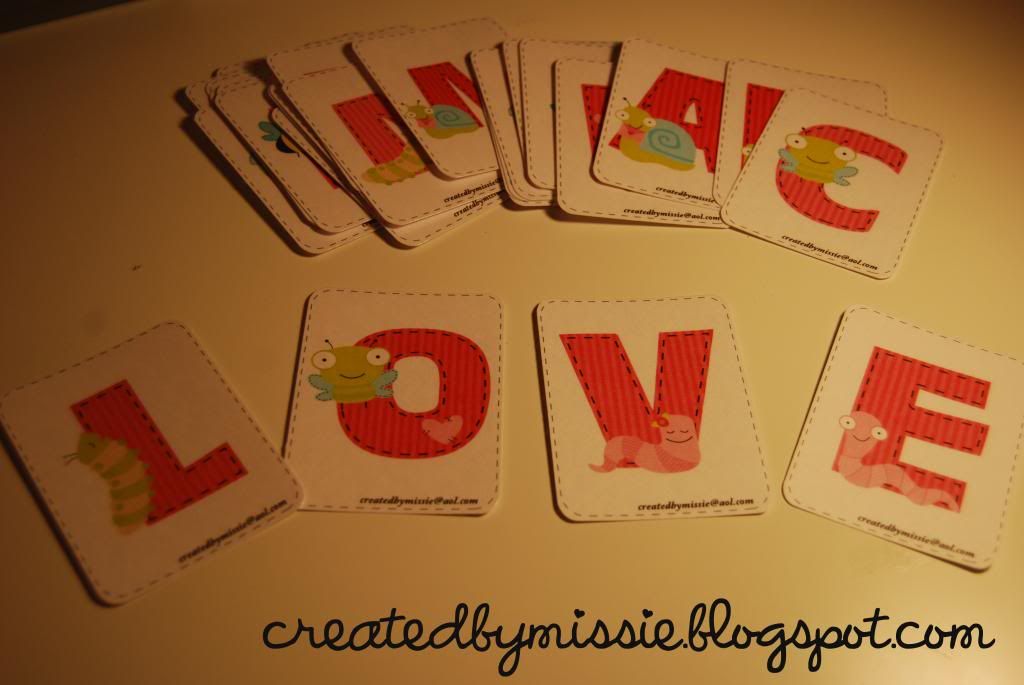
The "deck" of alphabet cards!  Forgive the lighting, it is so dark in my craft room!

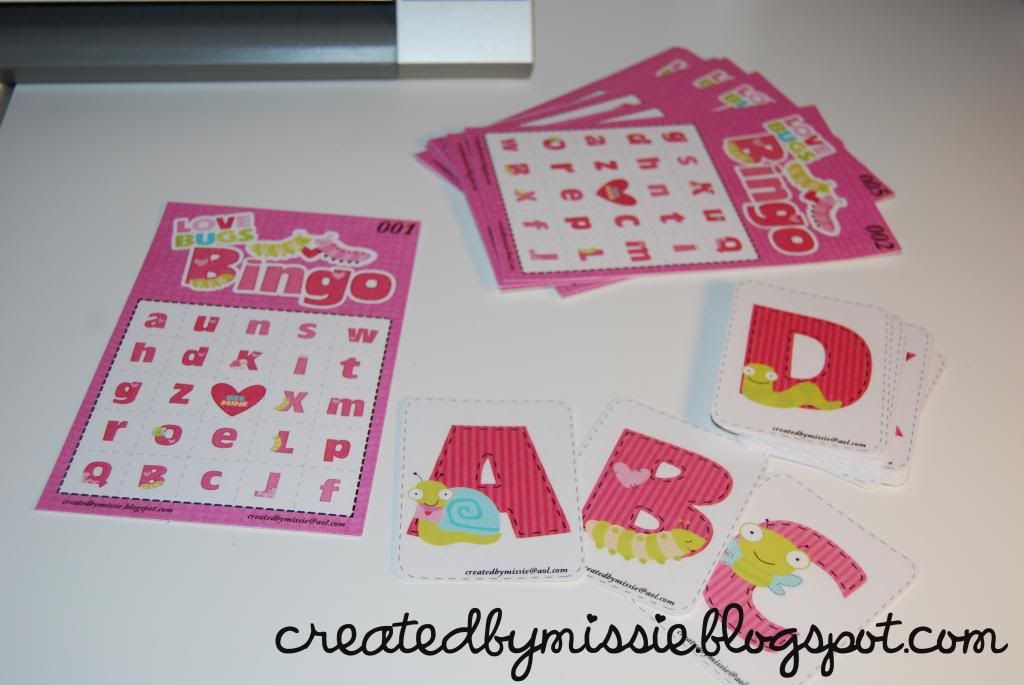
The complete set.  A full deck of Alphabet cards and 20 unique bingo cards. 


Getting a start on Valentines Day 2013

I have been playing a bit today with the Silhouette Cameo, and working on Valentine's day projects for my boys. I can't wait to share them all. For those that don't know, I have been a cricut user for years, but decided to add a Cameo to my colledtion in November. I have been loving it! In less than one hour today, I was able to take a project from inspiration to completion using the Cameo print and cut features. To begin I found a simple Jar image on the internet. I then spent a bit of time altering the image in Photoshop to get just what I needed (a black and white outline of a mason jar).
I then imported the image into the Silhouette Studio softward, and added a offset cut line around the image, a phrase, graphics, and my son's name.
 
 
From there, I simply printed on Kraft Cardstock and used then cut the images using the Silhouette.  I added some baker's twine and a toy bug to finish it off!  Simple, cute, and best of all Ian loves it!
 
 
The only catch is that I "borrowed" the bug from my son's stash, so to finsih them off I need to go buy some bugs :)