
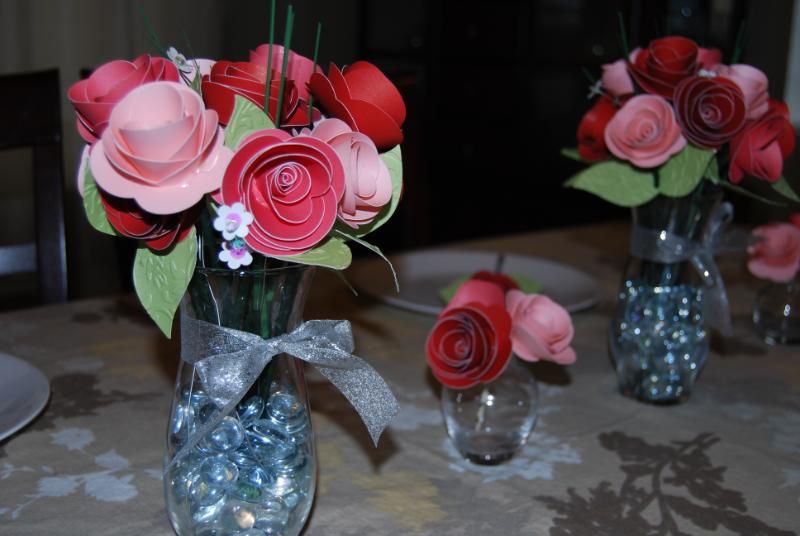
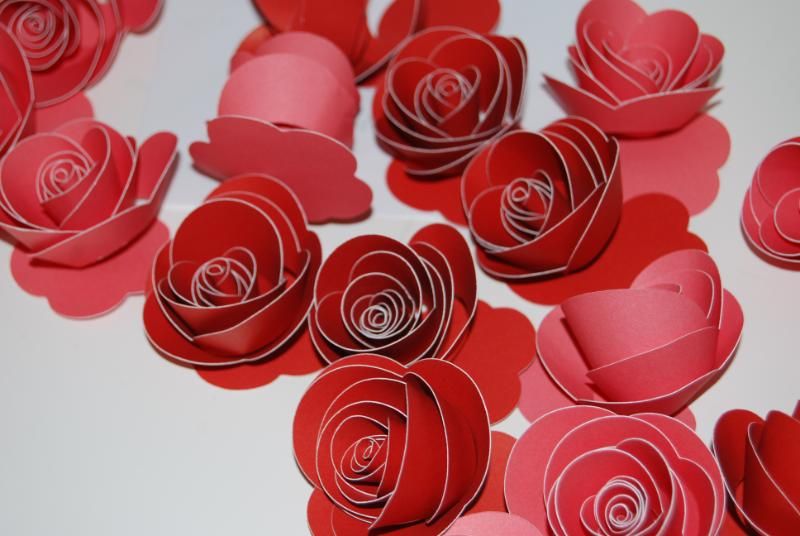
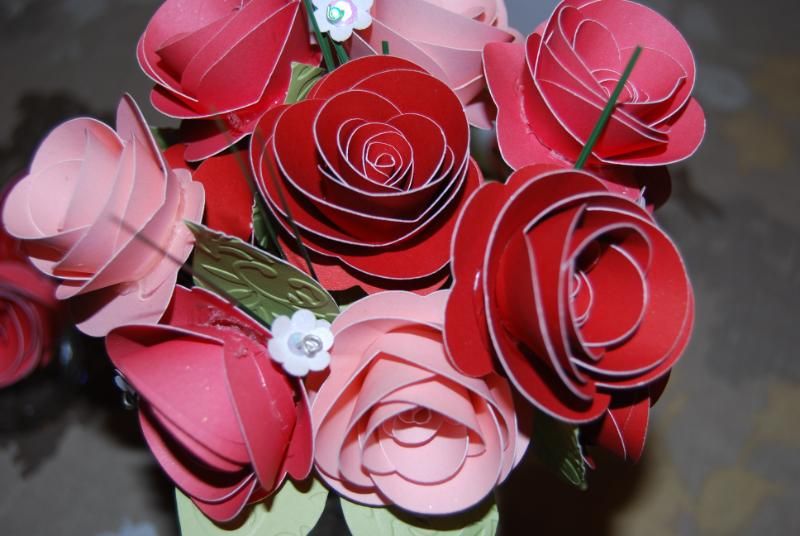
To create the roses I used the Cricut Art Philosophy Cartridges (CTMH exclusive) If you do not have this amazing cartridge you are really missing out! If you would like details on where to purchase the cartridge, you can find it on my Close to my Heart Consultant Page CLICK HERE. I know that a few people have already commented on the colors of the flowers. So I wanted to let you guys know what I used. It was the Close to my Heart Light Red and Pink Shade pack. The pack includes 12 sheets of paper (each sheet as I made them will make 4 flowers), so the pack will make 48 (4 dozen) roses. What a great deal! For the leaves I used Sweet Leaf Card stock, also from CTMH.
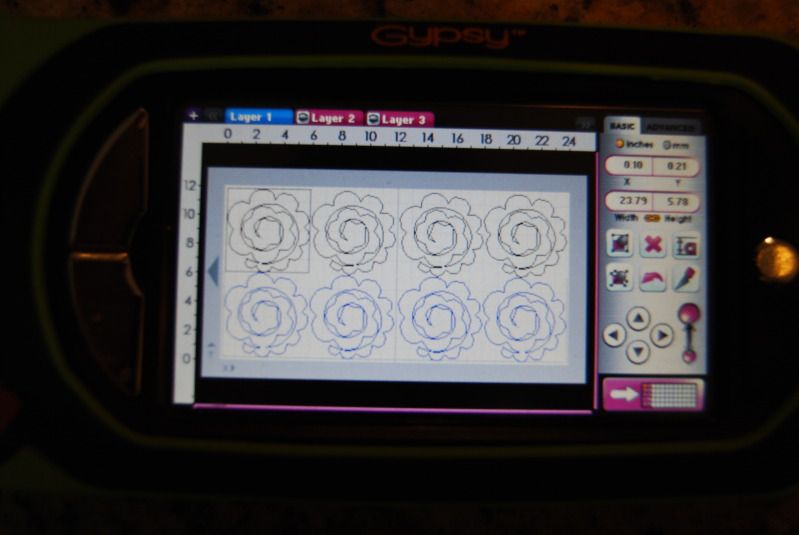
The flowers were sized to 5.78 inches using my Gyspy to maximize the amount of flowers I could cut from each sheet of 12 by 12 paper. If you are trying to recreate this project without a gypsy I would use 5.5 inches and use the auto fill feature on the Cricut Expression to save you time! You may notice in the photo that I used a 12 by 24 cricut mat. I did this to same time in loading and unloading the mat as I need to make a bunch (HEHEHE) of these flowers. My end goal is 8 dozen, but for now I have only completed about 3.5 dozen. It was really a lot more work than I expected, but I am so happy with the way things are going.

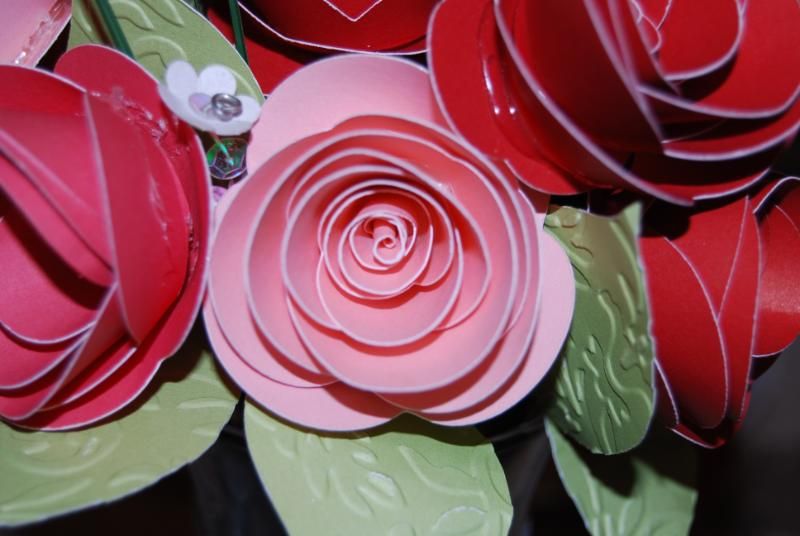
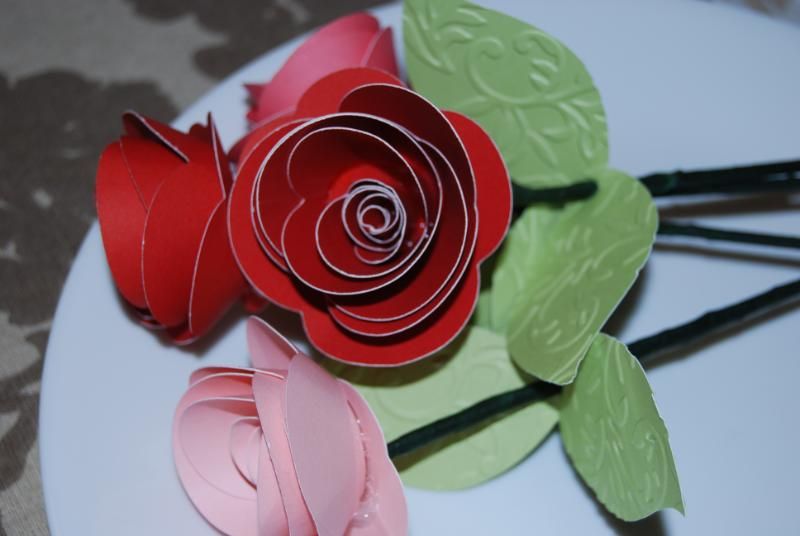
The leaves were cut using the Just Because Cards Cartridge. I welded two simple leaves from that cart together and then added the to the stems of the flowers. Each leaf was then embossed using my Cuttlebug. For the flower assembly I used hot glue to hold them together, but before applying the glue I poked two small holes in the base of each flower and threaded some wire though. I used this wire to attach the flowers to skewer sticks (yep, from the kitchen for grilling), the covered the sticks in floral tape. The wire allows the "head" of the flower to be moved around without damaging the stem.
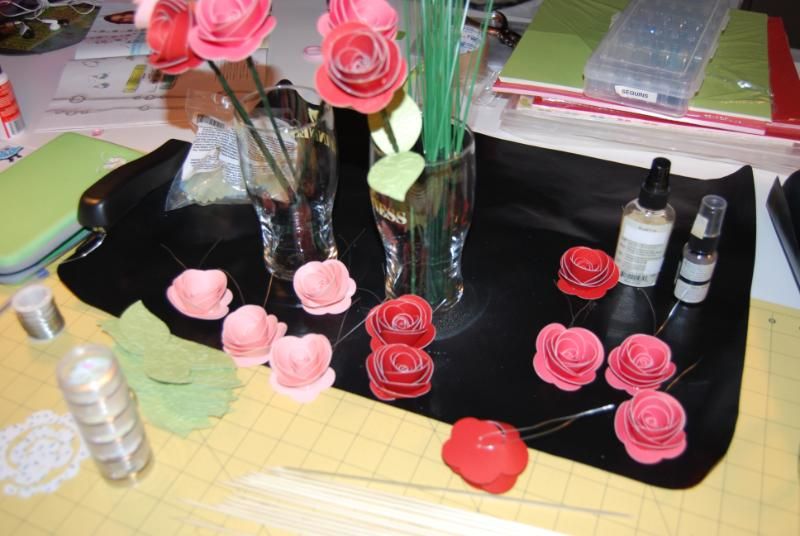
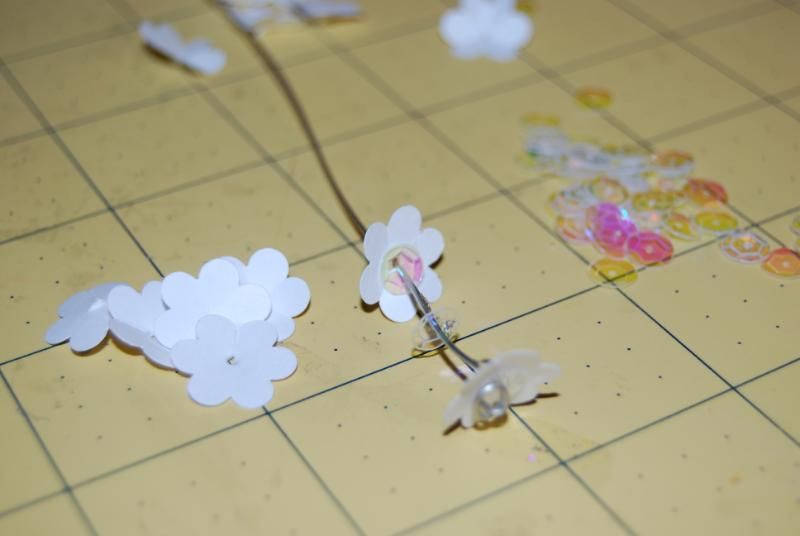
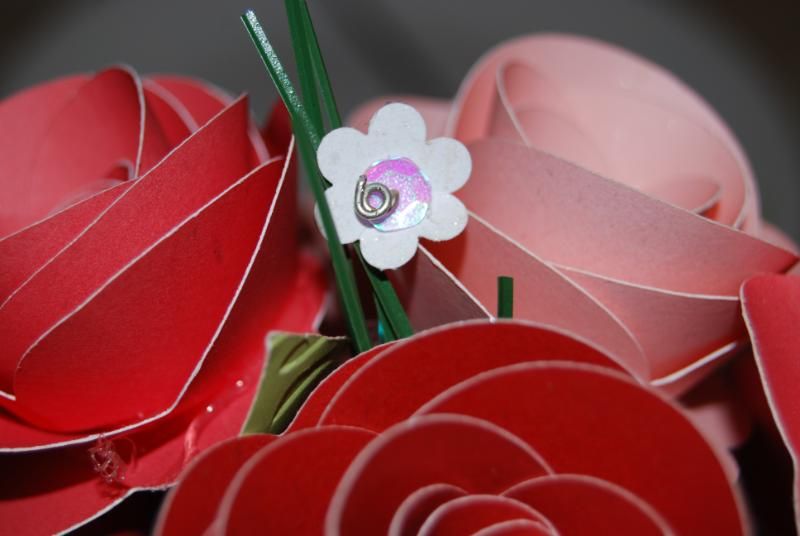
I purchased one bunch of greens from my local dollar store as well as the vases. When assembling the flowers I decided they needed a little accent, but I didn't have any thing handy. So back to the crafting supplies I went. I had a small flower punch that I used to make tiny white flowers using Daisy White Cardstock. I strung those flowers on wire along with some sequins for an instant pop of white. While they were time consuming to make they really turned out to be the perfect accents!
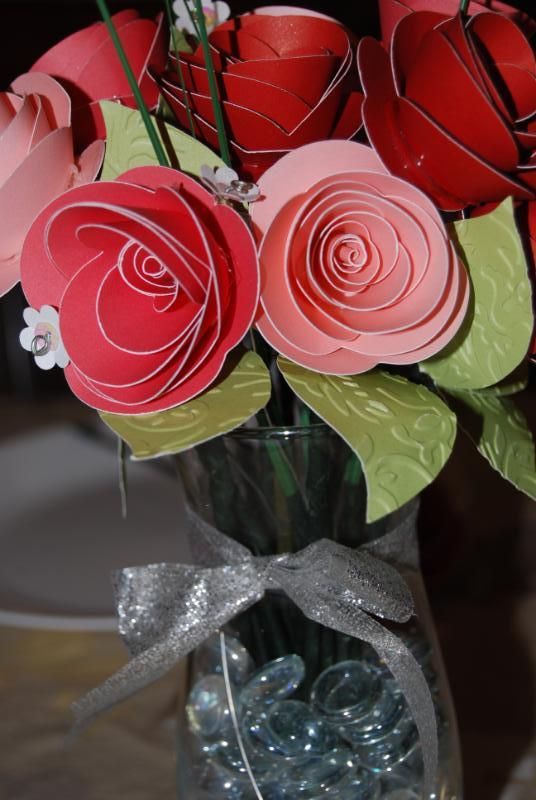
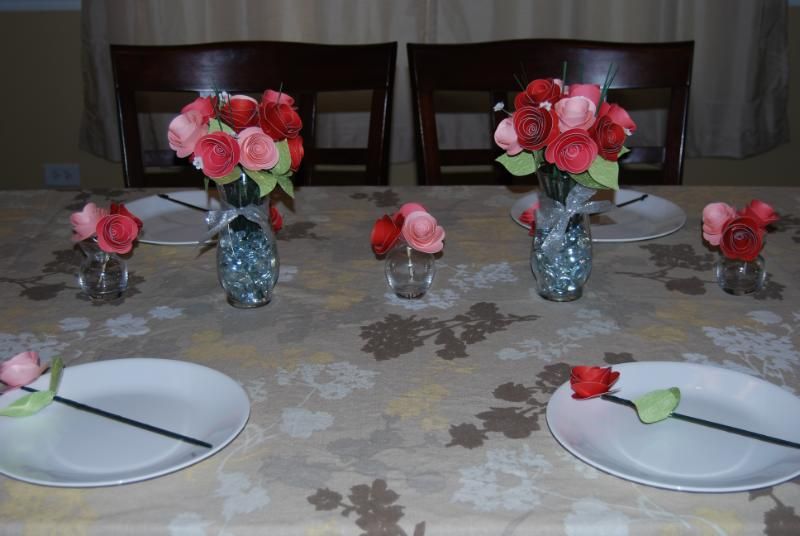
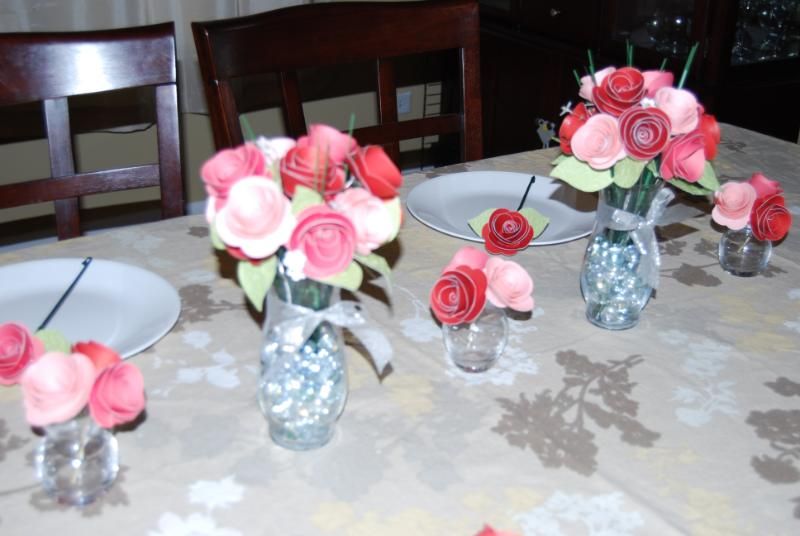
These are gorgeous centerpieces!
ReplyDeleteHope you will stop by when you get a chance. Lots of new projects.
Georgiana
Carson's Creations
Thank you! I will be sure to check out your blog!
DeleteBeautiful flowers! Will check back later....
ReplyDeleteCarolyn
http://cccscraproom.blogspot.com
Thanks sweetie! I just added the details and a few more photos if you are interested.
Deletethese are awesome roses. can not wait until you post the dimensions. love the color choices.........
ReplyDeletetmorrowstreasures.blogspot.com
Thank you! I have updated the post with sizes and color information. Please let me know if you would like any additional information
Delete