November 17, 2012

Connie Crystal and Tombow Cross Promotion


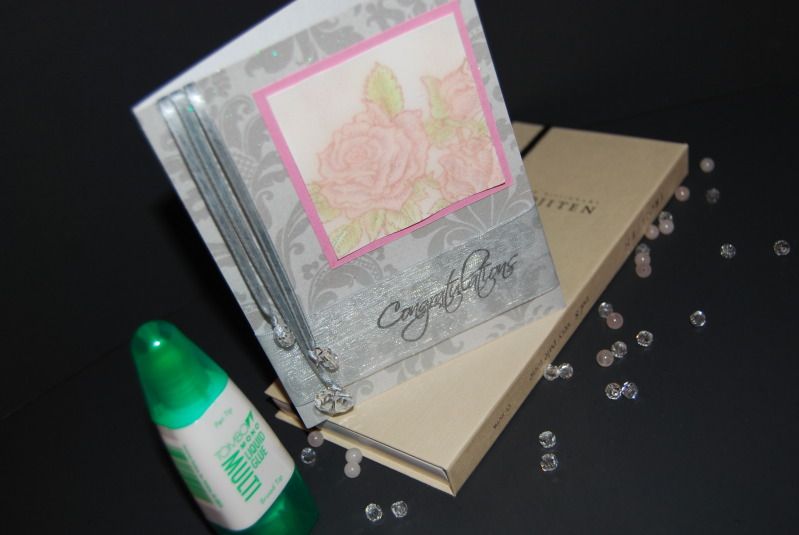
Thanks for stopping by today to see another great card made using Connie Crysta and Tombow products.  The card was created for a friend's anniversary and is simple yet elegant.


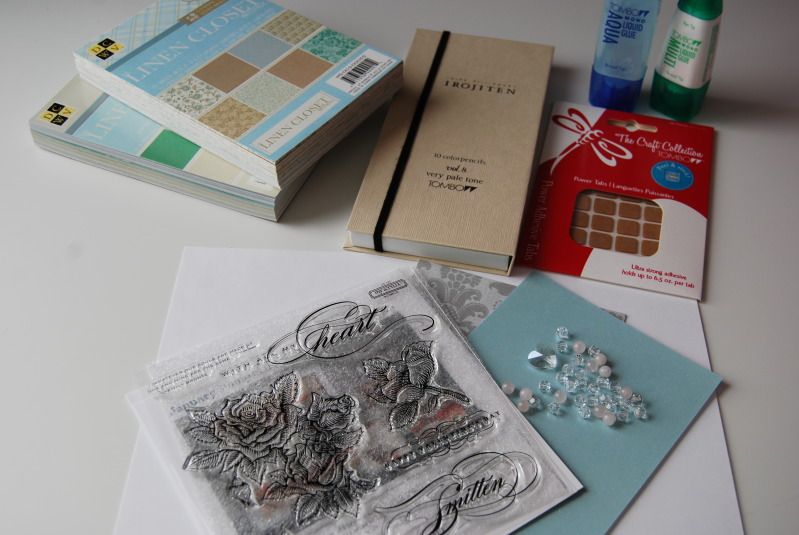
I began by picking out some papers from DCWV (Linen closet stacks), Tombow colored pencils, tombow adhesive, CTMH stamps and Connie Crystal.  I also used a bit of ribbon to pull it all together. 

I began by stamping my image onto white cardstock.


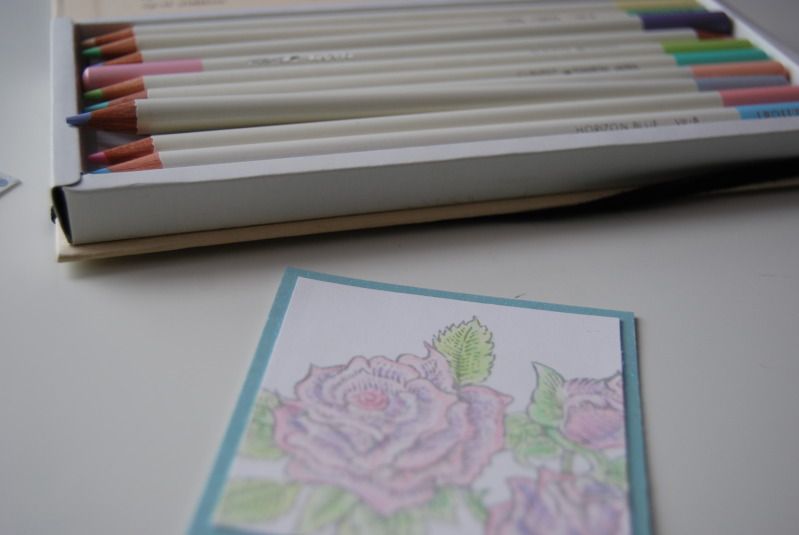
Then colored the image with Tombow colored pencils and mounted it onto colored cardstock.  In the end I didn't like the blue cardstock with the image and replaced it with pink.


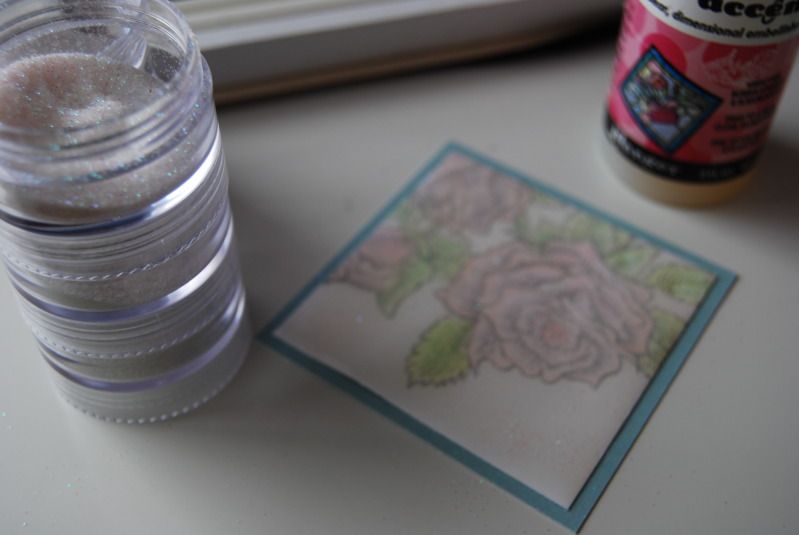
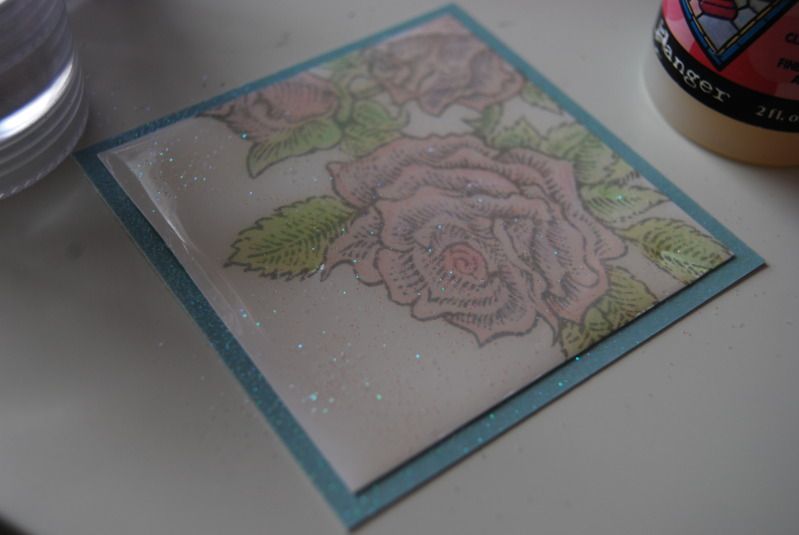
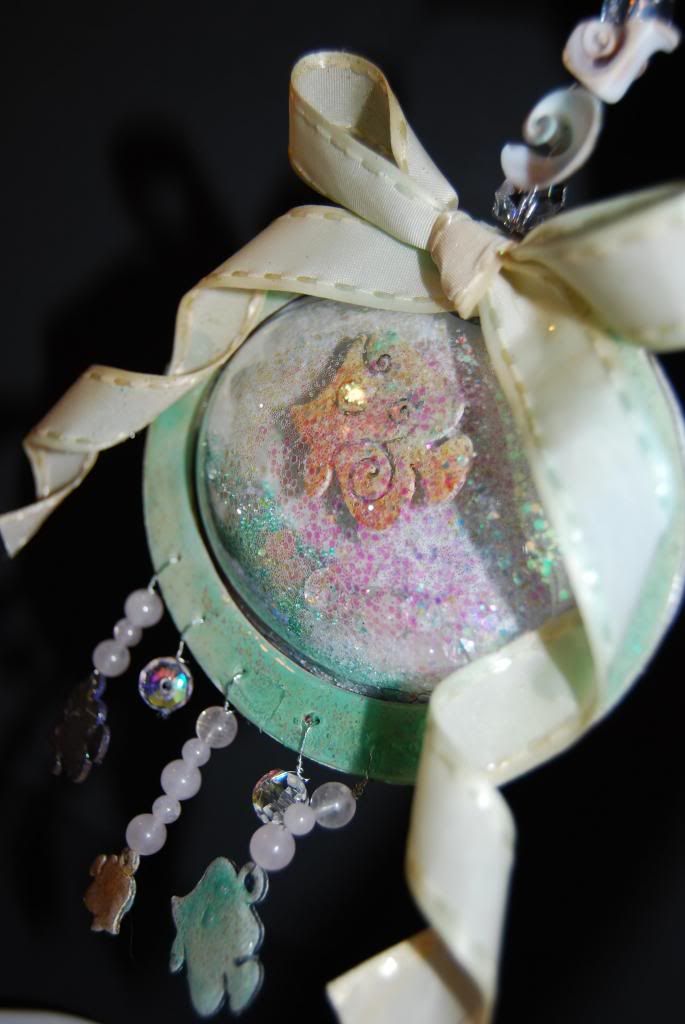
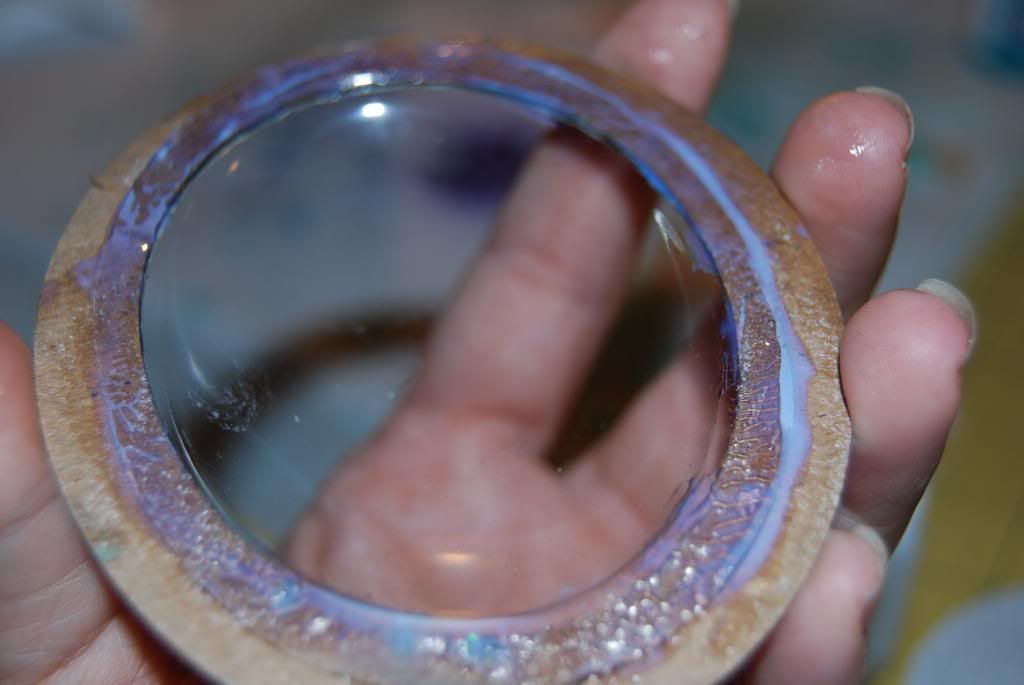
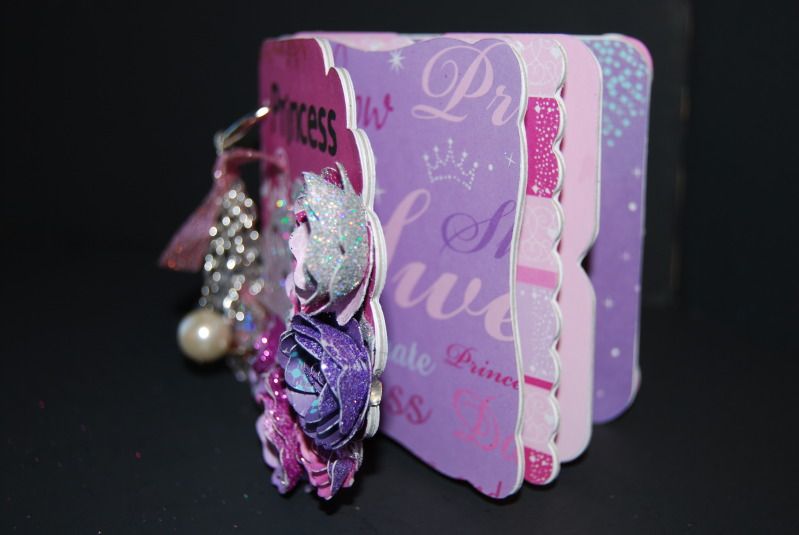
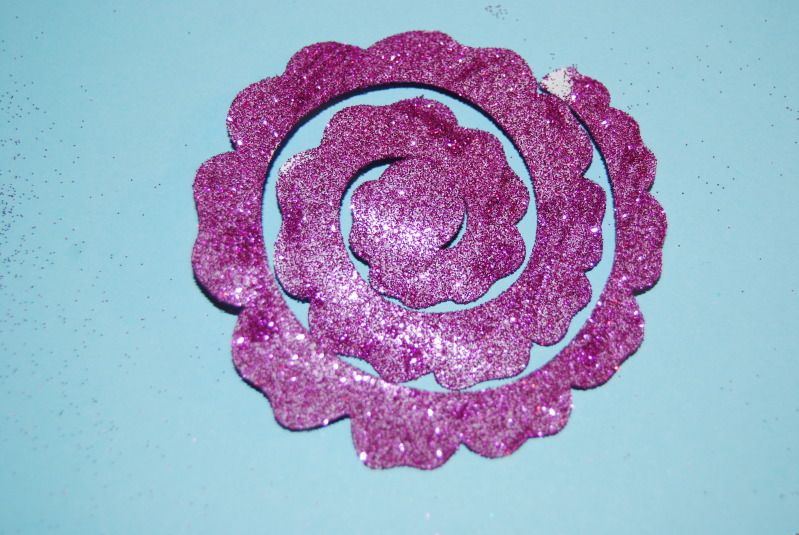
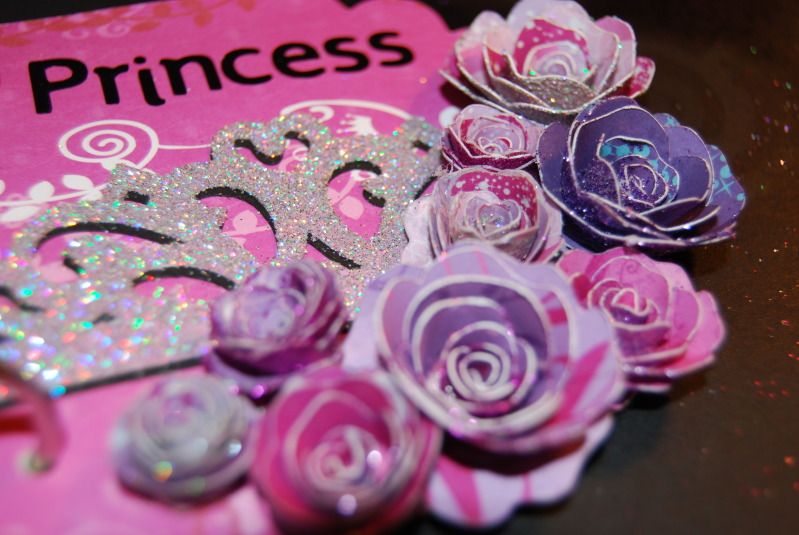
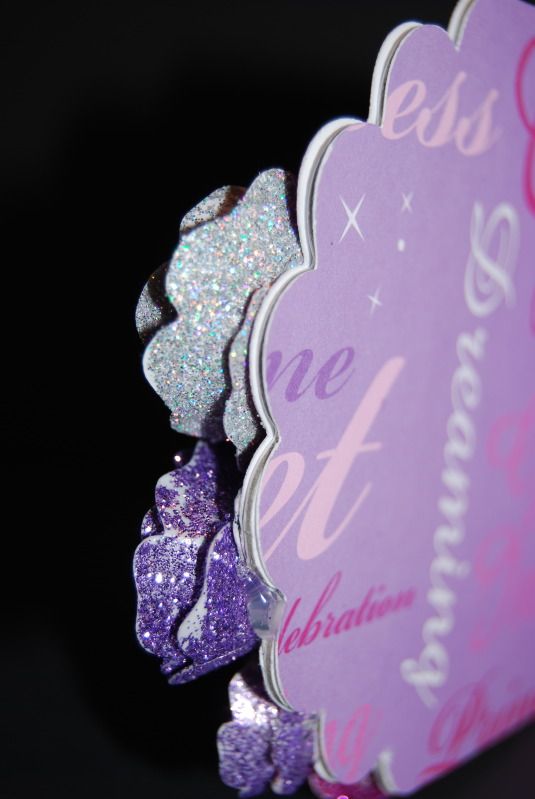
After coloring the image I topped it with glossy accents and sprinkled some glitter into the glossy accents.  When dry this creates something similar to an epoxy on the top of the image. 


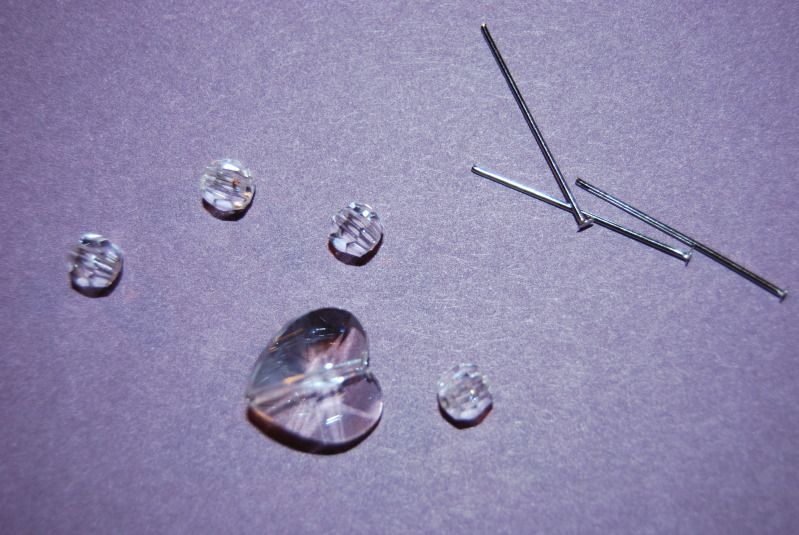
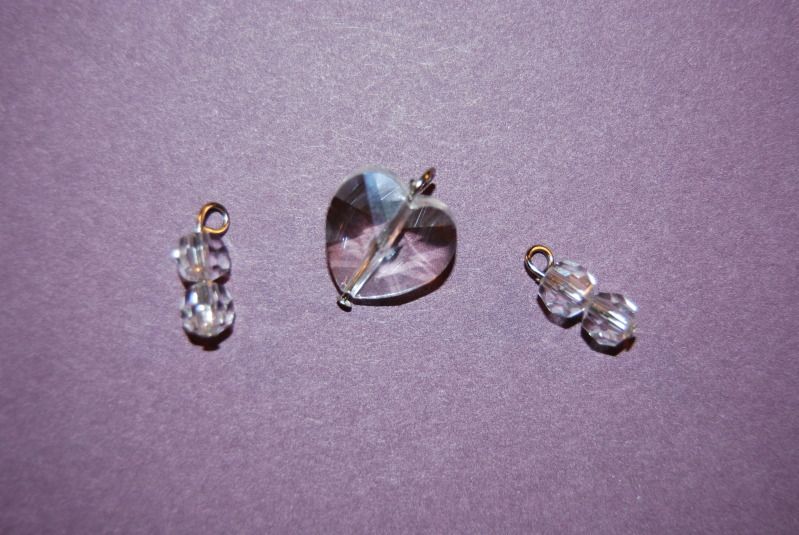
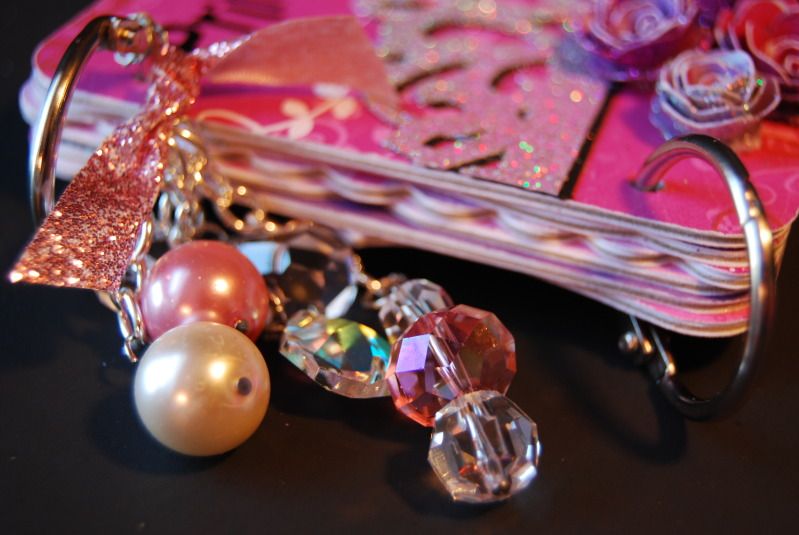
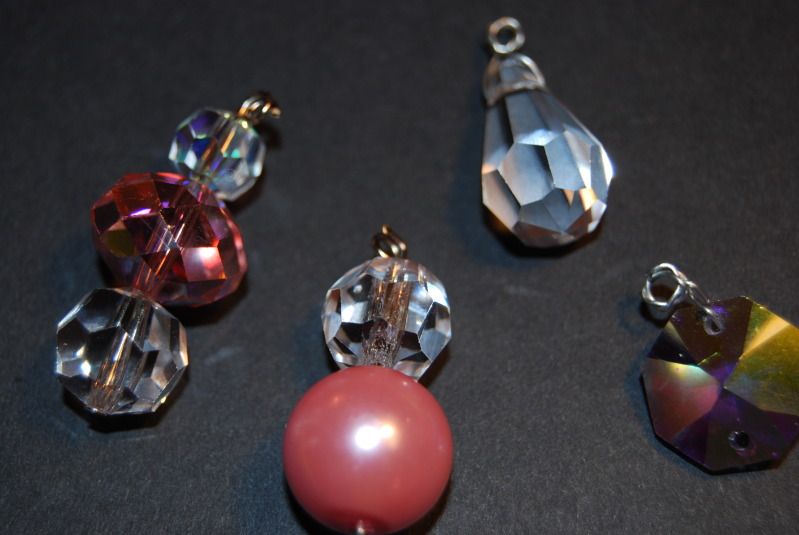
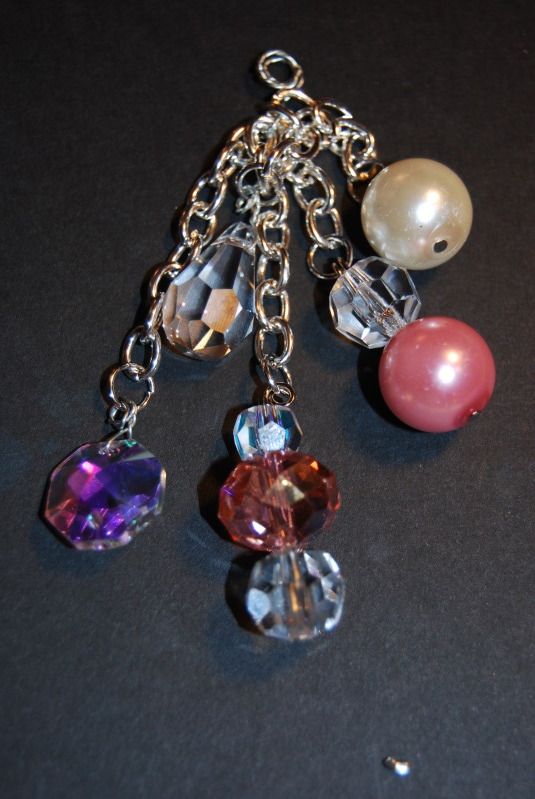
The next thing I needed to do, was make some charms out of my Connie Crystals using a few headpins. 

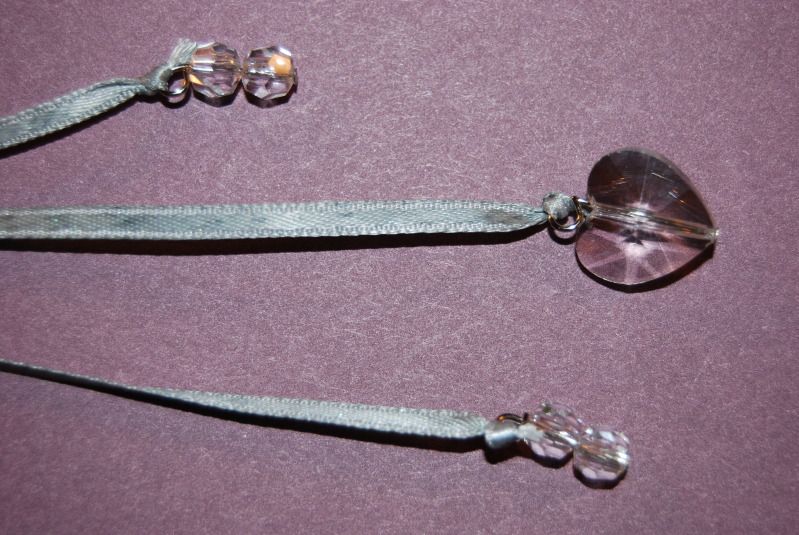
The charms were then added to some satin ribbon and would later be added to the card.

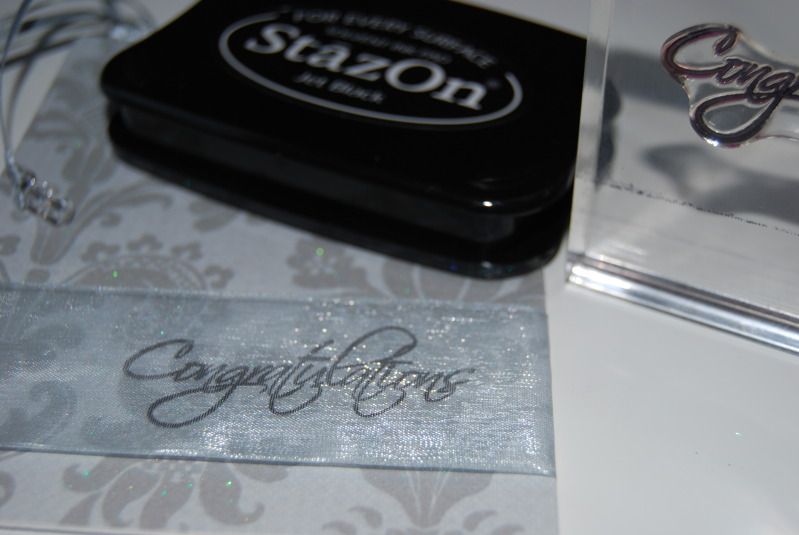
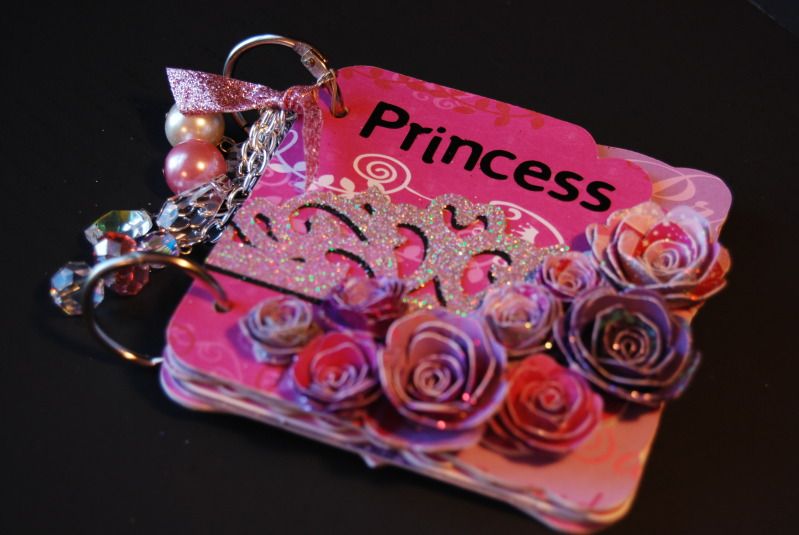
The sentiment was stamped onto Organza ribbon with StazOn ink to prevent smearing. 

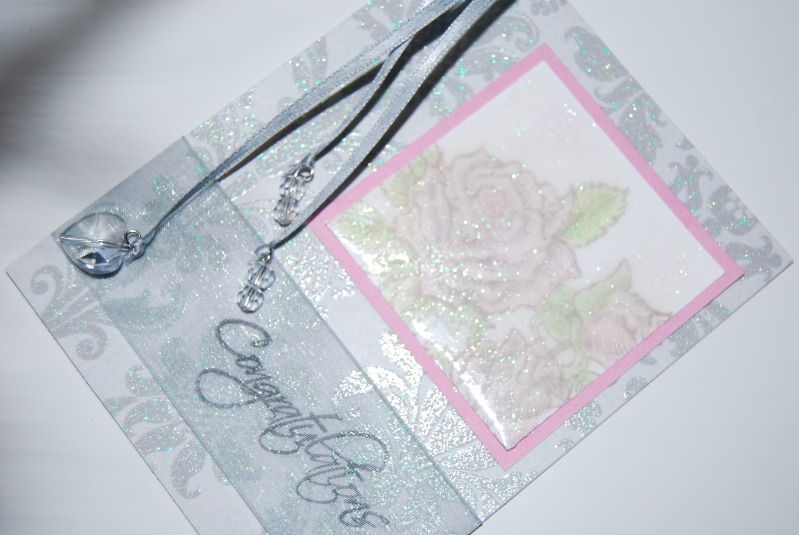
The final step is simple assembly.  I hope you enjoyed this beautiful and elegant card as much as I enjoyed creating it! 

Supply List:
Connie Crystal assorted crystals available on Amazon.com
Tombow Irojiten Color Dictionary Pencils
Tombow Mono multi liqid adhesive
DCWV linen closet papers
Stamps from Close to My Heart
Assorted ribbon (satin and organza)

November 16, 2012

Fishing you a Merry Christmas with Connie Crystal and GlobeCraft


I am so excited for the start of the holiday season.  I really love decorating for the holidays and look forward to the day after Thanksgiving when my husband, Brian, gives in and gets the Christmas tree out for me.  I'm excited to share with you my first hand made ornament of the season.  This dimensional shaker ornament is sure to be a hit with my boys this year when it gets added to the tree. 
 
To create the ornament I used a variety of products from Connie Crystal and Globecraft Memories.   I began with the Fabulous Fish Necklace set from Globecraft and one of their ornament kits, added some sparkle and bling from Connie Crystal and ended up with a pretty cool ornament. 
 
I began by using some pigment ink to color the frames and the fishies white before applying the colors. For darker colors (like the navy blue I used) this step wasn't needed, but for the lighter colors this really helped to make those colors more vibrant.
 
 
Then I added some color to the fishies using some glimmer mists and other such products that I had in my stash.  Getting messy is always part of the fun and by the look of my craft space, you can see I was surely having a lot of fun with this project.  After the glmmer dried I used Glasstique Gloss Finishing Glaze from Globecraft to finish off the fish.  I did the same thing with the frames beginning with a glimmer product, and finishing with the Glasstique Gloss. 
 
To create a backing for my ornament (I did not want to make it clear all the way through, but rather wanted a true front).  I traced the frame onto the back of a sheet of cardstock that I had embossed.  Then I trimmed the cardstock to ensure that I had an exact fit for the back of my ornament.  Oh and of course I used some glitter spray to add a bit of sparkle to the embossed cardstock. 

 
A fish was added to my ornament backing using a popdot.
 
A layer of Glasstique gloss was added to the frame to secure the bubble for the front of the ornament.

Inside the bubble I added clear and teal microbeads.  Seaglass beads from Connie Crystal, crystals from Connie Crystal, and some glitter.  I then adheared the back of the ornament with some more Glasstique and secure all of the layers with clothes pins until it was fully dry- this took about 24 hours. 


While the ornament was trying I worked on a few other elements of the ornament.  I had hoped to find the perfect color of ribbon for the project in my stash but came up empty handed.  So I used the glimmer products to add tints of teal and orange to some cream ribbon I had.  While the ribbon was still wet I wrapped it around a dowel rod and dried with my heat gun to give the ribbon some curls. 


November 1, 2012


I am so excited to be joining the team sparkle!  Today, for my first post as an official member of the Connie Crystal Design team, I wanted to share a project that truly sparkles!  For those of you who may not have notices, it was announced in August that I would be joining the Connie Crystal Design Team.  If you would like to know a little more about me or my background you can check out my full profile on the design team page http://ccsparkle.com/sample-page/ 


I will admit I am a huge fan of all things Disney- especially the princesses.  However, as a grown woman and the mother of two little boys I don't get to include that love in very many of my projects.  Each time we go to Disney I have photos taken with the princesses, but they never seem to make it into our scrapbooks.  This mini album is going to be the perfect place for all of those princess photos! 

The album is a chipboard album sold by Close to My Heart and the shapes match up perfectly with cuts on the Cricut Artiste cartridge.  All of the Cricut cuts in this project are from the Artiste cartridge (crown, flowers, phrase, page shapes) The paper used in this project is from EK success and is a Disney Princess paper pack. 

I wanted to add lots and lots of bling to this album.  From the glittered flowers and crown to the oh so sparkly crystals every element of this project was about bling. The crystals and beads were stung on wire or head pins so that they could be attached to a bit of chain. 


For dimensional elements, I really like to use double sided paper, but as the paper I wanted to use wasn't double sided I glittered the back of the paper to give sparkle to the underside of the flowers.  To accomplish this, spray the back of the flowers with a spray adhesive the add glitter.  After glittering apply a spray sealer to keep the glitter where it belongs. 


As you can see the glitter on the back of the flowers adds a bit of sparkle without taking away from the subtle patterns on the front of the flowers. The crown was glittered using the same spray glue glitter process that I used on the flowers.  ad the crown was not designed with a shadow I simply cut it twice -once in black and off set the layers to create a shadow effect. 


Thank you so much for stopping by to see my project!