I need to begin this post by appoligizing to a few wonderful women and their blogs. I have had the honor to recieve this award several times recently, but I have never gotten around to reposting. So, thank you to Liza, Cassandra, Charlotte, Janice, and anyone else I may have missed THANK YOU! I wish I had a good reason for not reposting this sooner, but I really don't. I am so honored that you ladies feel that I am worthy of such an honor.

In order to accept this award, I need to link back to the person who awarded it to me, share 8 things about myself, pay it forward to 8 bloggers that I love visiting, and contact those bloggers and let them know I have given them the Stylish Blogger award also.
So 8 things about me:
- I am a suburban house wife and I'm not even 30 yet- how did that happen???
- Ok, I am about to be 30 in about one month, and I plan to celebrate in Dallas the the circle swarm!
- I live in IL, but will never consider it home. It has been 10 years since I moved here, but WV will always be home.
- I have been working towards a 2 year degree for 4 years and I'm not even half way there yet.
- My husband travels a lot for work and I feel like a single mom most of the time.
- I have a sister who is 20 years younger than me and she is only 5 years older than my oldest son.
- I am a momma to two spoiled rotten little boys.
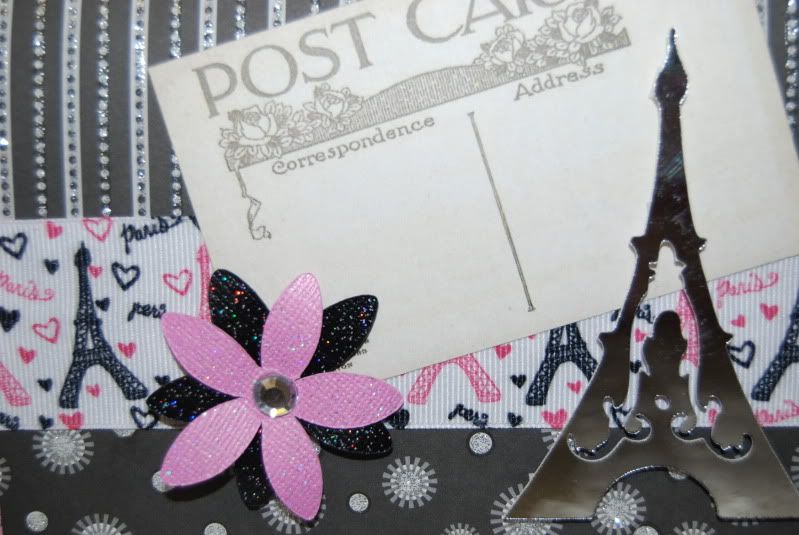
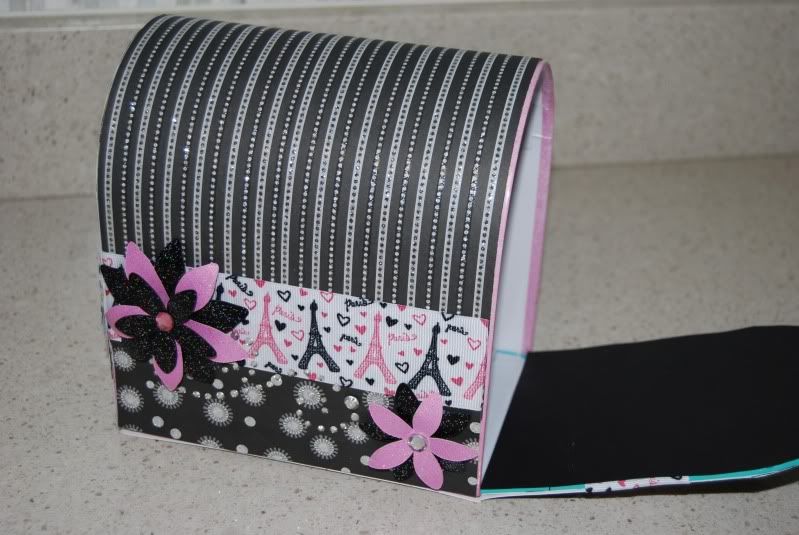
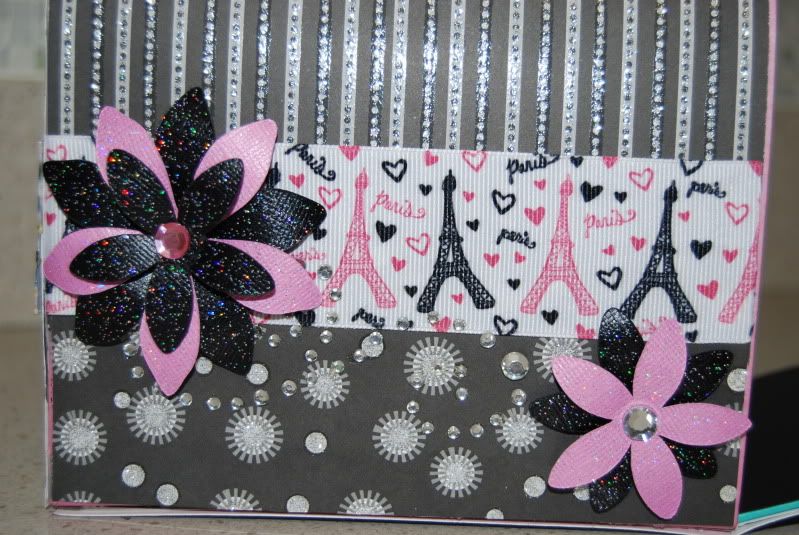
- I dream of travel all the time. I wish I had the budget to support my wish list.
Now this is the difficult part, passing on the award. There are so many deserving blogs out there and it is so hard to choose.
Jan
Pam
Crystal
Lindsay
Mary
LB
Alina
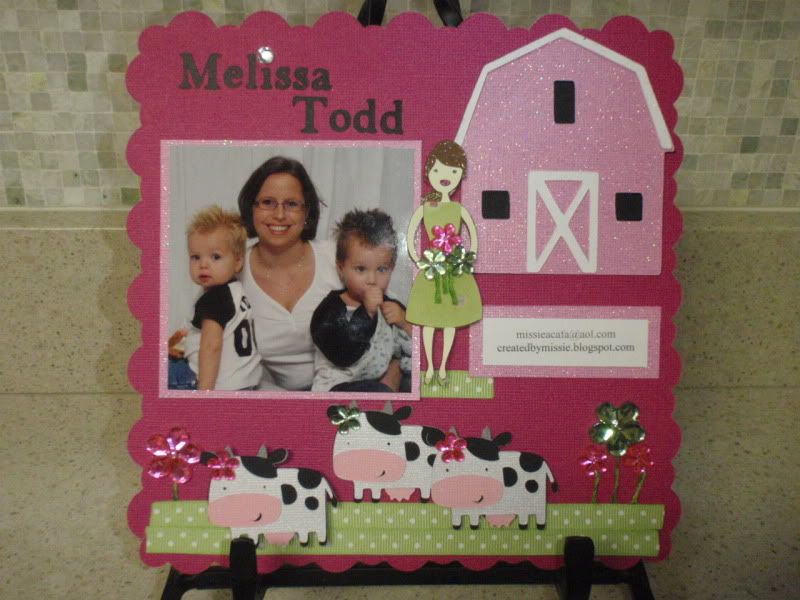
Melissa