January 30, 2011

Solutions for solutions (and seasonal) carts

Like many of you I have struggled with just how to store my solutions and seasonal cricut cartridges.  At first (when I didn't have many) I simply purchased the provocraft boxes that hold 8 cartridges, but the more I collected the more difficult this became.  So, I purchased a plastic storage system that was highly recommended by many people on the Cricut MB, but guess what, it was bulky, and just didn't look good.  One day while sorting through photos it hit me, I bet my photo boxes are about the right size for my solutions.  I tried one set of inserts and found that it was a perfect fit.  I quickly went to work with my gypsy to create dividers that would also be a perfect fit.  I used the FROM MY KITCHEN recipe cards, and my label maker.  In the end I did also buy a small plastic container for less than 2 dollars at WM, but really this was pretty inexpensive.  I used paper I had in my stash and an extra photo storage box.

Let me know what you think!

This box contains all of my solutions/season cartridges, paper inserts/package materials, and keypad overlays.


Tab view


Front view


plastic bin in the back of the box with my cartridges


Top view

January 24, 2011

Tink

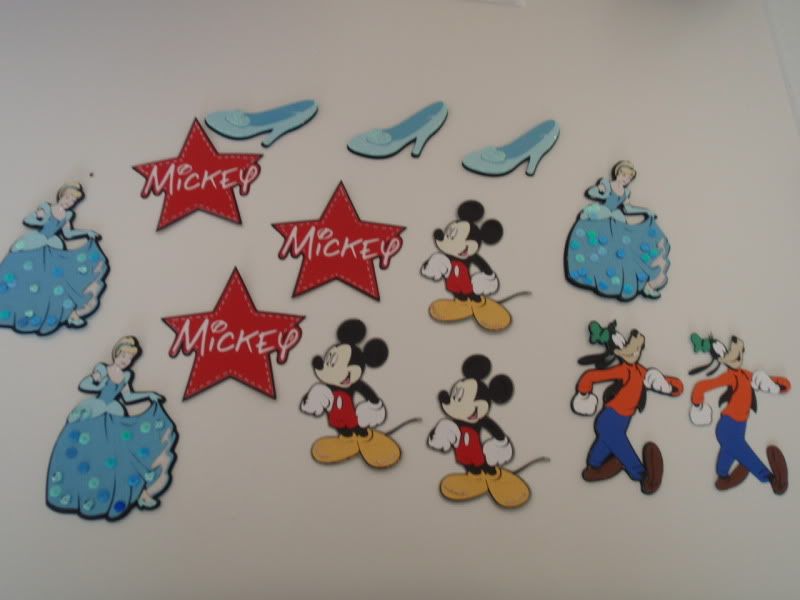
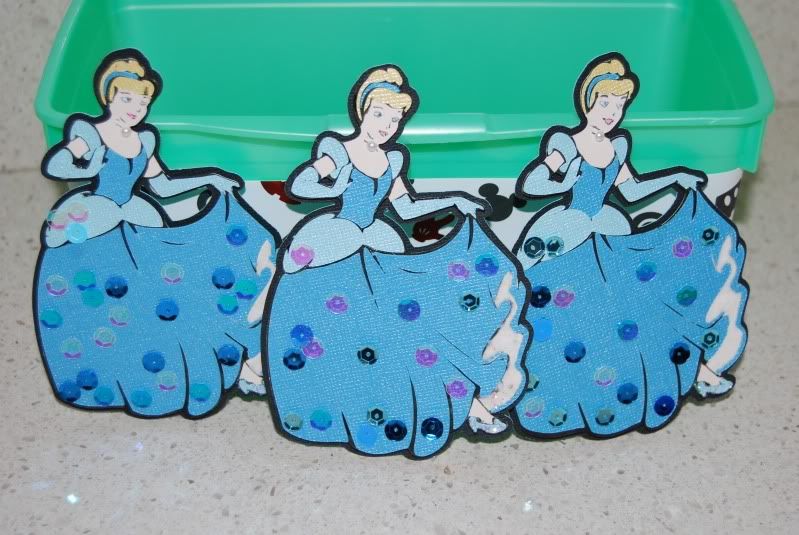
Like so many others I have had nothing but problems with the tiny little pieces on the disney cartridges.  I recently made Cinderellas for my Disney trip and decided to try something different.  For the Cindys I cut the base layer in skin tone and colored in all the areas that would have been black with marker instead of cutting a seperate layer. 

When beginning tink I started out the same way.  So, here is the way that turned out...and be sure to read on as I did a second tink method after I tried this.

This is her hair and wings colored in in black.


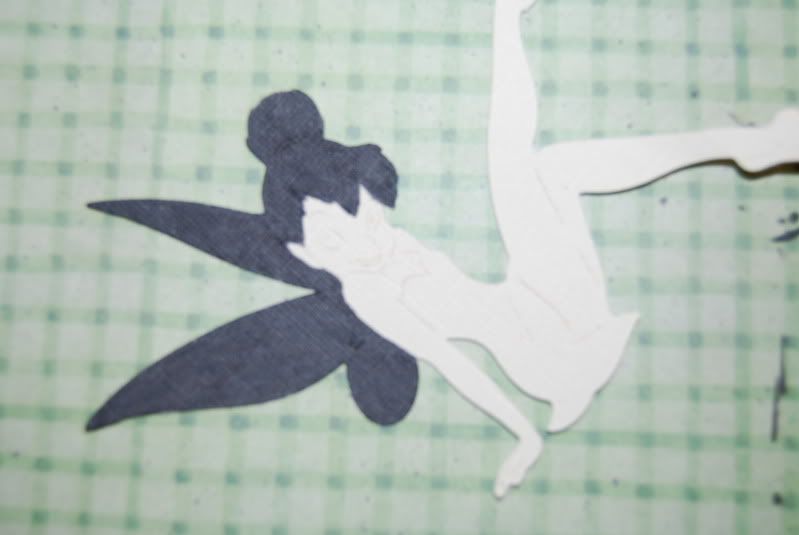
After adding hair and wings I colored in her dress and shoes in black and drew in the detail lines


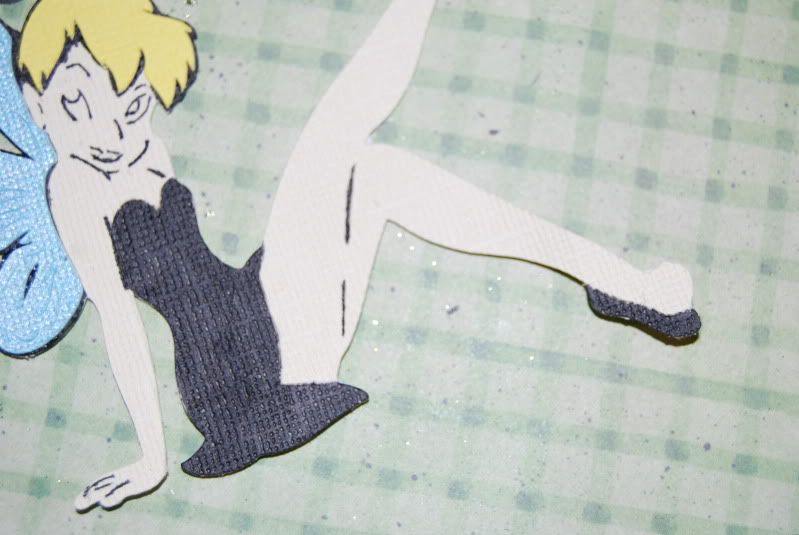
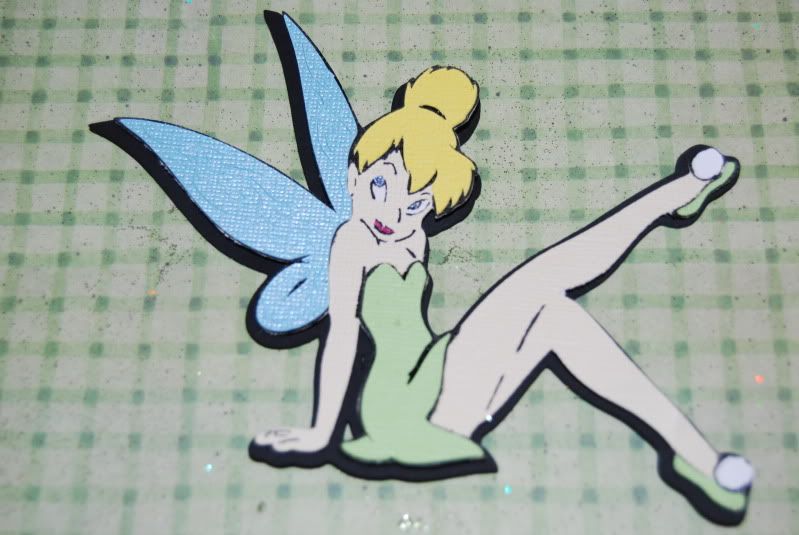
I then added her dress and shoes, colored in her face with gel pens and added a shaddow layer

So, what do you think of my TINK?

I liked the way the first turned out, but I wanted to try a second "idea" that I have had floating in my head for a while.  What if you skip the layers and just glitter everything.  WHO DOESN"T LOVE GLITTER!  To do this I used my very favorite Glue pen (I'll post on that a little later).

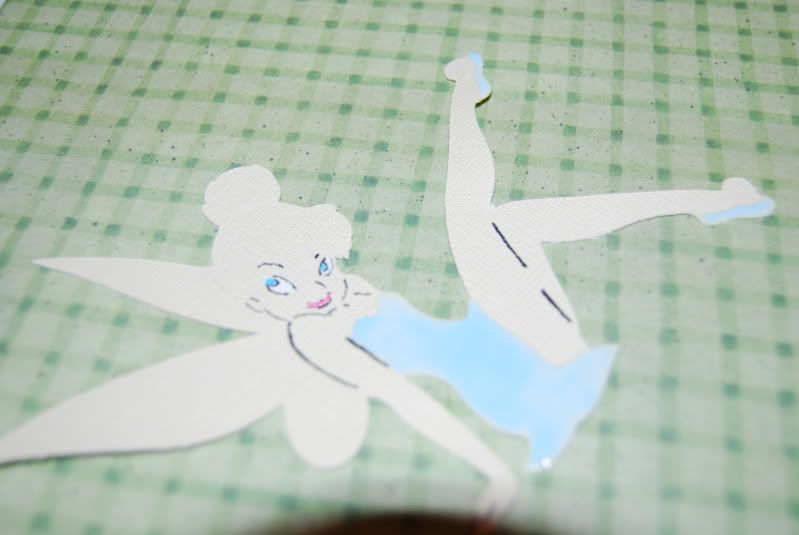
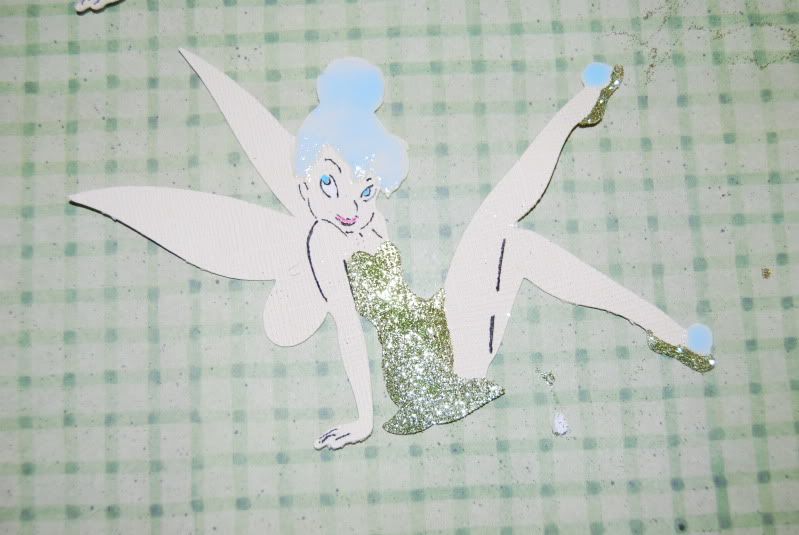
Again I started with a skin tone base layer and drew in the face and detail lines.  I started with the dress...covered the area in glue- then glittered.


At this point the dress and shoes had been glittered and I applied glue to the hair


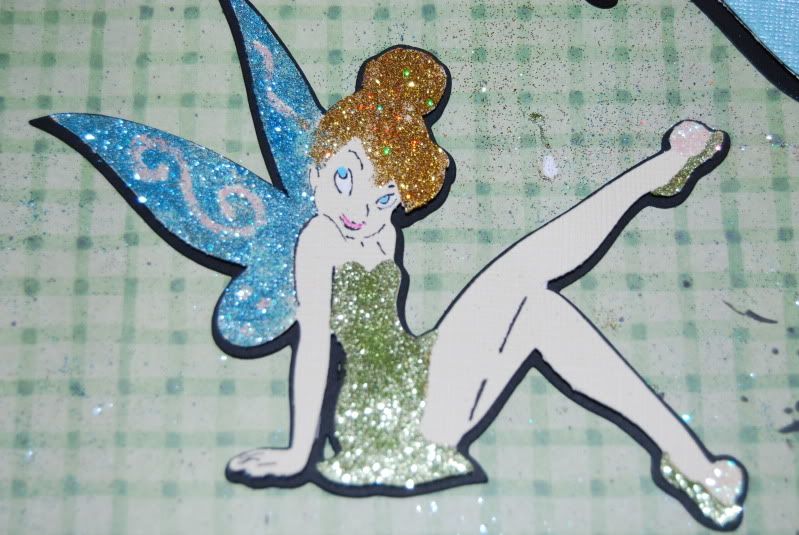
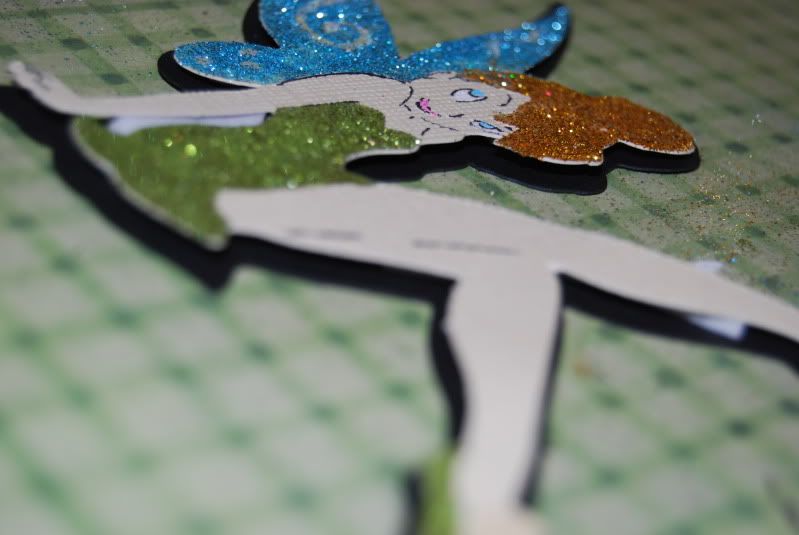
I glittered the hair, then the wings and shoes.In the end I also added a shaddow layer, but this tink is only two layers!  Can you believe it!


So, what do you think?  Which do you like better?


January 22, 2011

custom candy wrappers

I absolutely love working in photoshop.  I love taking photos and creating custom projects using those photos.  Recently, I had the privilage of photographing a friend's wedding.  I also created custome candy wrappers for that wedding.  I did do several previous posts on the wedding and the wrappers and favors, I'll link to those at the end of this post. 
I was asked by a person who attended that wedding to create some custom candy wrappers for her daughter's 16th birthday.  I did NOT take the photos but I did do all of the creating for the candy wrappers.  I thought I would share those here.


    Chelseasweet16photo2.jpg

January 21, 2011

where have I been?!?!?

I want to appoligize for being MIA lately.  Things have been a bit crazy here.  As you all know my family and I went to WDW this month which kept me away from my computer for about a week.  Well, after getting home, I had lasik surgery (one week ago).  Since the surgery I have been having a difficult time crafting and using the computer.  I am still healing, and spending too much time on either of these activities is really straining my eyes.  On top of that I also started back to school this week.  This is my 5th semester at a local college.  I generally take only one to two classes per semester, and hope to someday complete an RN program.  I have squzed in a few projects this week and I will be posting some of those later.  Thau for  support and continuing to visit!

January 13, 2011

Simple thank you card

A couple of neighbor girls were kind enough to turtle sit for us while we were at Disney World.  Last night I threw together a few simple thank you cards for the girls. 

Front


I used the Mickey and Friends cartridge for the shape, and created a shape card using my Gypsy.  I used a cuttle bug die for the phrases on the front.  On the inside I cut a couple of simple scalloped circles (nestabilities).


January 11, 2011

Its a very small start

As of when I am typing this (1-4-2011) this is all I have completed for the disney albums.  Over the last couple of days I have shown you some more detailed photos of a few of these embellishments.  I think I have a lot of work ahead of me when I return from Disney world.  I can't wait to get started on these albums.

January 9, 2011

Cinderella


I have previously written a little blurb about these elements so please be sure to check out that post by clicking here

January 7, 2011

More Mickey

Here is another quick element for the Disney albums when we get home.  As I am still pretty new to blogging I am actually very excited to share this and am looking forward to sharing how the album pulls together in the end!

January 5, 2011

M-I-C, see you real soon, K-E-Y, MOUSE


I've got a date with a mouse!  By the time you are reading this my family and I should be on a plane to WDW to see Mickey!  I have a few elements ready for my scrapbooks when I get home, but in reality, I have a  lot of work ahead of me.  I will be scrapping this trip in triplicate.  One album for each of my boys and one album for our family (IE FOR ME) to keep.  I am setting up a few auto posts for while I'm gone to keep you guys entertained.  Please be sure to leave some love!  See you real soon!

January 4, 2011

More organization


So, I shared with you guys earlier this week that I am in the process of reorganizing my craft room.  I wanted to share this with you because I am in love with this organization.  I don't know about you but I had a ton of small containers fulled with everything from glitter to brads to sequins.  I decided to try to get those a little more organized.  I purchased 8 of these containers at M's.  Seeing as I am very budget aware I purchased them all last week, one at a time, with the 50% off coupon.  Several days last week both my husband and I went to the store so I could use two coupons.  The containers were only about $9 each, but when buying so many the savings really adds up! Each container comes with 6 stacking units (5 containers in each stack).  I believe I ended up with 2 full containers of glitter, 2 with sequins, one with all of my i-rock gems, 2 with beads, and one with brads and eyelets.  I have to say it really is nice having all of those tiny things in one organized group!

Here are a few photos:


January 2, 2011

A craft room makeover

I feel very fortunate in that my husband has allowed me to take over a small room in our home to use for my crafting space.  That said, it is by far the smallest room in the house.  One of the best features in this room is the closet, which my husband has very kindly lined with shelves to help me maximize the space.  I had previously posted some photos of the room in my Messy Room Post.  I have never been very happy with the space, and have made it a priority to do something about that.  I am not quite done, but I have made some huge steps toward my goal.  I started by buying an additional table, putting up an extra shelf (which I already had), rearranging the furniture, and removing the chair and ottoman (left over from when the room was my nursery).

BEFORE
                 

AFTER


 BEFORE                                                                                                   
AFTER   


The new table


 BEFORE                                                                          

AFTER

AFTER


                      BEFORE                                                               


AFTER


January 1, 2011

Happy New Year

Thank you all of continually visiting my little blog!  I am looking forward to the new year and sharing lots of wonderful new projects with all of you!

Go to fullsize image
NOTE: THIS IS NOT MY PHOTO- I FOUND IT THANKS TO YAHOO