December 29, 2012

Have a Merry Mickey Christmas

 
I have to say I just love these ornaments. I made a few this fall for my family and a friend asked me to recreate them for her family. I made a couple of changes this time, and I think I love them even more- if that is possible. Anyway, I was asked if I could share the directions, so here they are.
To begin the process I drew a line all the way around a black glitter ornament with a metalic permanent marker. A small tupperware cup that I had was the perfect size for the ornaments I bought.
Next apply Mod Podge to the bottom of the ornament and add red glitter. Expect to make a giant glitter mess in this process, but it is well worth it!
Add ears- I used glitter balls that are for home decor but they worked perfectly. I used hot glue to attach then sprinkled around the balls with black glitter so that no hot glue would be showing.
Add buttons for Mickey and bows for Minnie!

The Minnie ornaments got one final touch- sequins around the middle.
To do the personalization I cut vinyl using my Cameo and a disney font.  As the ornament is covered in glitter, the vinyl wouldn't stick well, so I used mod podge to adhear the vinyl and then to seal them to the ornament!.
 
So there you have it, a whole family of personalized ornaments!


December 19, 2012

The week of PINK

It seems that I haven't posted many project lately. I have been focused on school and have just completed my first semester of nursing school. I have been doing monthly posts for Connie Crystal this fall but as my time is extremely limited I havent' been posting all of my projects here. So, today I wanted to share a few projects that I have been working on. It seems my color of the week for crafting is PINK. I have made three projects in the last three days that were all pink :) Uploaded from the Photobucket Android App While the projects were all for seperate purposes it seems they were following a theme. The two bags were created for a friend's daughters. She asked me to make them and personalize theme and she will be giving them to her girls for Christmas. I have actually made several of these bags and am thinking I may start selling them on ETSY as everyone seems to love them- I would love to hear what you think of that- Leave me a comment with your opinion :) Uploaded from the Photobucket Android App I made a grand total of 4 of these wreaths! I used them as gifts for some friends and kept one for myself! I think I will be leaving it up in my craft room all year long. Uploaded from the Photobucket Android App Uploaded from the Photobucket Android App Last but certainly not least is the PINK scarf that I made. This was my very first crochet project ever and I think it turning out to be even better than I could have imagined. My good friend Janice from Craft Place was kind enough to give me personal lessons on how to create this beautiful project! THANKS JANICE!!! Uploaded from the Photobucket Android App

November 17, 2012

Connie Crystal and Tombow Cross Promotion


Thanks for stopping by today to see another great card made using Connie Crysta and Tombow products.  The card was created for a friend's anniversary and is simple yet elegant.


I began by picking out some papers from DCWV (Linen closet stacks), Tombow colored pencils, tombow adhesive, CTMH stamps and Connie Crystal.  I also used a bit of ribbon to pull it all together. 

I began by stamping my image onto white cardstock.


Then colored the image with Tombow colored pencils and mounted it onto colored cardstock.  In the end I didn't like the blue cardstock with the image and replaced it with pink.


After coloring the image I topped it with glossy accents and sprinkled some glitter into the glossy accents.  When dry this creates something similar to an epoxy on the top of the image. 


The next thing I needed to do, was make some charms out of my Connie Crystals using a few headpins. 

The charms were then added to some satin ribbon and would later be added to the card.

The sentiment was stamped onto Organza ribbon with StazOn ink to prevent smearing. 

The final step is simple assembly.  I hope you enjoyed this beautiful and elegant card as much as I enjoyed creating it! 

Supply List:
Connie Crystal assorted crystals available on Amazon.com
Tombow Irojiten Color Dictionary Pencils
Tombow Mono multi liqid adhesive
DCWV linen closet papers
Stamps from Close to My Heart
Assorted ribbon (satin and organza)

November 16, 2012

Fishing you a Merry Christmas with Connie Crystal and GlobeCraft


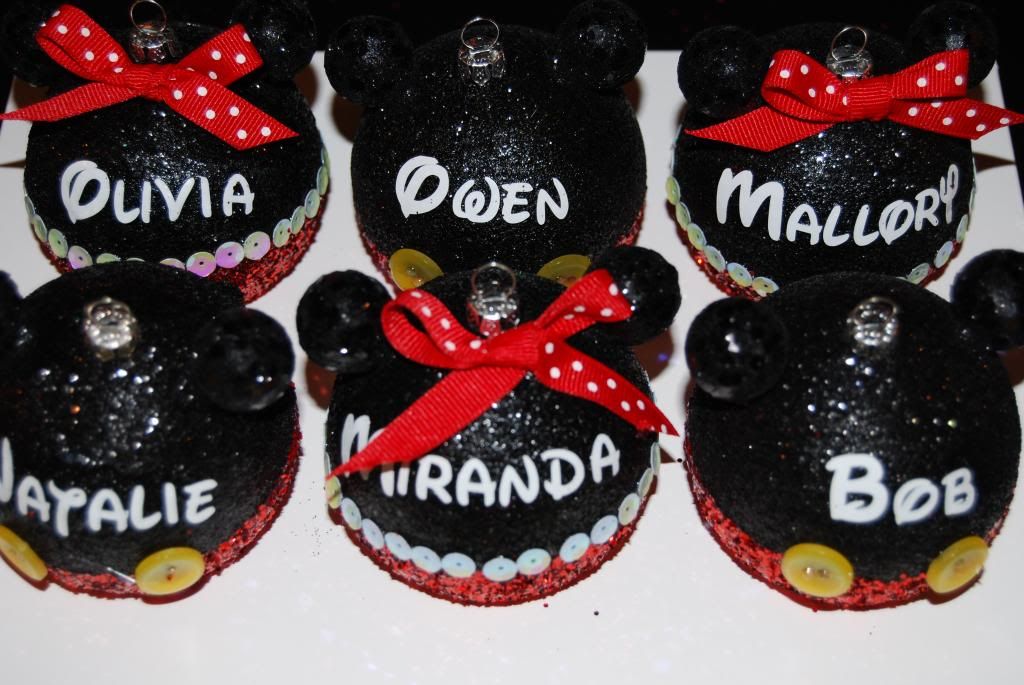
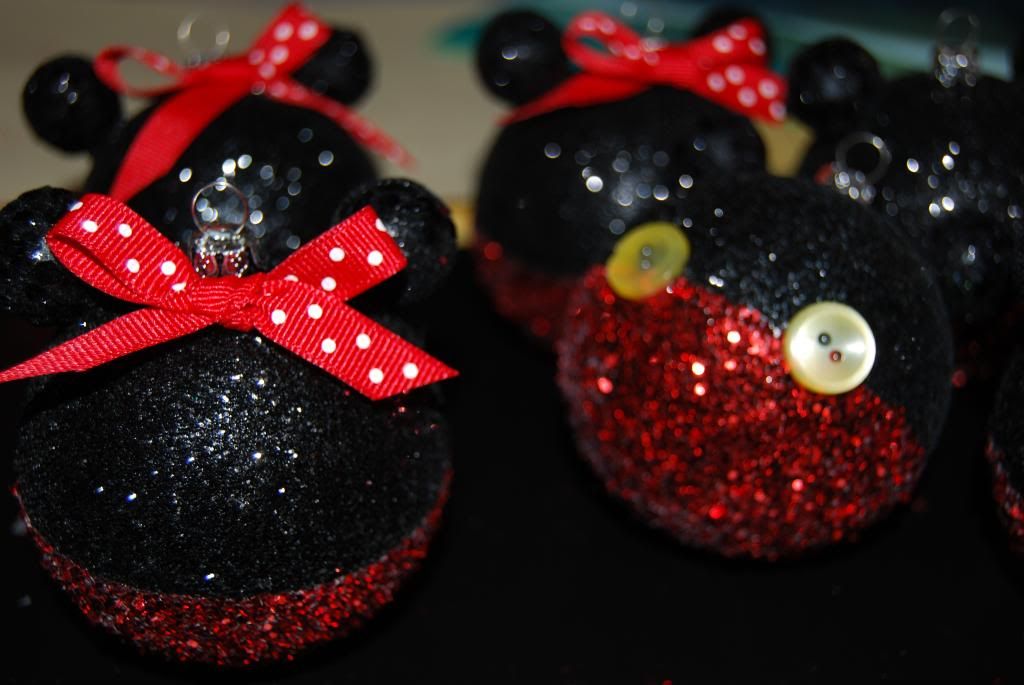
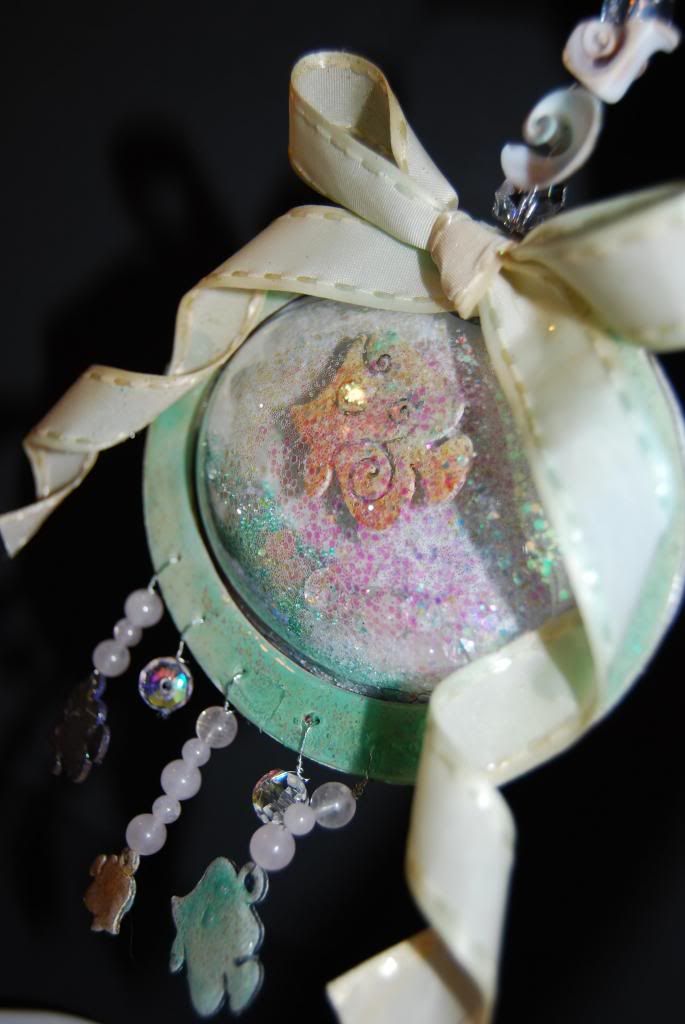
I am so excited for the start of the holiday season.  I really love decorating for the holidays and look forward to the day after Thanksgiving when my husband, Brian, gives in and gets the Christmas tree out for me.  I'm excited to share with you my first hand made ornament of the season.  This dimensional shaker ornament is sure to be a hit with my boys this year when it gets added to the tree. 
 
To create the ornament I used a variety of products from Connie Crystal and Globecraft Memories.   I began with the Fabulous Fish Necklace set from Globecraft and one of their ornament kits, added some sparkle and bling from Connie Crystal and ended up with a pretty cool ornament. 
 
I began by using some pigment ink to color the frames and the fishies white before applying the colors. For darker colors (like the navy blue I used) this step wasn't needed, but for the lighter colors this really helped to make those colors more vibrant.
 
 
Then I added some color to the fishies using some glimmer mists and other such products that I had in my stash.  Getting messy is always part of the fun and by the look of my craft space, you can see I was surely having a lot of fun with this project.  After the glmmer dried I used Glasstique Gloss Finishing Glaze from Globecraft to finish off the fish.  I did the same thing with the frames beginning with a glimmer product, and finishing with the Glasstique Gloss. 
 
To create a backing for my ornament (I did not want to make it clear all the way through, but rather wanted a true front).  I traced the frame onto the back of a sheet of cardstock that I had embossed.  Then I trimmed the cardstock to ensure that I had an exact fit for the back of my ornament.  Oh and of course I used some glitter spray to add a bit of sparkle to the embossed cardstock. 

 
A fish was added to my ornament backing using a popdot.
 
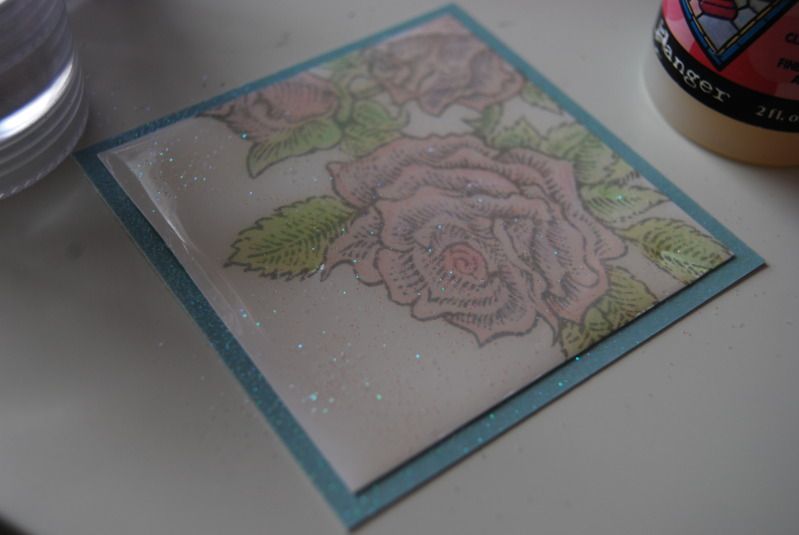
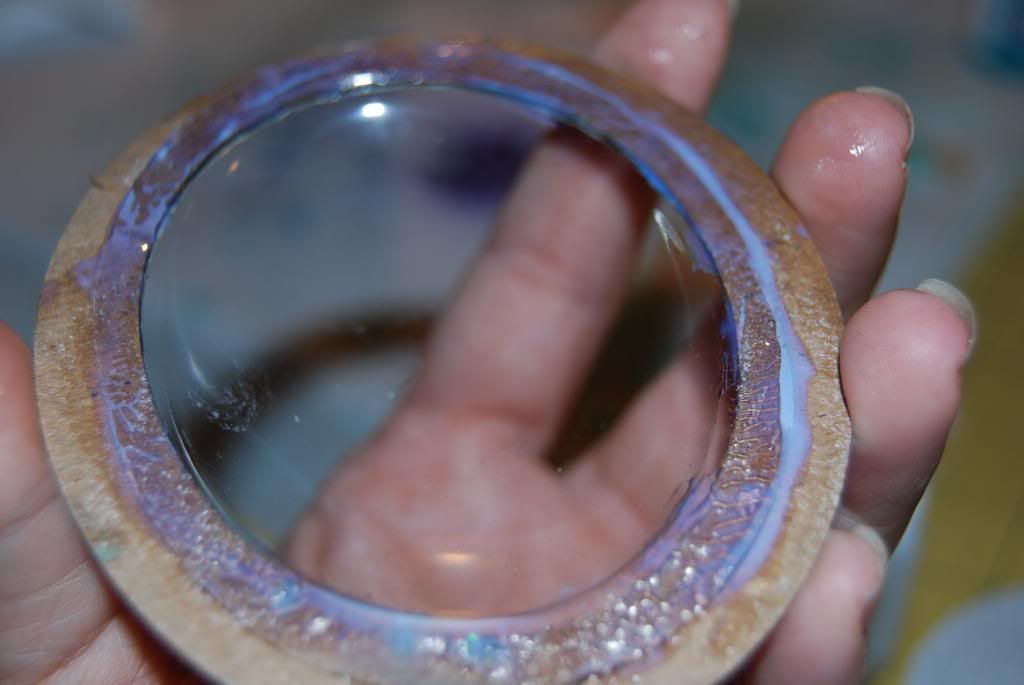
A layer of Glasstique gloss was added to the frame to secure the bubble for the front of the ornament.

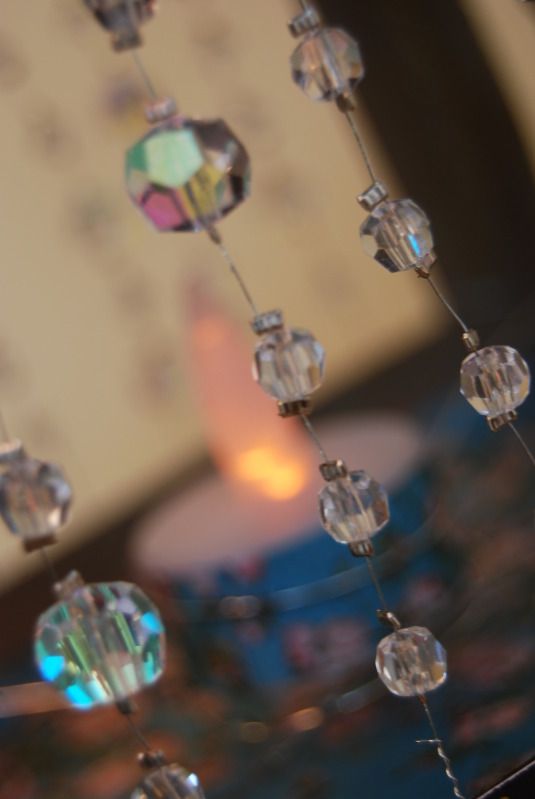
Inside the bubble I added clear and teal microbeads.  Seaglass beads from Connie Crystal, crystals from Connie Crystal, and some glitter.  I then adheared the back of the ornament with some more Glasstique and secure all of the layers with clothes pins until it was fully dry- this took about 24 hours. 


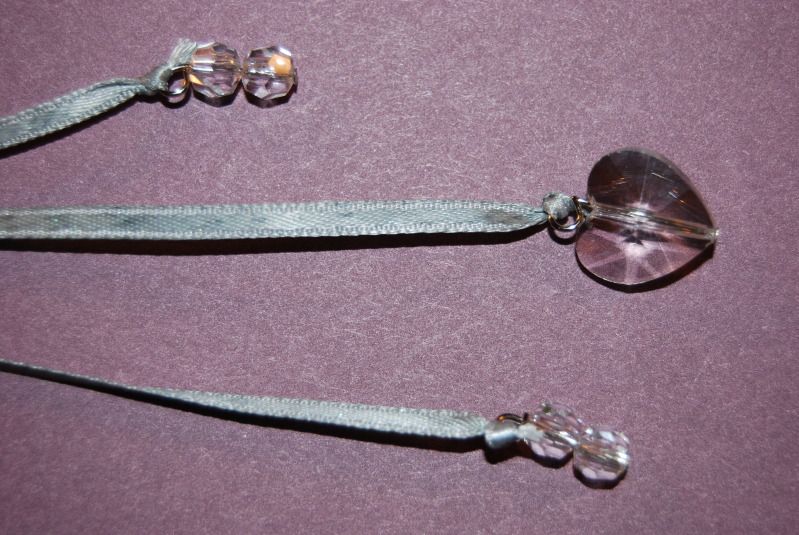
While the ornament was trying I worked on a few other elements of the ornament.  I had hoped to find the perfect color of ribbon for the project in my stash but came up empty handed.  So I used the glimmer products to add tints of teal and orange to some cream ribbon I had.  While the ribbon was still wet I wrapped it around a dowel rod and dried with my heat gun to give the ribbon some curls. 


November 1, 2012


I am so excited to be joining the team sparkle!  Today, for my first post as an official member of the Connie Crystal Design team, I wanted to share a project that truly sparkles!  For those of you who may not have notices, it was announced in August that I would be joining the Connie Crystal Design Team.  If you would like to know a little more about me or my background you can check out my full profile on the design team page http://ccsparkle.com/sample-page/ 


I will admit I am a huge fan of all things Disney- especially the princesses.  However, as a grown woman and the mother of two little boys I don't get to include that love in very many of my projects.  Each time we go to Disney I have photos taken with the princesses, but they never seem to make it into our scrapbooks.  This mini album is going to be the perfect place for all of those princess photos! 

The album is a chipboard album sold by Close to My Heart and the shapes match up perfectly with cuts on the Cricut Artiste cartridge.  All of the Cricut cuts in this project are from the Artiste cartridge (crown, flowers, phrase, page shapes) The paper used in this project is from EK success and is a Disney Princess paper pack. 

I wanted to add lots and lots of bling to this album.  From the glittered flowers and crown to the oh so sparkly crystals every element of this project was about bling. The crystals and beads were stung on wire or head pins so that they could be attached to a bit of chain. 


For dimensional elements, I really like to use double sided paper, but as the paper I wanted to use wasn't double sided I glittered the back of the paper to give sparkle to the underside of the flowers.  To accomplish this, spray the back of the flowers with a spray adhesive the add glitter.  After glittering apply a spray sealer to keep the glitter where it belongs. 


As you can see the glitter on the back of the flowers adds a bit of sparkle without taking away from the subtle patterns on the front of the flowers. The crown was glittered using the same spray glue glitter process that I used on the flowers.  ad the crown was not designed with a shadow I simply cut it twice -once in black and off set the layers to create a shadow effect. 


Thank you so much for stopping by to see my project! 

October 14, 2012

Stunning Charms with Connie Crystal


Need a quick and lovely gift idea?  Here is the perfect gift- a charm that can be used as a cell phone charm, key charm, stylus charm, on an ID badge, a purse charm...oh the potential is just limitless. To create the charms I simply strug the crystals on beading wire and finished off the ends with a crimp bead.  The three strings of beads were then added to a simple "cell phone charm" so that they can be attached to just about anything.  To finish off the gifts I recycled some jewelry boxes that I had lying around and covered the boxes with paper that coordinates with the crystals and beads and added a monogram to each box. 


I made 4 of these little beauties as gifts for some crafty friends. 


October 12, 2012

OK, guys, I know some of you many have seen this, but I have been so busy with school that I am just seeing it today & wanted to share.  I was a guest designer on the G45 blog on Monday (I didn't know what date it would go up).  Just wanted to share as I'm pretty excited about it!
Graphic 45 Blog

October 1, 2012

Graphic 45 and Connie Crystal


Hello!  I am so pleased to be a guest designer for Graphic 45 today.  Graphic 45 and Connie Crystal are a perfect, elegent combination.  Today I want to share a fun combinations of pary favors and decor.  To begin I want to share the take out boxes. 


The box was made using a simple die cut  ( I used Cricut cuts, but there are lots of others on the market) and then embelished with lace, Connie Crystal- crystals and beads, and chipboard elements from Graphic 45. 


While the take out boxes were quite simple the lantern is a bit more intricate.  I used some computer based software and a di-cutting machine to design the lantern from the ground up.  The design incorporates cherry blossom flowers and the openings are stung with Connie Crystal.  If anyone reading this is user of SVG files I would be happy to share the cut file. 


Each flower features a crystal and gold glitter in the center. 


And of course as this is a lantern, there is a battery operated candle inside that gives the whole lanterna a special glow. 
Untitled

SUPPLY LIST:
Graphic 45 Song Bird papers
Connie Crystal  crystals in assorted sizes
Liquid Glass Adhesive (From Close to My Heart)
Beading wire
Crimp Beads
Gold Glitter