June 30, 2011

Denton TX scrapbook Retreat


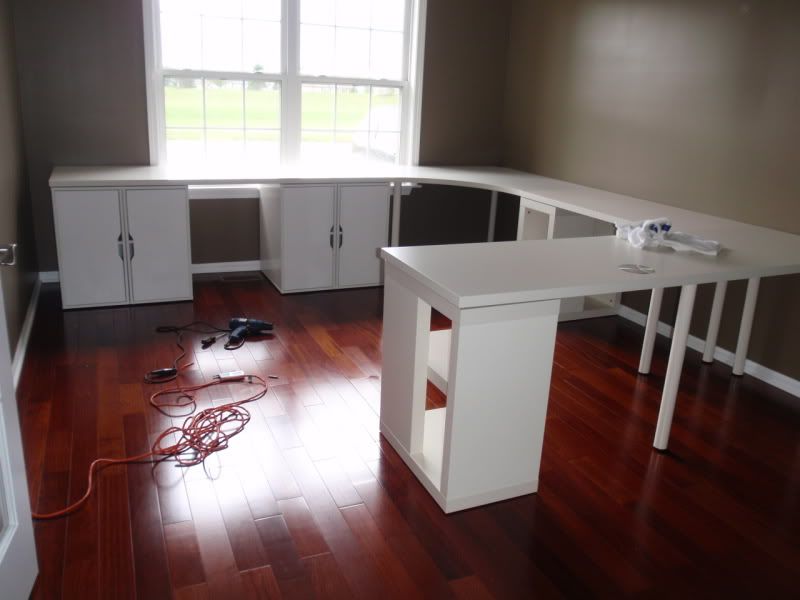
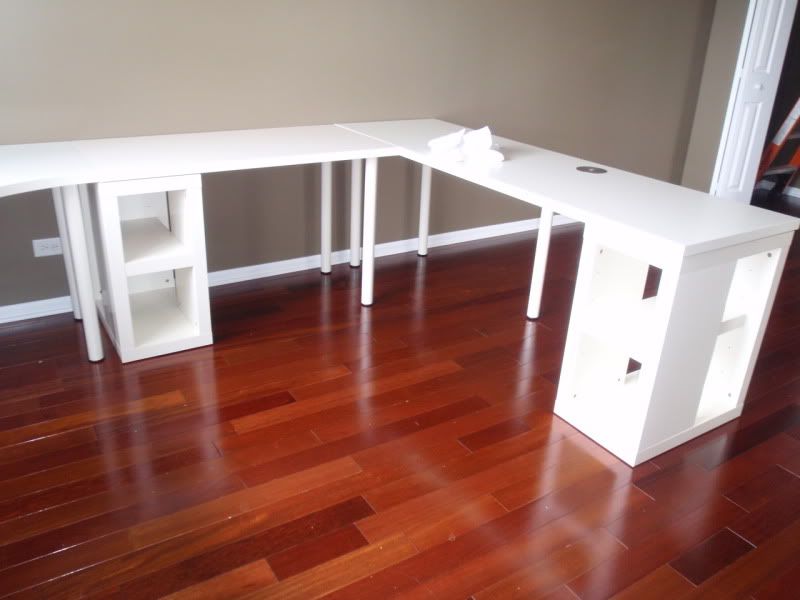
As I mentioned the other day, I attended a scrapbook retreat at Elm Street Crafters Retreat in Denton, TX last weekend.  I had such a wonderful time while I was there, and can't wait to do it again.  The craft cottage is perfect for a scrapbook retreat with 5 bedrooms and two bathrooms.  Each room has 2 beds and the cottage holds 10 crafters.  As you can see from the images above each crafter gets their own work space and the cottage provides some scrapping tools including a Cricut Expression, Baby bug, E2, cuttle bug, lots of cartridges, dies, punches, a computer with printer, and free wifi!  What more could a crafter ask for? 
Penni, the owner was so sweet.  She stopped by at least everyother day to check on our group and make sure that we had everything we could imagine!  Meals were brought in to us twice a day allowing our to focus on what we were there for...Scrapping and a bit of drinking!

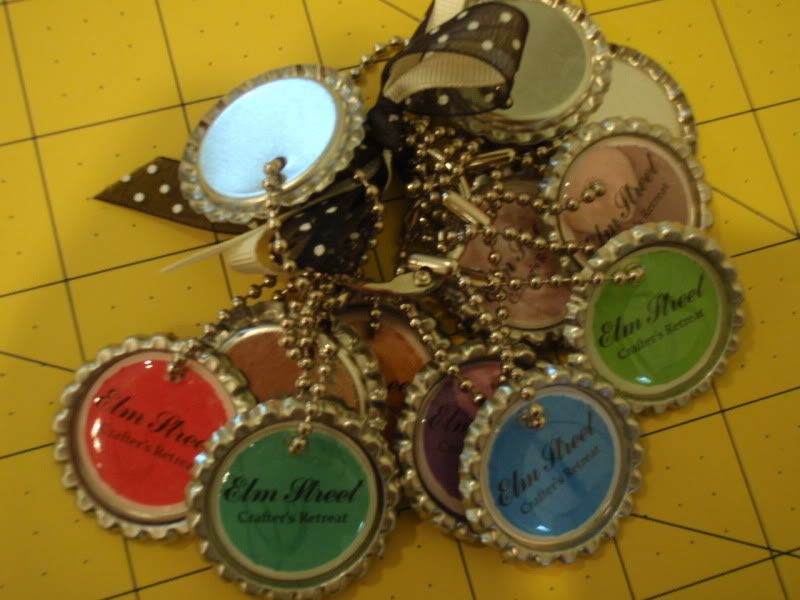
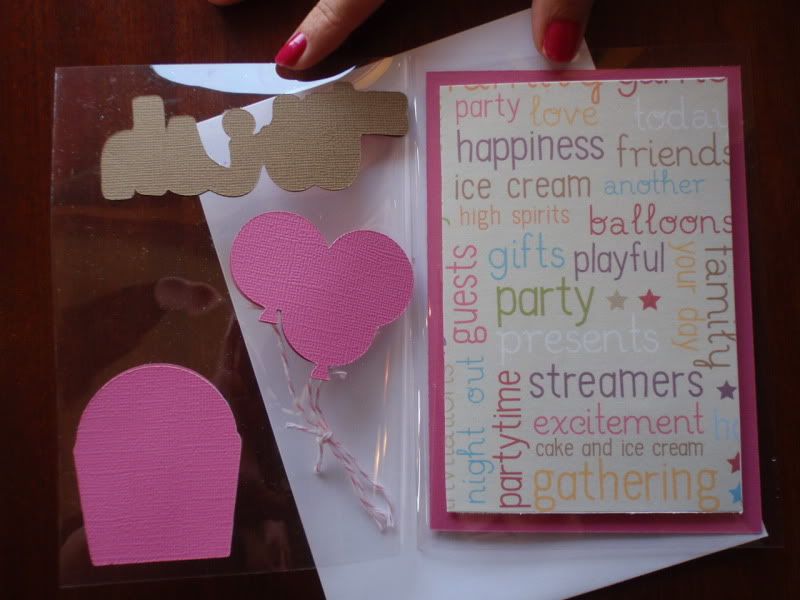
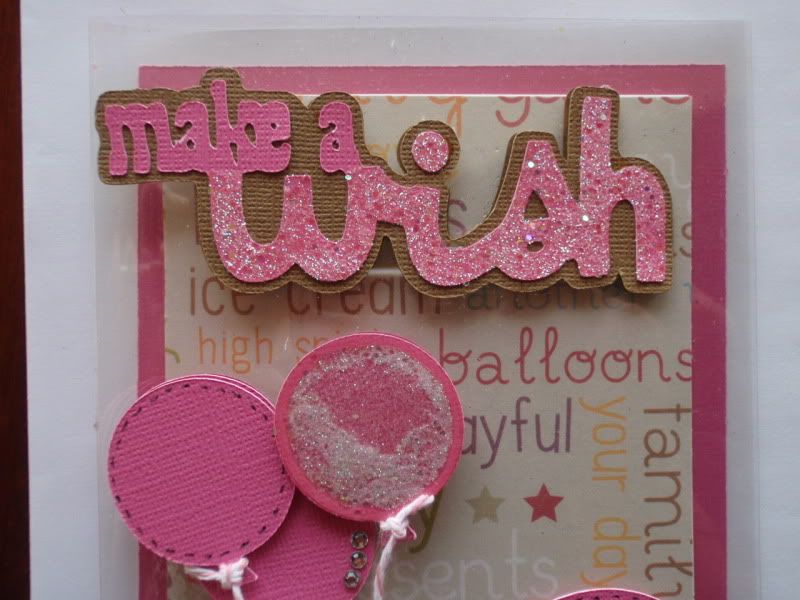
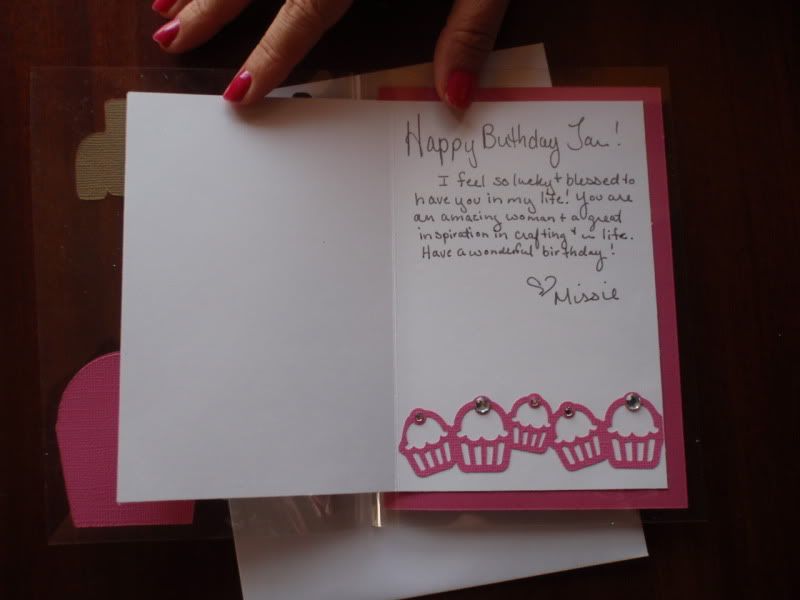
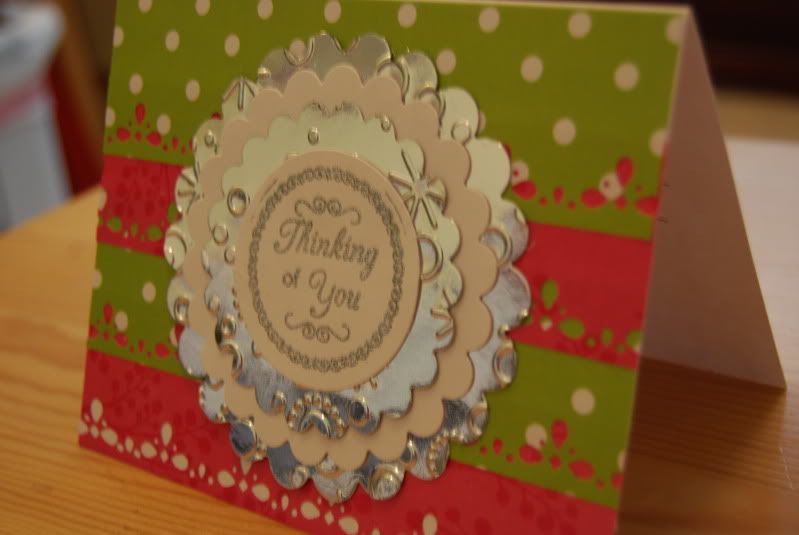
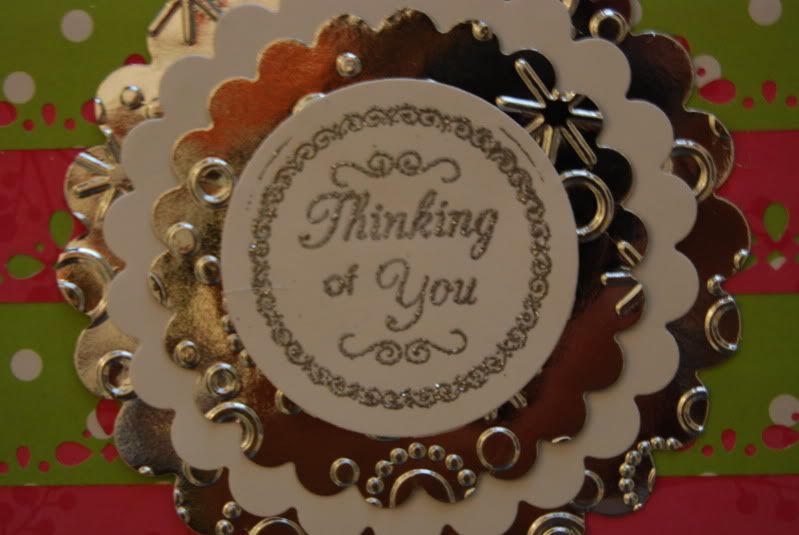
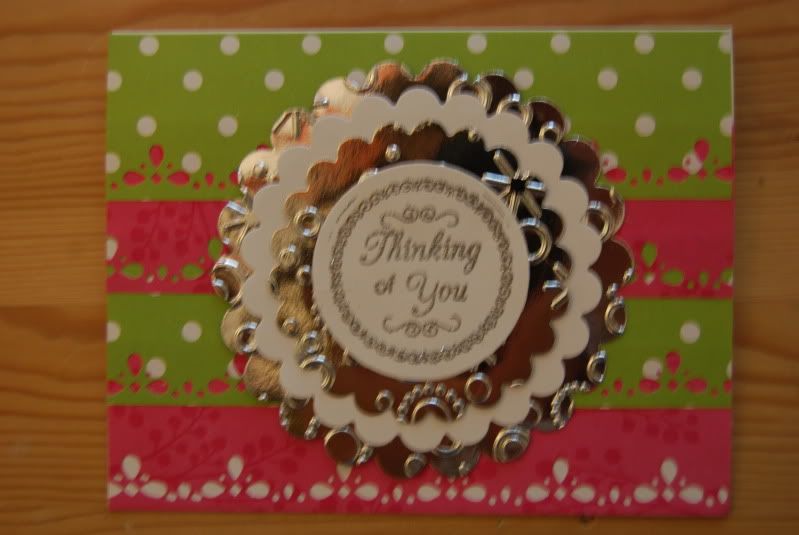
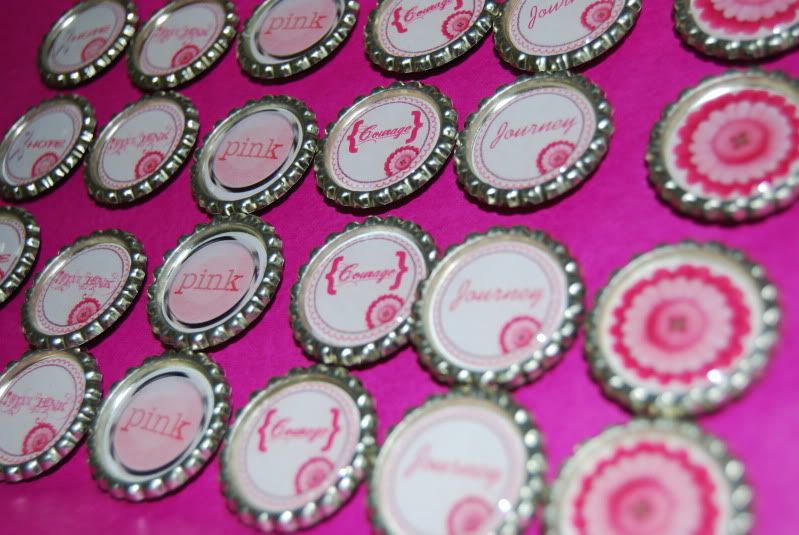
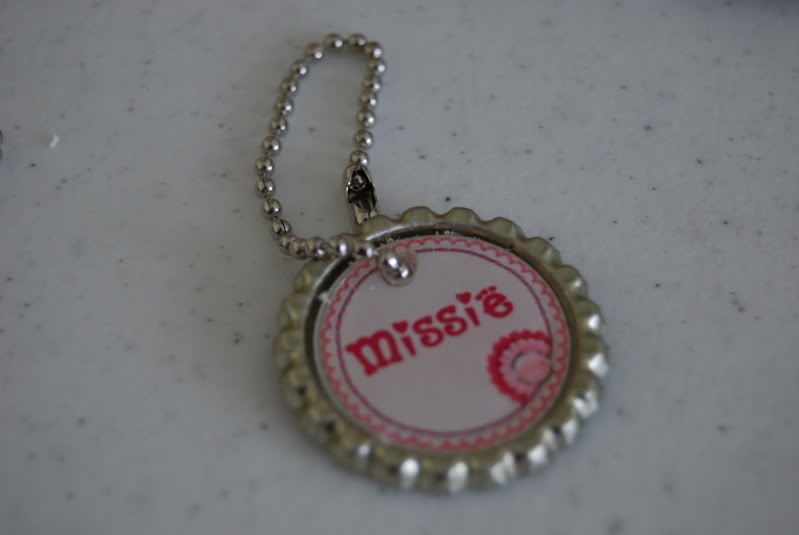
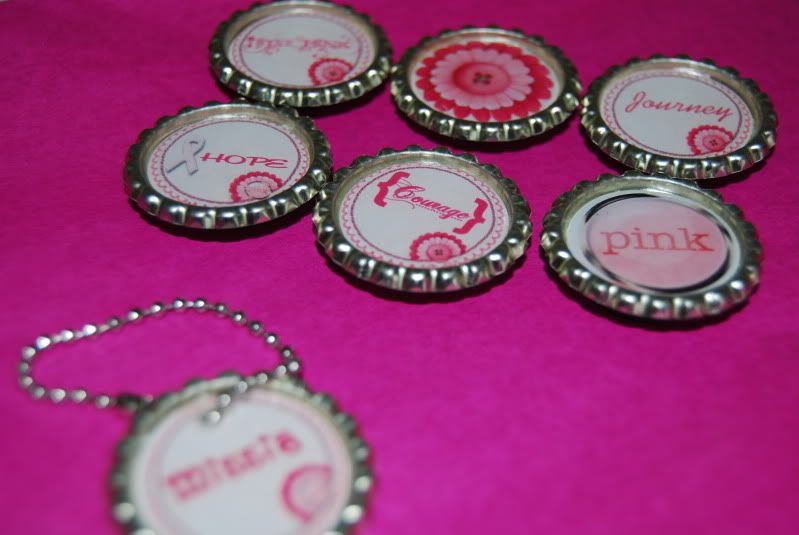
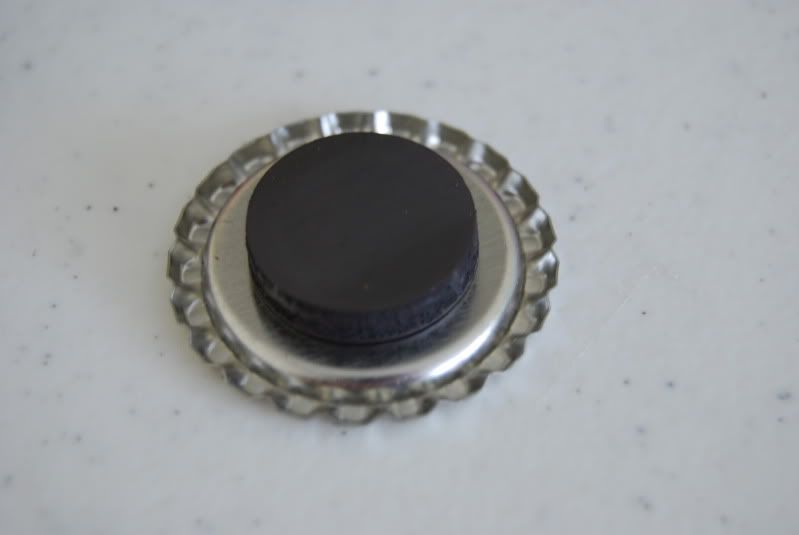
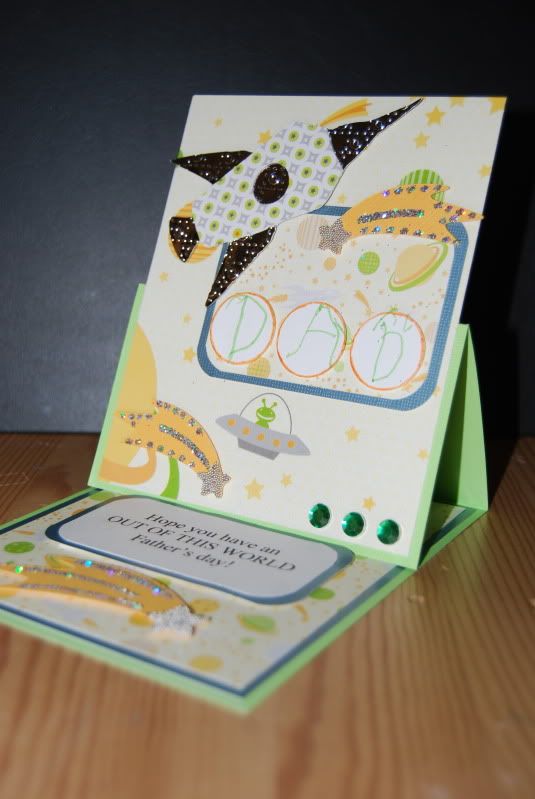
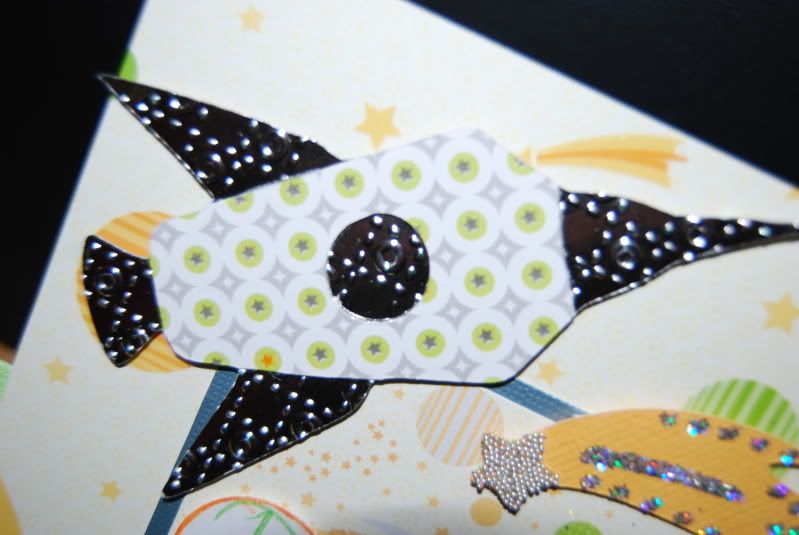
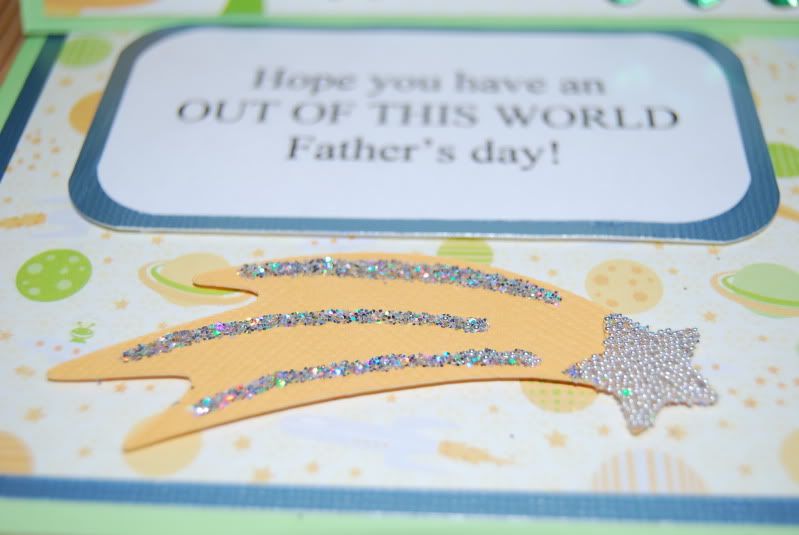
I am very proud of my productivity while I was in Denton.  I was able to complete 20 scrapbook pages, start my magnets and calling cards for the Ohio Circle Swarm, make a few cards, create wine charms to leave behind at the retreat center as a thank you to Penni, and I got a lot of girl time in while I was there! 


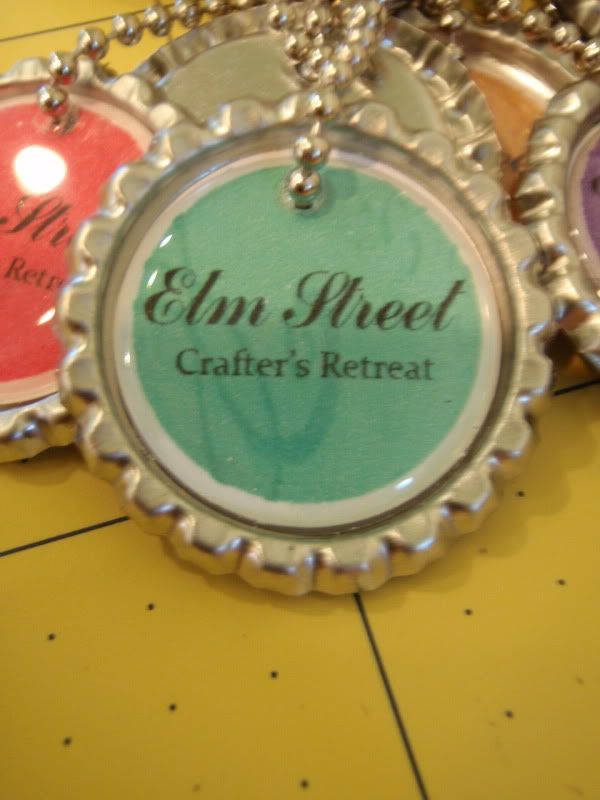
These are the wine charms that I made to leave behind at the retreat.  I made a set of 12, and I just happened to have all the items I needed to make them with me, with the exception of the ribbon I borrowed from Jill Cooper!


June 27, 2011

I am in Denton, TX this weekend at a wonderful Retreat.  And one of the lovely ladies in our group Crystal Kovach over at Creations by Crystal took some time out today to share some photos on her blog.  She was generous enough to allow me to repost her blog posting her, but please be sure to Check out her blog


THE DENTON DOLLS, By Crystal Kovach

SUCH a fabulous scrapping retreat!  Granted---the temperature is a little different than Minnesota, but I can't wait for the next trip to Elm Street Crafter's Retreat.  The owner of what we've been calling a cozy cottage is the very generous and funny Penni Abbott.  Despite winning the trip while at the Texas Stampede, Penni treated our group like we'd paid top dollar.  Here are some pics of some of our fun.


June 24, 2011

Wall decor for a friends

My friend's birday was early this week, and as she is a huge fan of mermaids I made this sign for her craft room.  I used the Life's a Beach Cartridge for the Mermaid and the fish.  For the bubbles I welded circles using my gypsy and the cake basics cartridge.  As I do not own George and basic shapes the cake cart is my go to for simple shapes.  Then phrase was cut using the cake basics cartridge as well.  The lettering was cut from vinyl and placed on the outside of the frame.


June 23, 2011

Birthday Card

I'm super excited to share my first transparent card with you.  I made this for a friend for her birthday which was yesterday.  I found the acetate a bit tricky to use because you can see where all of the adhesive is.  So, to hide the glue I used my gypsy to cut a a mirror image of every cut on the front.  I hope you like it!

Here is the front of the card, sorry it is such a bad picture.  I neglected to take a photo until after I gave it to my friend. 


Inside


Cupcake on front


Balloons on front


Phrase on front


Slightly better front image


Inside

June 22, 2011

very busy lately

Hello all!  I just wanted to stop by to give you all an update on one of my many projects for this summer.  As many of you know my family and I are moving soon.  Today I got to START putting my new craft room together.  It is really only just the start, but I thought I would share some pictures with all of you.  All of the tables and cabinets were purchased at IKEA and go with the pieces I already own.  I still have 2 more tables and a cube unit to add, plus organizers for the closets.  I will share more pictures as I make progress.  In the mean time here is the start.  Oh, and this is quite a change from my current space (you can see my current space here), so if you have any suggestions I would love to hear them.


June 20, 2011

Ian's 3rd Birthday Cake

Hello all!  I know it has been a few days since I last checked in here, but I wanted to share a quick project with you tonight!  This past weekend was my son's 3rd birthday!  As my hubby was out of town, fishing with his dad, we are having his b-day party tomorrow night.  We don't really do big parties with lots of guests, just small family gatherings.  When I asked Ian what he wanted to do for his birthday he said Chuck E Cheese.  When I asked what he wanted on his cake he said Lightning McQueen. 

So, tonight I set out to make that cake for him.  It turned to be a lesson in my patience!  It took over 4.5 hours to get just a few usable cuts out of my Cricut Cake.  I was so frustrated.  The cuts on the Disney Cartridges are so detailed it was nearly impossible to cut it out of fondunt.  In the end I got a few good layers, and then had to draw in the rest.  I'm not very happy with the results, but I know that Ian will like it! 

So, if you have any great tips on how to do better the next time I try this, please be sure to let me know.

June 15, 2011

Thinking of you Card

Just a not to let a friend know that I am thinking of her.  It really isn't a very detailed card, but I was quite happy with the way it turned out.


June 14, 2011

Yet another decal

Checking in today with yet another car decal project.  This one was specifcally requested by a friend who loves all things computers.  I used photoshop, SCAL2, and my cricut for the design portion.  It was cut from permenant vinyl in both black and white, as requested.


June 13, 2011

Fishing you a Happy Father's Day

This past weekend while surfing my normal blogs I came across the cutest card over at SweetSassyDiva's blog.  The blog has guest designers and on Sunday Jen from My Mental Instability posted some amazing Father's Day projects.  This one in particular caught my eye:

Isn't it just beautiful!  Well, I set off to ask a lot of questions.  Unfortunately, this wasn't created using the cricut so there was no easy way to reproduce the project.  I spent most of Sunday afternoon with my Gypsy trying my darndest to come up with similar cuts, but had no luck.  So I started from scratch in the hope of creating something similar.  While it isn't exactly the same I am quite pleased with how my project turned out.


To create the card base I used a variety of shapes from the Cake Basics Cartridge.  As I do not have George and Basic Shapes this is my go to cart when I need something pretty simple.  I had to hide some contours but I was able to achieve what I was looking to do. 


I also used my Gypsy to create the pockets.  Each pocket has flaps on three sides that I scored to allow the pocket to have items inserted. 


The worm in the upper left pocket is from the Sesame Street Friends Cartridge


The map in the upper right pocket was simply a scrap of blue paper that I accordian folded and used a bit of ink to muck up, I hand wrote the word map.


For the bobbers I used the Christmas Cheer cartridge and cut out some ornaments.  I cut them in both red and white and hand trimmed the red to get a stripe from it.  I added a bit of bakers twine to add some depth. And the buttons were from my stash (I cut them off of old shirts that are too bad to donate before tossing them)


For the hook I used some wire from my stash and attached some fishing line.  I poked holes in the pocket and pushed the wire through then formed it into a hook. 


I repeated the hook on the inside of the card- the phrase was printed from my computer


June 12, 2011

Package of the week 6-6-2011

As most of you know I have made it a personal goal to send a card or a package every week to a friend who has breast cancer.  This week I actually sent two packages.  One as part of my goal and a second as a RAK to another circut circle gal who has also battled breast cancer.  I hope both ladies enjoy their packages this week.


I made six different bottle caps in a breast cancer theme.  I started in photoshop with a digital scrapbook kit I downloaded From Two Peas in a Bucket.  This is a great site that has many wonderful digital kits including a lot of freebies.  This particular kit is a free download.  So, I sized my items to be less than a 1 inch circle.  Printed them on glossy paper, and cut them out using a circle punch.  I attached them to the flattened bottle caps, and the put epoxy over the top to protect the print outs.  Because the magnets freely stuck to the backs for the bottle caps without adhesive I choose to not add adhesive so that the caps can be used as magnets or they can be used as scrapbook accents, or whatever.  To each of these I added a magnet to the back but I also made an additional personalized bottle cap for each of the ladies that I put on a ball chain to be used as a charm or desired. 


Each of the ladies will receive a full set of the magnets plus a personalized charm (mine is pictured above)


This morning while checking out some of the blogs I follow I found something really fun over at Scrapin with my cricut.  They are hosting a Father's day link up party!  The basic idea is that they are hosting links to blogs with great Father's day projects!  I love the idea because you can find a lot of great ideas all in one place.  I am going to post a link to my Father's day card that I posted earlier in the week.  Be sure to hop over the Scrappin with my cricut to check out all the wonderful projects!


June 11, 2011

Weekly Challenge- Father's day Sketch Card

Every week the Cricut Circle sponsors a challenge on their blog.  It is meant to encourage you to try new things and inspire crafting.  This week's challenge is as follows:

Weekly Challenge #34: Father’s Day Card Sketch Challenge!

The Challenge: Get a headstart on Father’s Day and create a greeting card using the sketch provided below. Have fun!
Rules and Guidelines: Circle Blog Challenges are open to Cricut Circle Members only. Your project must be newly created for this challenge and include atleast 2 Cricut Image Cuts. You must submit a project to be entered into the Challenge Prize Drawing. One entry per person, please.
How to Enter: Submit your entry using the InLinkz tool found at the bottom of this post. Please post your full name along with your entry. Entries are due by 9:00 pm MST on Thursday, June 23rd, 2011.
Prize: This week the winner may choose to have $25 added to their Cricut.com. Please allow 4 to 6 weeks for delivery from winner announcement.
Winner: The winner will be selected randomly from qualifying entries using www.random.org and will be announced on the Cricut Circle Blog on Friday, June 24th, 2011.


I do not always participate in the challenges, but as I needed to create a few Father's day cards I thought I would give this one a try.  This card is for my son Blake to give to his dad.  I enlisted his help to write the letters D A D on the circles for the front of the card.  He also got to use my 1 inch circle punch to cut the circles out of white cardstock.


I used DCWV paper from the all about boys stack for the fun backgrounds.  The Rocket and shooting stars were cut using my cricut and the Everyday Paperdolls cartridge.   I cut the rocket out twice once in silver (which I embossed with my Cuttlebug) and once from a patterned cardstock.  To add some depth to the shooting stars I applied some glitter and microbeads to the cut.