
First, I want to say that I purchased the rhinestones, template materials, and transfer sheets from craftvinyl.com It is one of a few retailers that I use for my vinyl supplies and a great source for bulk heat transfer rhinestones.
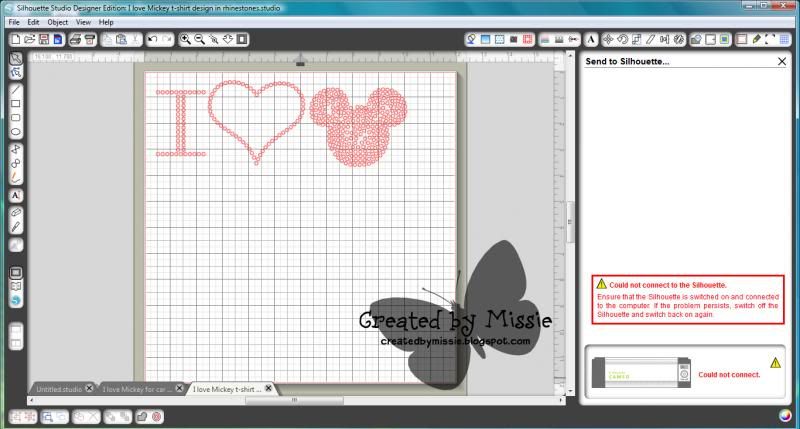
To begin I designed the template in Silhouette design studio. You need the designer edition to create the templates.

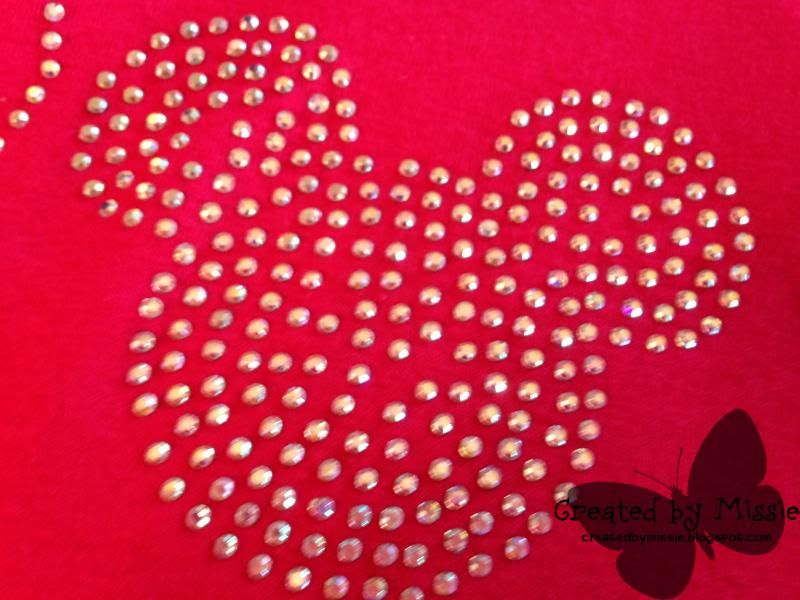
I then cut the template material (double cut, depth of 8 on the blade) and then backed the template with chipboard. You can also use foam core board, but I didn't have any on hand and this worked just as well. I will be saving the template for future use.
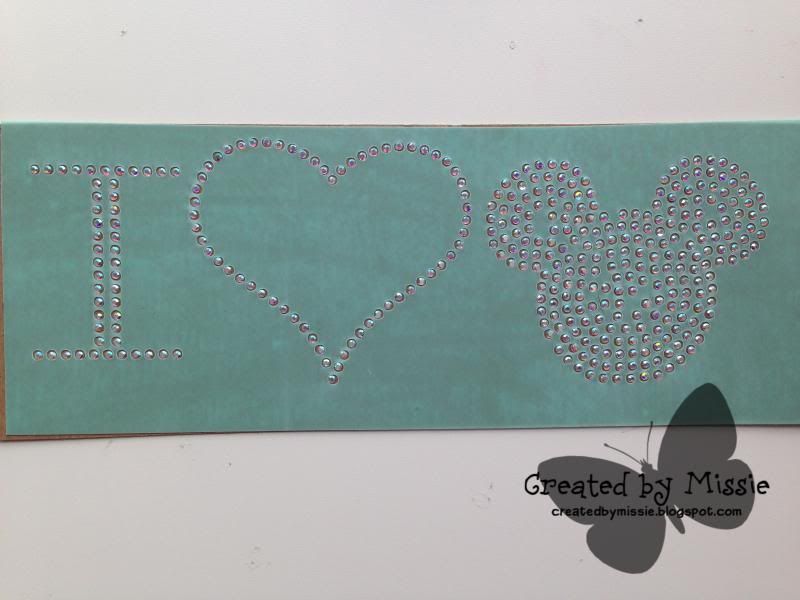
Then fill the template with the rhinestones. I made a short video on how I filled the template. The video leaves a little to be desired, but shows my intentions.
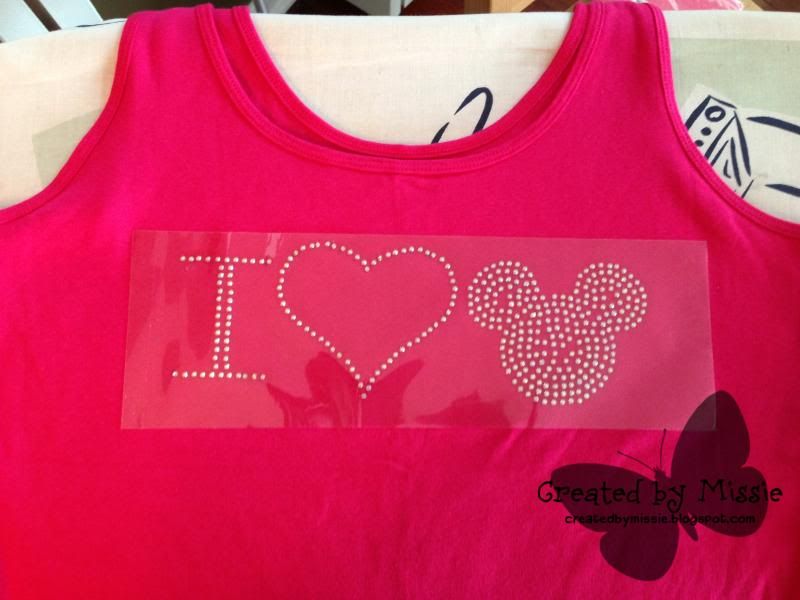
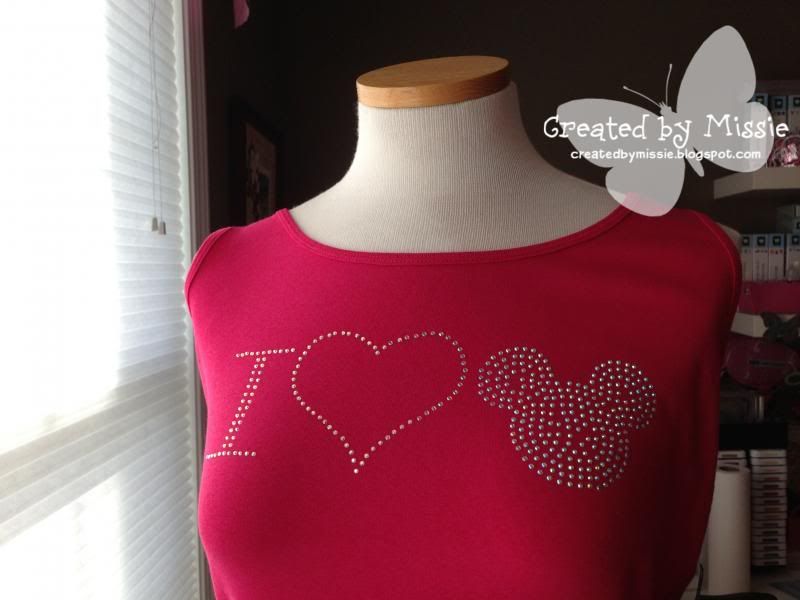
Use heat transfer tape to transfer the rhinestones from the template to the shirt. I used my iron to transfer the stones to the shirt- use the hottest setting, no steam and be sure to press for at least 30 seconds on each portion of the design. I use a pressing cloth or teflon between the iron and the transfer tape.

This looks great Missie! I haven't tried rhinestones with my Cameo yet, but now I want to give it a try! Thanks for this post! Have a great time at Disney!
ReplyDeleteKaren ( a follower from the Cricut message boards, also a Cameo user now too:) )
This is an awesome design!
ReplyDeleteThis is exactly what I call creativity.
Good job!