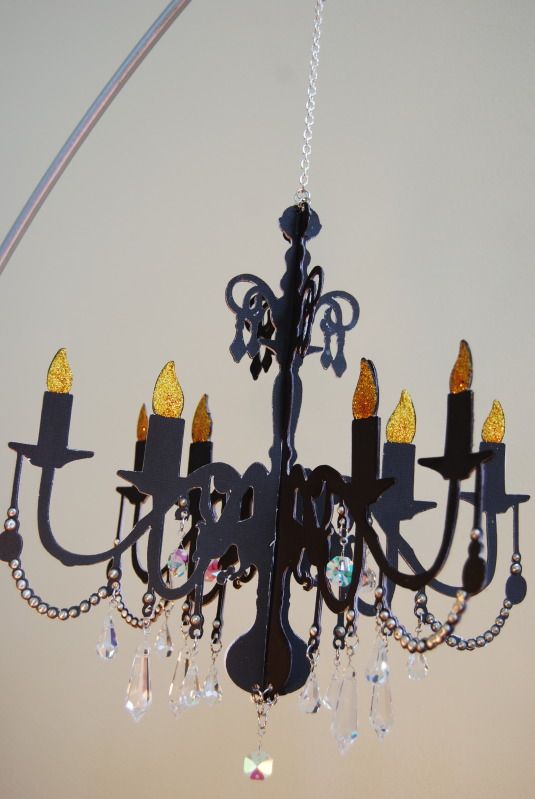
For the longest time I have been wanting to make this chandelier from the Summer in Paris Cricut Cartridge. I just couldn't find quite the right embellishments to make it shine in the way I wanted it too. Then a few weeks ago at CHA in Chicago I was introduced to Connie Crystal and it hit me- this was exactly what I need to make the project sparkle. So this week I got to work creating this fun paper chandelier. I want to use it as part of my Halloween decor, but I can really see so many uses for it (cute photo prop, princess party, craft room decor). So, don't be surprised if you see it in the background of my future photos!
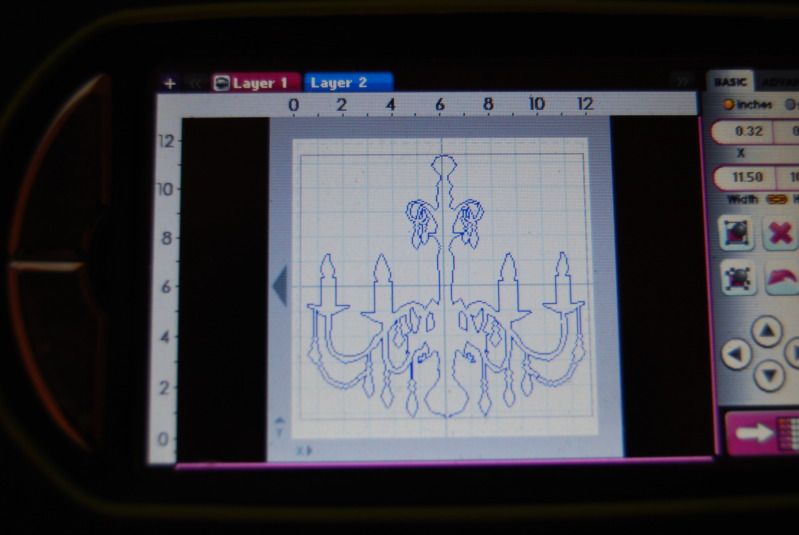
To get started I set up the cuts on my gypsy so that they were as large as possible on a 12 x 12 mat. If you don't have a gypsy you could easily just use the fit to page feature. There are really only two pieces needed, but because I wanted it to support the weight of the crystals I cut 4 of each piece then glued them together using Scott's Quick Dry Glue.
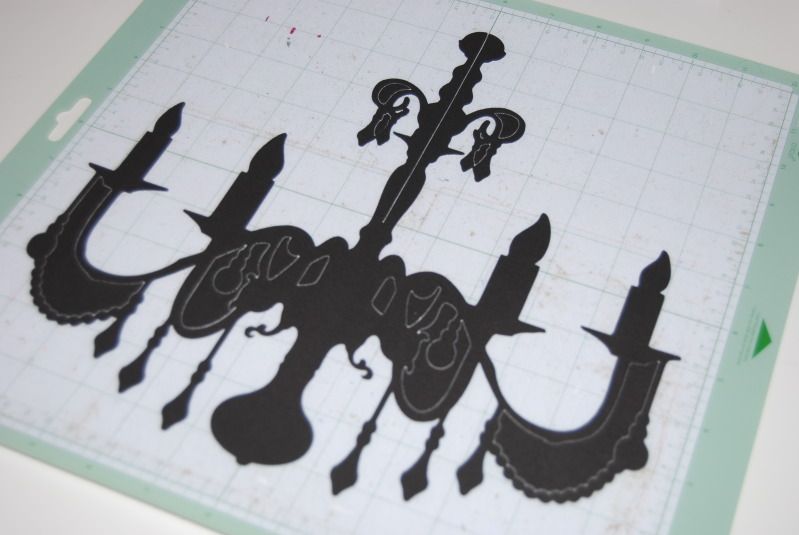
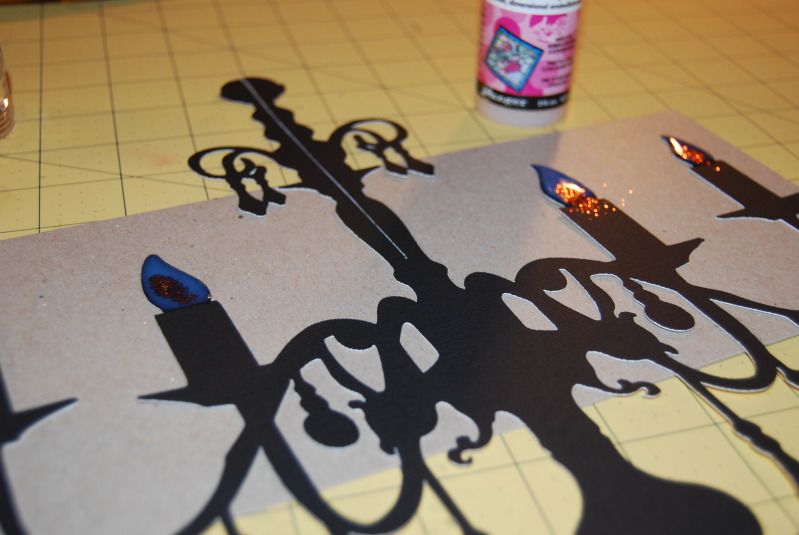
Here is the cut on the mat. As you can see it is pretty detailed, so you really need a sticky mat, and a good blade in your cricut machine.
 |
| Add caption |
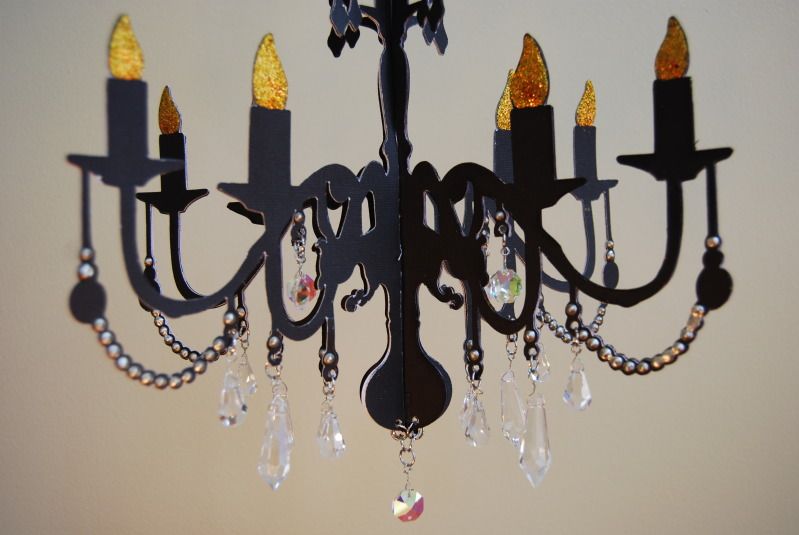
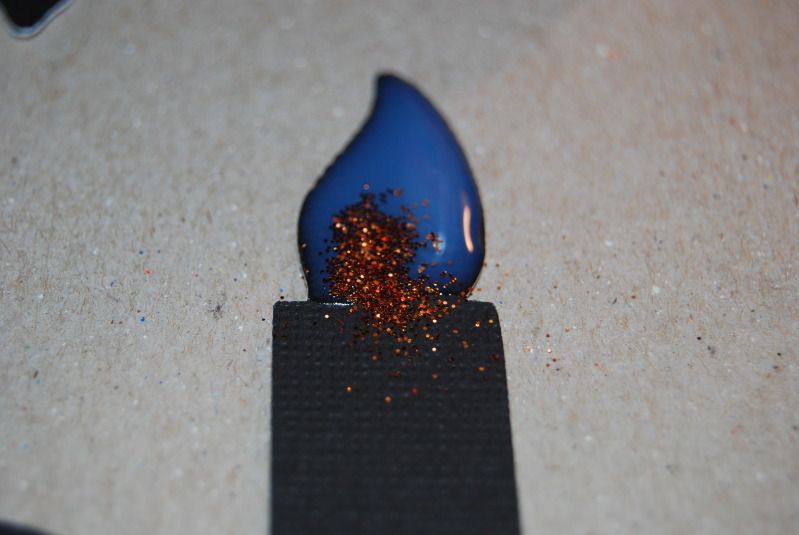
Before gluing the layers together I embellished the cuts- as it is dimensional be sure to embellish a front and back piece for each cut (so 4 of the cuts need glitter, and pearl accents). I started by adding glossy accents to the candle flames, adding orange glitter in the centers then gold to the outside. The flames look like they are dancing in the light with the multicolored glitter.
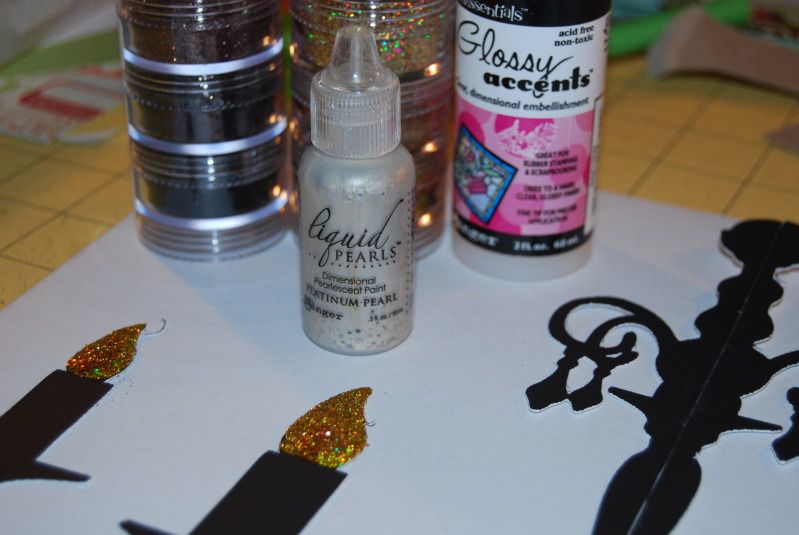
I then added drops of liquid pearls to the cut to give a beaded appearance. I thought about adding real beads but decided not to due to the weight it would add. I wanted to be sure the cuts could properly support the crystal accents.
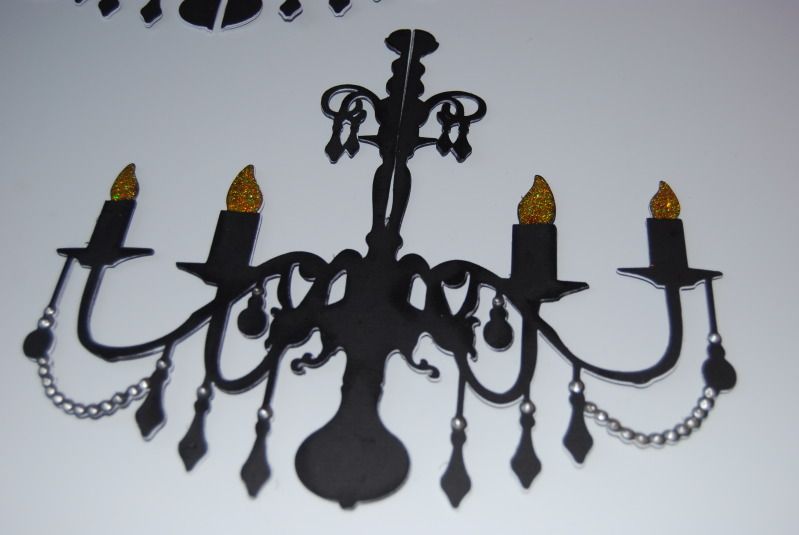
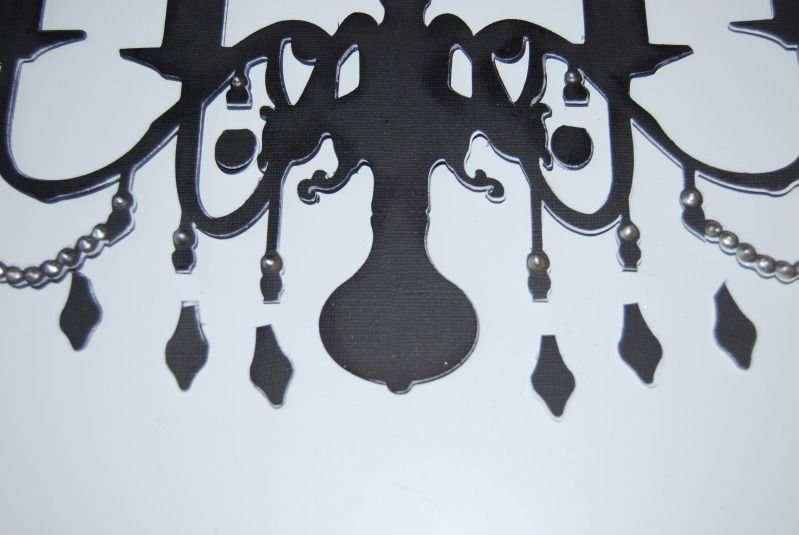
Very carefully I removed the paper from the ends of the cuts using my microtip scissors in the areas where I would be adding the crystals.
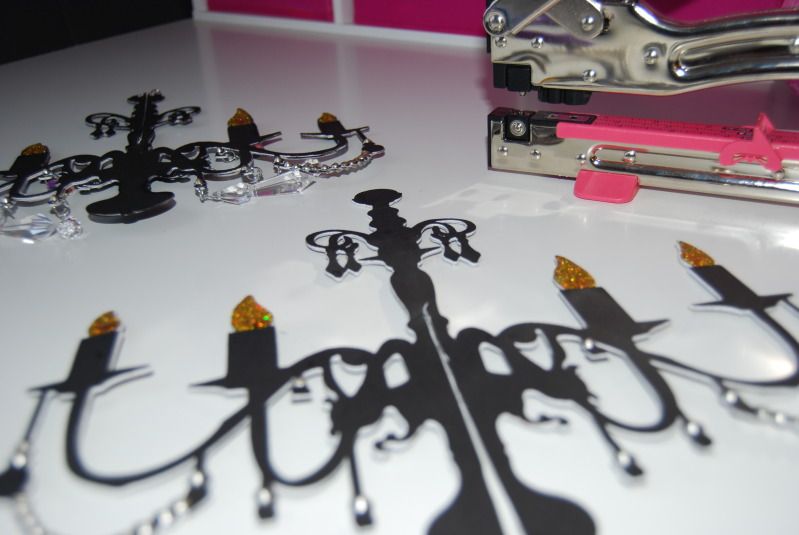
Then used my bigbite to add holes and hung the crystals with wire and jump rings.
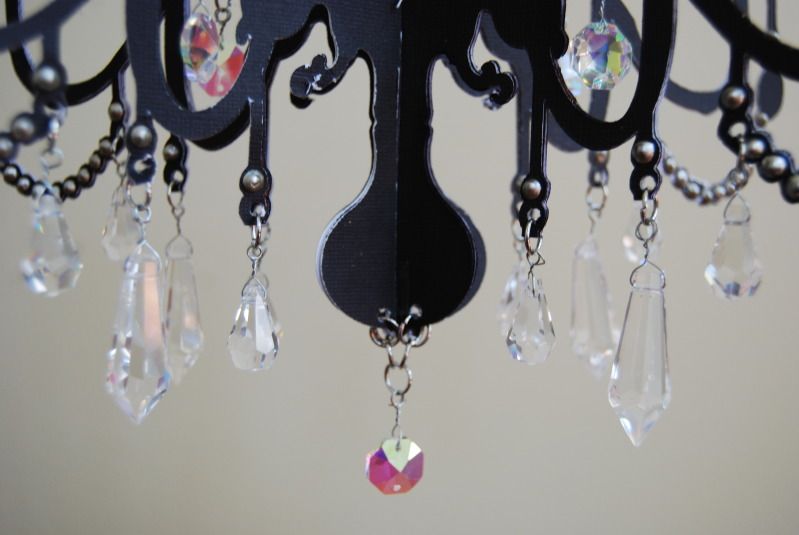
The sparkle is amazing in the light. The crystals add just the right amount of bling without being too over the top! I'm so excited to add this to my craft room!
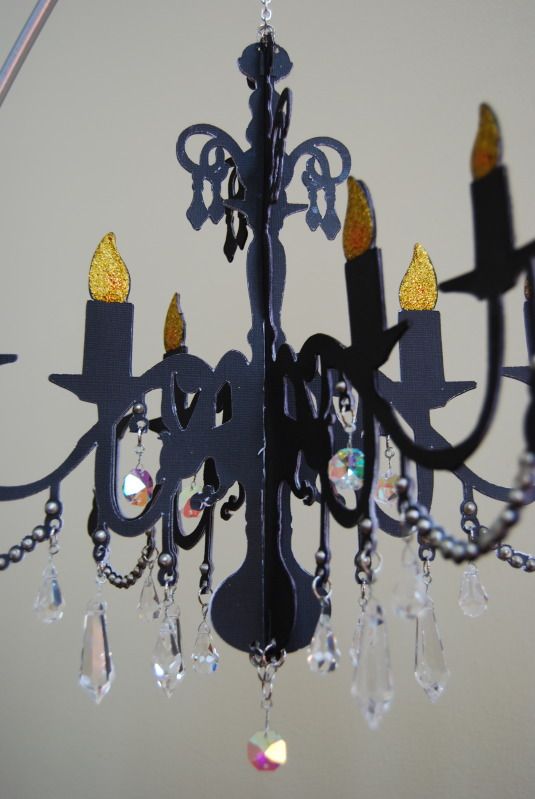

Very pretty!
ReplyDeleteMissie, that is too dang cute! I love it and you right about there being so many uses for this project. I think you have just inspired me to make one of these for my craft room! Thanks
ReplyDeleteThanks Angie! I am really loving the crystals and the way they add something special to my paper projects. I can't wait to play with them more! It has been a long time since I found something new that excites me in this way. Connie Crystal is just such a fun product!
DeleteI love this! I want one for myself now! You are right, the crystals definitely add something special!
ReplyDeleteAwesome project!
ReplyDeletethis is just fabulous, I can see making many in different ways, thank you so much for the great tutorial....
ReplyDeleteI also love the summer in paris cartridge and this chandelier is amazing!!
ReplyDelete