
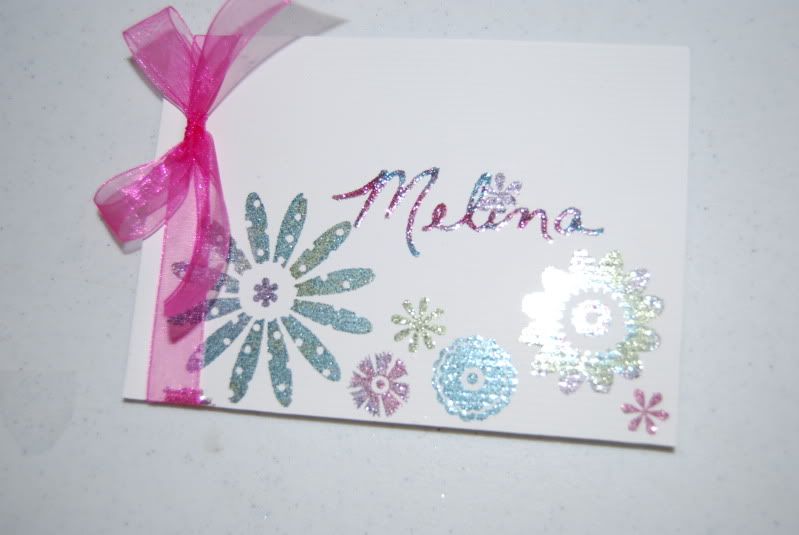
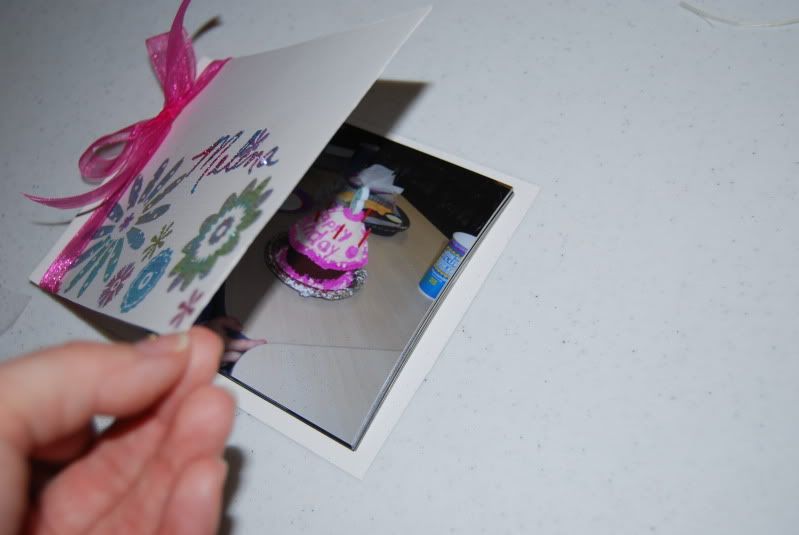
This week I made my first attempt at making my own yourstory cover. Last week was my son's 4th birthday and his cousin's 6th birthday party. As they share the exact same birthday two years apart we have done the family party together for the last few years. I wanted to create something special for Melina (cousin who turned 6) so I decided to make her a small album with the photos from the party. I am pretty happy with the end results and plan on making a similar book for my son this week as well. First I will show you the finished project, then some tips on how to recreate this for yourself. I hope you enjoy!
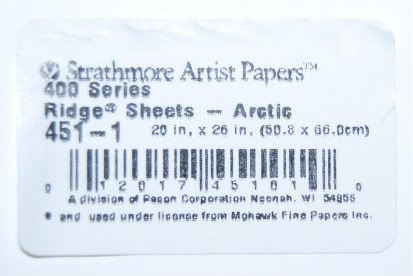
So, this is a fairly simple project. The album is for 4x6 photos. I started out with a posterboard size sheet of Acid Free artist board found at Hobby Lobby in the painting department. The original size of the board was 20 inches by 26 inches. Here is a photo of the UPC tag from the poster board if you would like to see the actual description.
I first needed to cut the board down to the right size. As I don't have a paper trimmer that large it was time to break out my handy dandy ruler and exacto knife. I cut it down to 4.5 inches by 12.75 inches. This allowed for a 0.25 inch margin all around the photos.
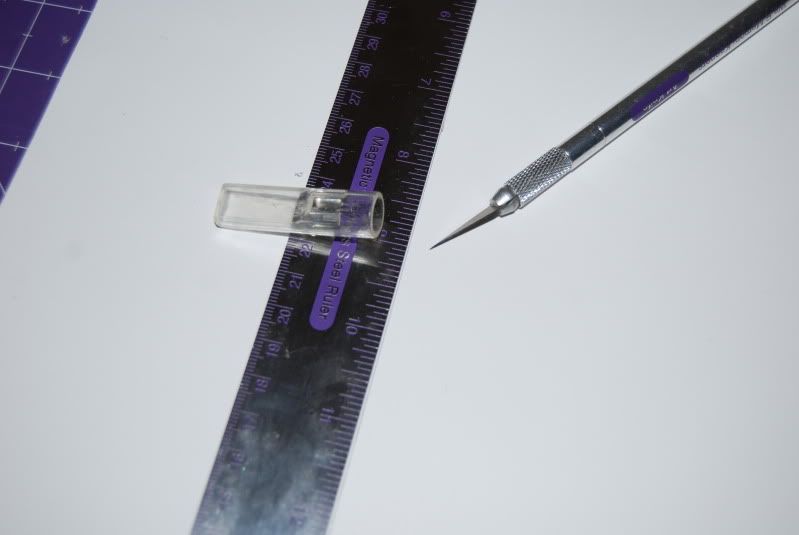
After cutting to the correct dimentions I needed to score the paper to allow for the spine and where the front and back covers will open. I layed out the board lenghtwise and scored at 6 inches, 6.25 inches, 6.5 inches, and 6.75 inches. I also scored all of the photos at 0.25 inches to allow them to be turned in the book as well.
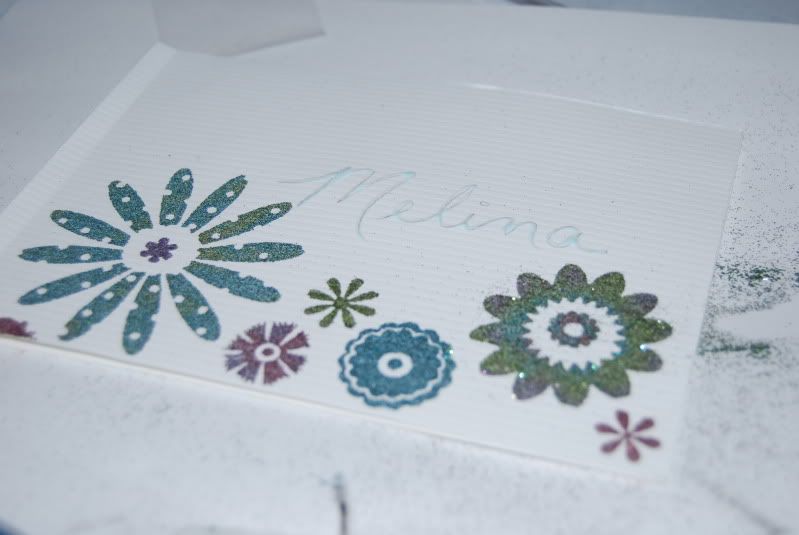
From there it was simply a matter of decorating the cover. I used some flower/ glue rub ons and added glitter. I plan on using my cricut to decorate my son's album, but as this is for a 6 year old and I know she will play with it I want to keep it simple. To create a multi color flower I just added bit of glitter and rubbed it in with my fingers. It was a bit messy, but the end result was worth it. PLUS I LOVE GLITTER!

After glittering the the flowers I wrote Melina's name on the ablum with my favorite glue for glitter (more on that later) then glittered her name as well in a multi color theme.
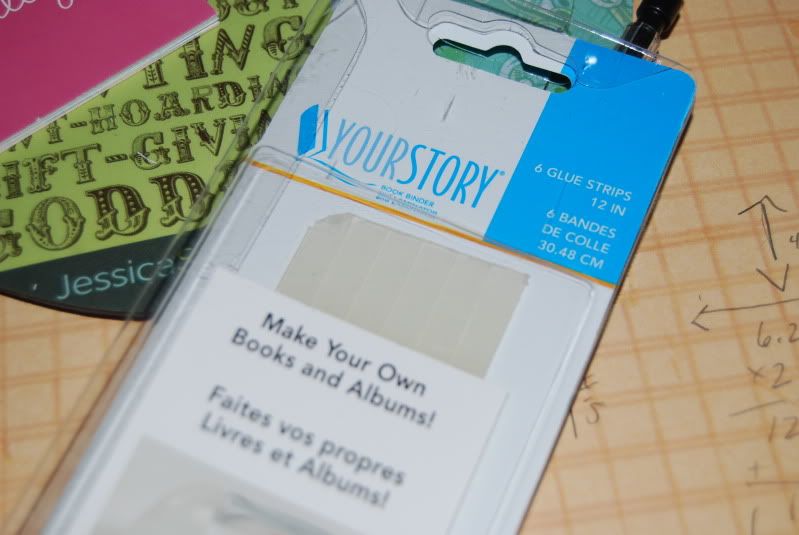
Finally I cut a strip of your story binding glue 4 inches long and placed the glue and photos in the cover, and then heat set them using the yourstory machine. For the finishing touch I added a pink bow.
Looks Great! Now I need to break out mine and do something with it besides laminating.
ReplyDeleteLove the Glitter!
I know I got the YSphoto for Xmas and I can't wait to be making these. Thanks for the walk through...I needed it!!
ReplyDeleteThe glitter looks AWESOME like that. Great thinking!
Liza