My husband, Brian, is usually just OK at picking out Christmas gifts. Some years he does well, other years I end up with totally useless stuff. This year was an undeniable success! He bought me 3 cricut cartridges (and directed his mom in the purchase of a 4th), some cricut mats, a jukebox- which will be returned, but I'm still impressed with the fact that he went on his own and picked out a cricut toy for me, and 10 Tonertex glue pens (look for some projects using these awesome pens in the new year). Even though he doesn't read here I still wanted to give him some props! Thanks Bri!
December 25, 2010
Christmas Ornament
Good morning and Merry Christmas to all. I wanted to share a quick project that I made this week with all of you. I have been seeing so many beautiful glitter ornaments and wanted to try my hand at one. I have been reluctant to make one as we replaced all of the glass ornaments- with plastic- on our tree a few years ago, and I didn't want to start adding them back. So, when I came across some clear plastic ornaments at Michaels I knew I need to buy them for this project.
I started with a clear plastic ornament. To adhear the glitter to the inside of the ornament I used Pledge Floor Cleaner with Future Shine. I know it sounds crazy, but you can see some great tutorials on the net or via youtube. The finishing touch on this ornament is vinyl. I used Sure Cuts A Lot (SCAL) to cut the Cricut Circle logo and the year. Hope you enjoy!
H
December 19, 2010
Thank you!
I just want to take a moment to thank all of you for stopping by yesterday during the blog hop! It was a fantastic success! Thank you to those of you who stopped by for the first time and became followers, and thank you to all of you who have been coming by to see my creations for a while now. You are all appreciated.
And the winner of the Birthday Cakes Cartridge is: Donna- please contact me with your mailing address so I can get the cartridge in the mail to you!
And the winner of the Birthday Cakes Cartridge is: Donna- please contact me with your mailing address so I can get the cartridge in the mail to you!
Donna said...
Oh Missy, you have done an outstanding job, love everything about these cards. By the work you did here I would have never guessed that you had not been loving and using this cart from the moment you received it. Thanks so much for sharing and also for the blog candy give away.
Donna C.
goCricutgo
Donna C.
goCricutgo
December 18, 2010 8:39 PM
9 Ladies Dancing- Circle Challenge
This week's Cricut Circle Challenge is one that at first I wasn't interested in doing. I have created 2 projects this week already using SWD and I couldn't imagine coming up with another one. But when I saw that the directions said to create any type of project I choose, I decided to take it as a personal challenge. My intent is to use the cartridge, fufill the requirements, but provide a project that is outside the box for SWD.
Here are this week's instructions:
Weekly Challenge #12: Nine Ladies Dancing Challenge!
We have a really fun challenge for you today! For the Nine Ladies Dancing Challenge we want you to strut your stuff with your Cricut Circle Exclusive “Shall We Dance?” cartridge. You can create any kind of project you would like . . . but here is the twist . . . there needs to be NINE of SOMETHING on your project. Nine of anything! Nine buttons, nine flowers, exactly nine letters in a title, etc. Just as long as their is nine of something. Have fun!
Now for my project:
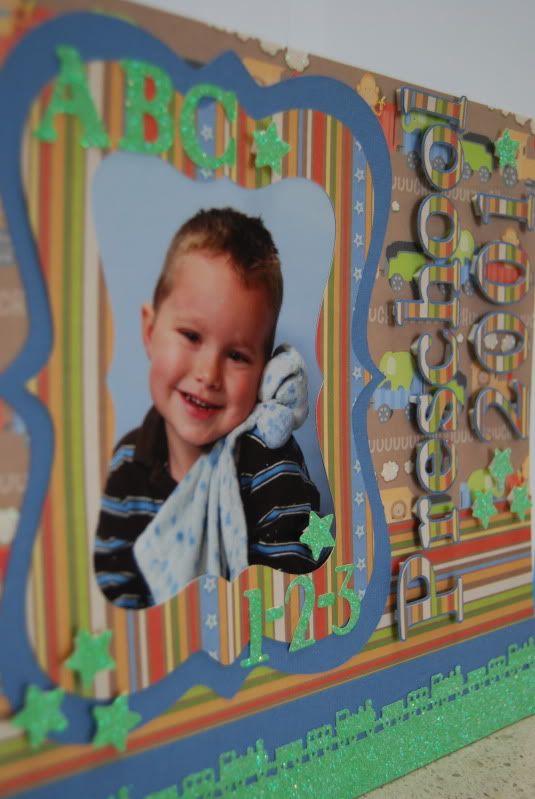
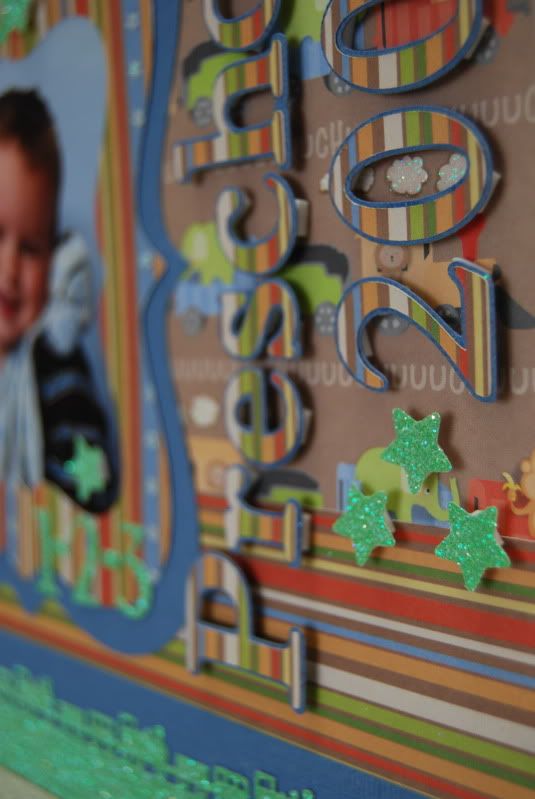
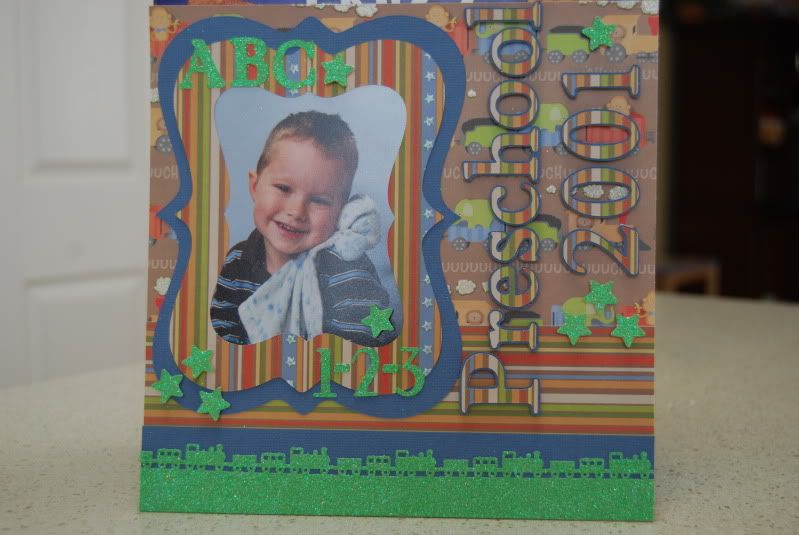
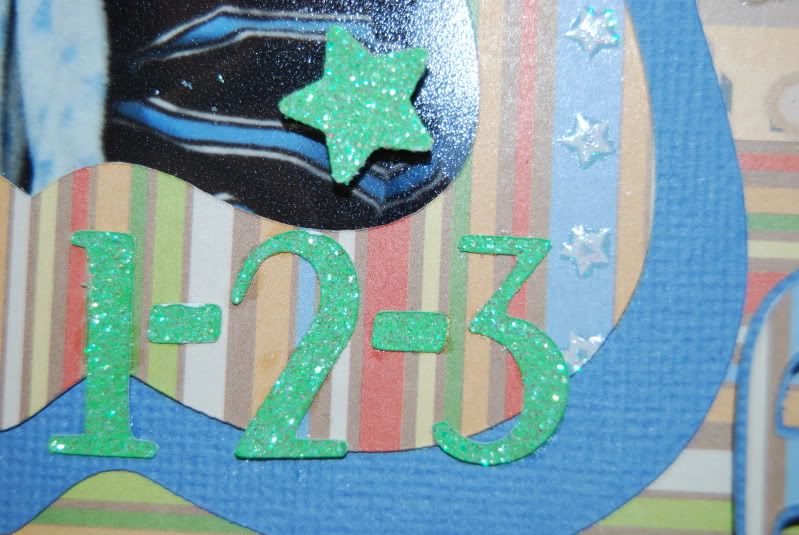
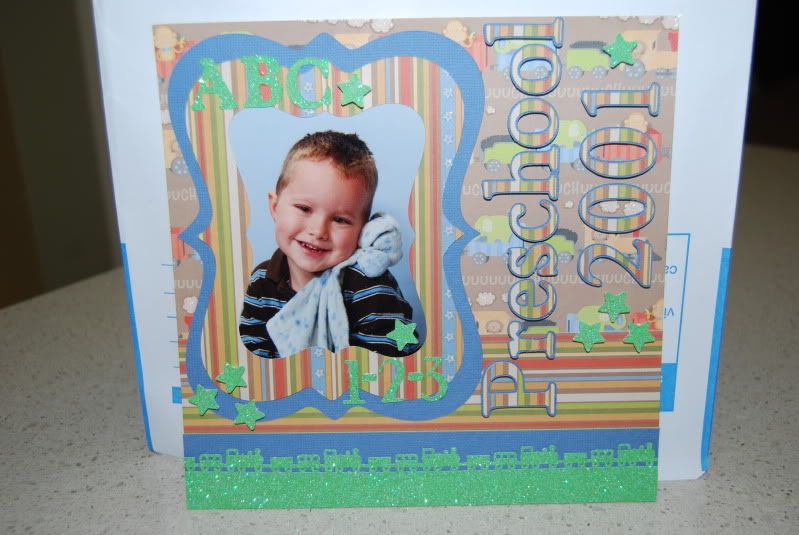
This is a photo of my son Blake taken just a few weeks ago. His preschool does not offer school photos, but I do photos with him twice a year. So, I have decided this is the photo that will go into his school book for this year. I used 3 cuts from SWD for the layout. The photo frame and mat were both cut from SWD along with the 1-2-3 in the bottom right of the photo mat. The word "preschool" and the year "2010" and "ABC" were cut from Cake Basics using both the font and the font shaddow. I used a Martha Stewart punch at the bottom for the train border a star punch for the green stars. FUFILLING THIS WEEKS REQUIREMENTS: I have used multiple cricut cuts, used the SWD cartridge for three complete cuts, and there are exactly 9 (nine) of those green glittery stars! Thanks for stopping by to take a peak at this project! Here are a few more photos:
December 17, 2010
Shall we dance blog hop!
Welcome to the Shall We Dance Blog Hop! If you found your way here from Crafty Scentiments you are well on your way with the Blog Hop. If you are starting here, please be sure to work your way back to the beginning of the blog hop starting with Green Girl Scraps so you can be sure to see all of the wonderful projects that are part of this blog hop!


I have created a video with some of the details of how to recreate the project. If you have any questions please be sure to post them and I promise to answer in a timely order.
Thank you for stopping by to view my creations; I would like to offer up a small piece of blog candy. To be eligable to win you must first become a follower of my blog. Then leave a message telling me how today's blog hop is going to inspire you to use this cartridge. Please be sure to leave some way for me to contact you as well. One (1) random person will be choosen to receive The "Birthday Cakes" cartridge. The cartridge is new, unopened and will be shipped out after Christmas.
Please be sure to visit the other talented crafters participating in this blog hop. Your next stop on the hop is Koal at Kreations be sure to head over there after entering for the blog candy here.
You are currently at stop #5, Created by Missie
Tomorrow is the big day
Tomorrow is the Shall we dance blog hop! I am so excited to be participating in my very first blog hop! I have been really working to make a great project for you guys so please be sure to stop back tomorrow. Oh, and there is going to be a little blog candy here tomorrow so make sure you check that out as well.
In the process of making my SWD hop project I fell in love with the frame cut and got the idea for another SWD project. This one is a quickie- not quite hop worthy, but I still loved it! I thought today would be a great time to share that extra SWD project with all of you!
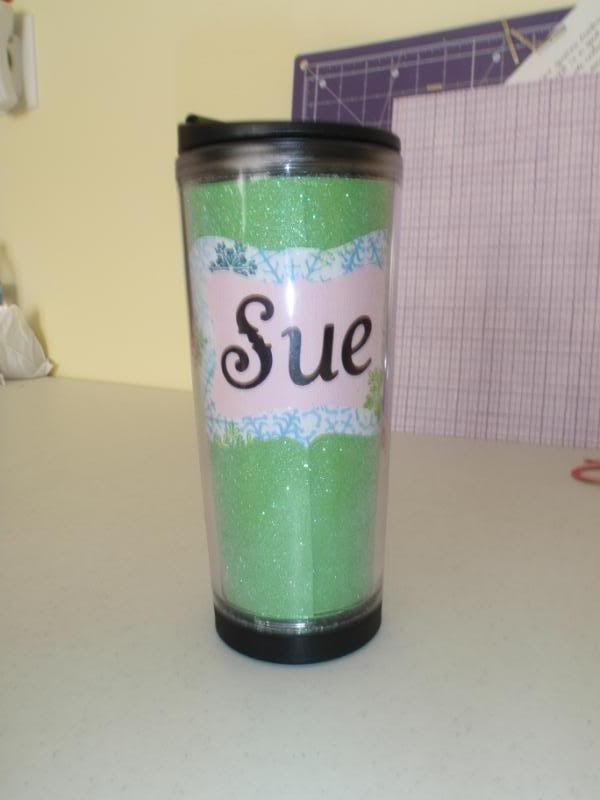
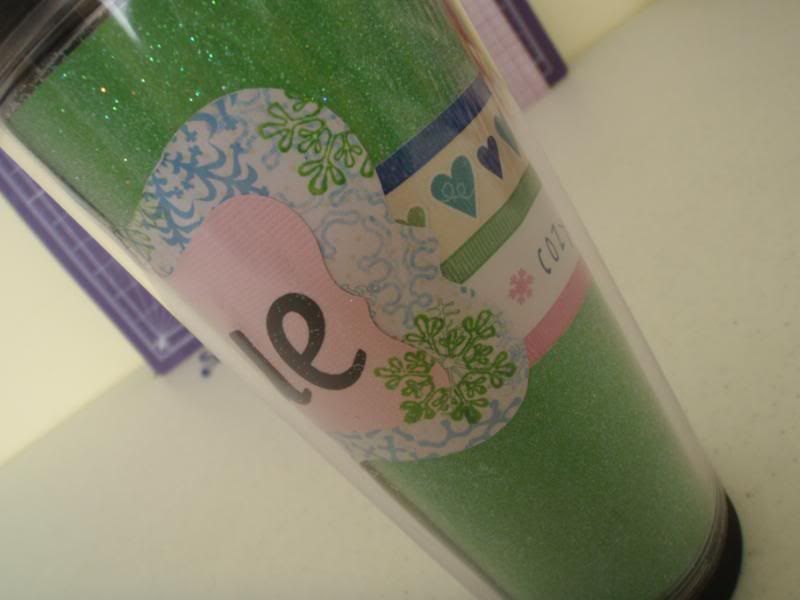
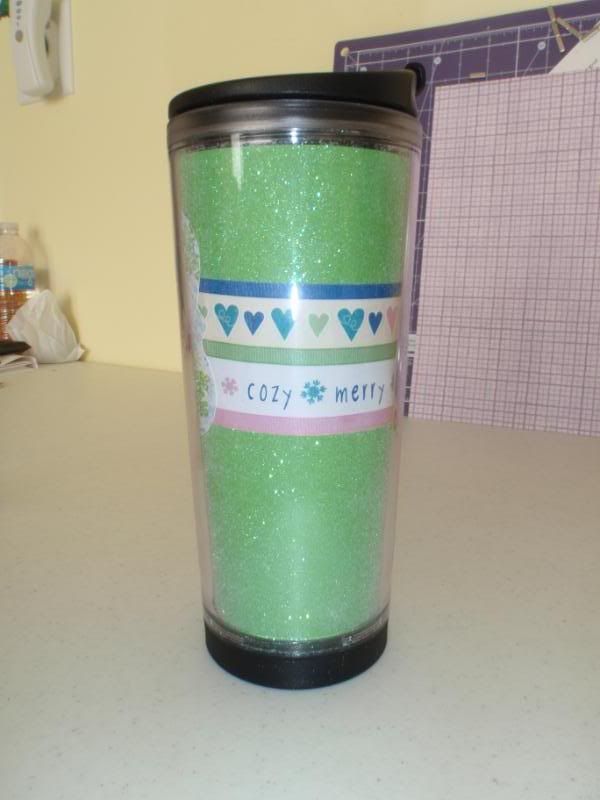
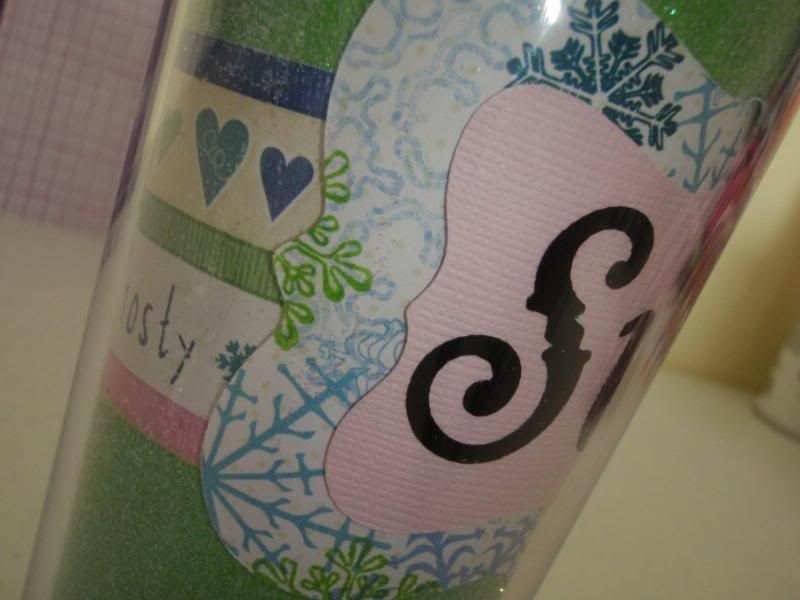
I found a photo travel mug at my local target for $9.00. As I am planning on giving my sister in law a gift card to dunkin donuts as her stocking gift I thought this would be a perfect compliment to that gift. I simply traced the insert onto glitter paper for the background. I cut a strip of holiday paper to provide a "ring" around the cup. Then I put my Gypsy and Expression to work. I took the frame from SWD and using the hide contour feature created a small and then a slightly larger frame with no center cut out. I placed the two pieces together and added them to the base. The final step was to add her name. I did that using the elegant cakes cartridge and cut black vinyl. From there it was simply a matter of sliding the insert into the mug! SO SIMPLE!
December 13, 2010
Thank you!
This weekend I spent some time checking out the amazing projects that were part of the Holiday Wishes Blog Hop . The projects were all amazing. Today I got an email from Lauren at All things crafty informing me that I was lucky enough to win her blog candy! Not only did I get to see Lauren's wonderful creation, she will also me sending me a set of handmade cards! I am so excited! Please be sure to head over to Lauren's blog and check out the shaddow box she created for the blog hop
THANKS LAUREN!
THANKS LAUREN!
December 12, 2010
WDW January 2011
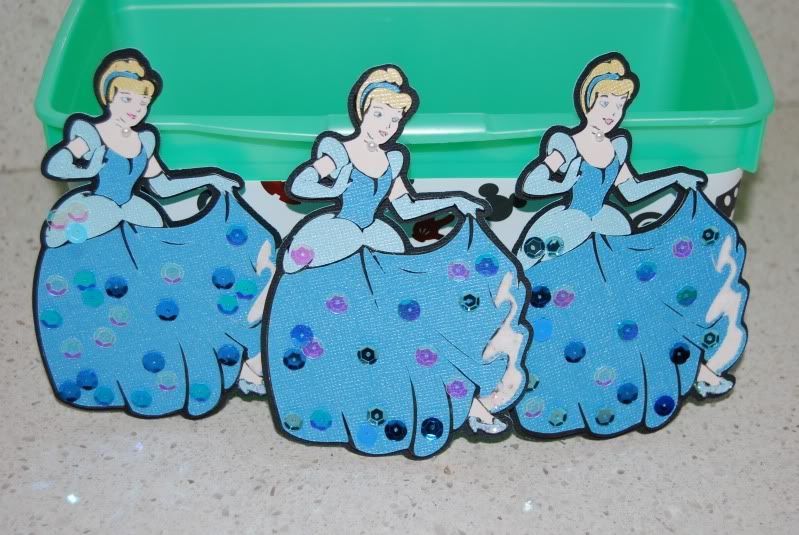
A few months ago my husband mentioned that he was interested in running the goofy challenge. If you are unfamiliar with the race, believe me, it is truely GOOFY! The Goofy Challenge is a two day even consisting of a 1/2 marathon on Saturday and a full Marathon on Sunday. He has mentioned this in the past, but this time it lead to looking at going to WDW, and eventually booking the tickets. So, in January we will be heading to Orlando to support my husband in this event. Of course we are also going to take the boys to Disney! As this will be their very first trip to WDW I am very excited!
I had the best of intentions of getting most of the scrapbook embellishments preped before we leave to make their albums a cinch when we get home. HUMMM, do you think that has happened? NOPE! I can't imagine why not. I go to school 3 days a week(luckily the semester is almost over), my husband travels 18 days per month, and I have two little boys ages 2 and 4. So, I thought it might be fun to show you some things that have gotten done, and maybe I will be inspired to accomplish more before the trip.
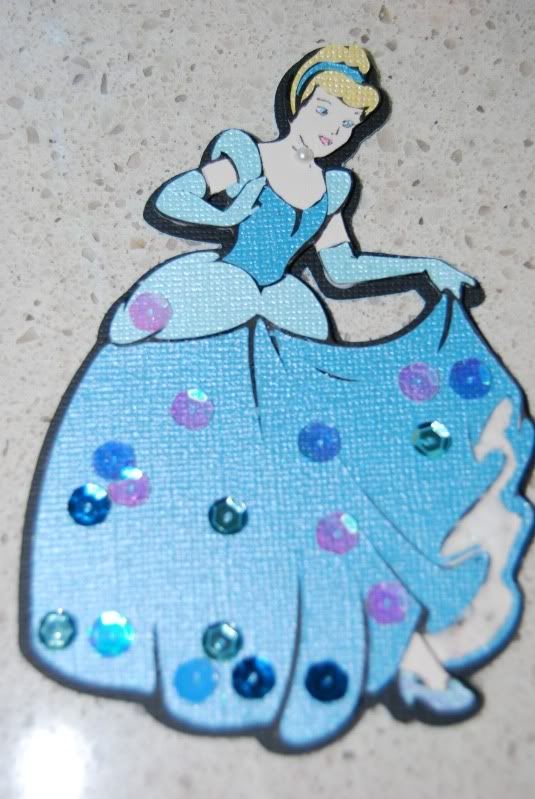
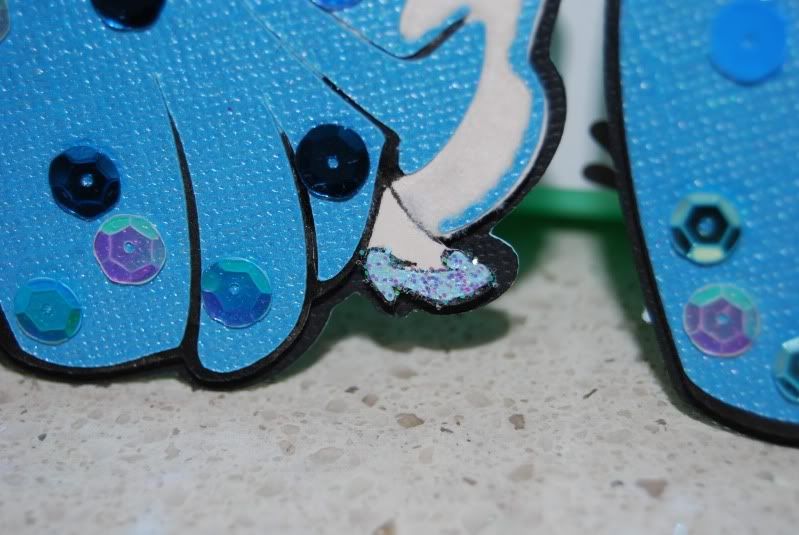
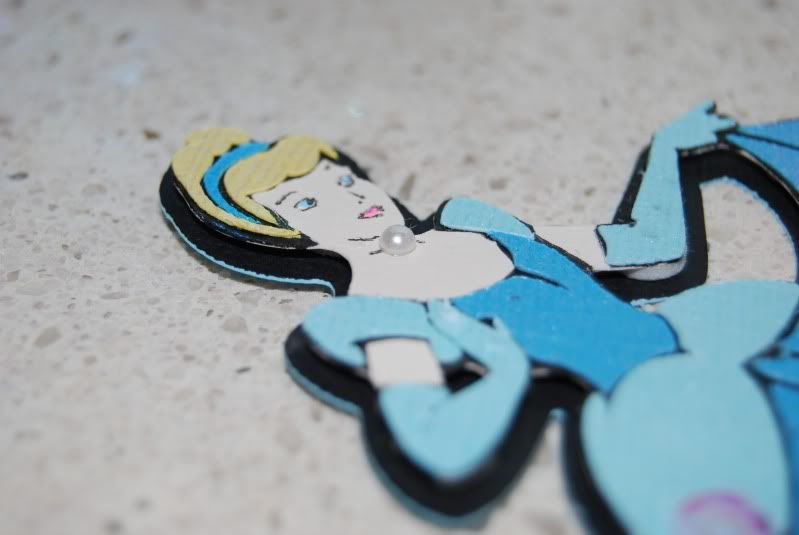
To get started here is Cinderella! I scrapbook in triplicate for our vacations so it ends up being a lot of work, but well worth it in the end.


December 8, 2010
Your story album
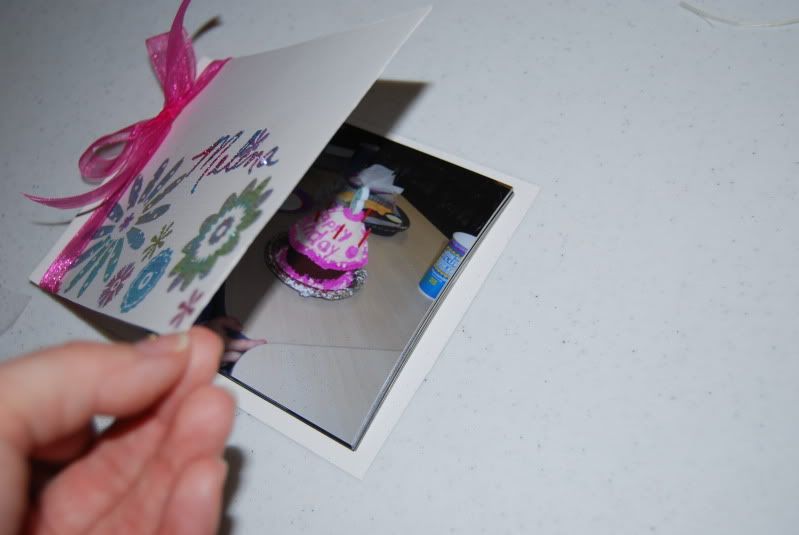
This week I made my first attempt at making my own yourstory cover. Last week was my son's 4th birthday and his cousin's 6th birthday party. As they share the exact same birthday two years apart we have done the family party together for the last few years. I wanted to create something special for Melina (cousin who turned 6) so I decided to make her a small album with the photos from the party. I am pretty happy with the end results and plan on making a similar book for my son this week as well. First I will show you the finished project, then some tips on how to recreate this for yourself. I hope you enjoy!
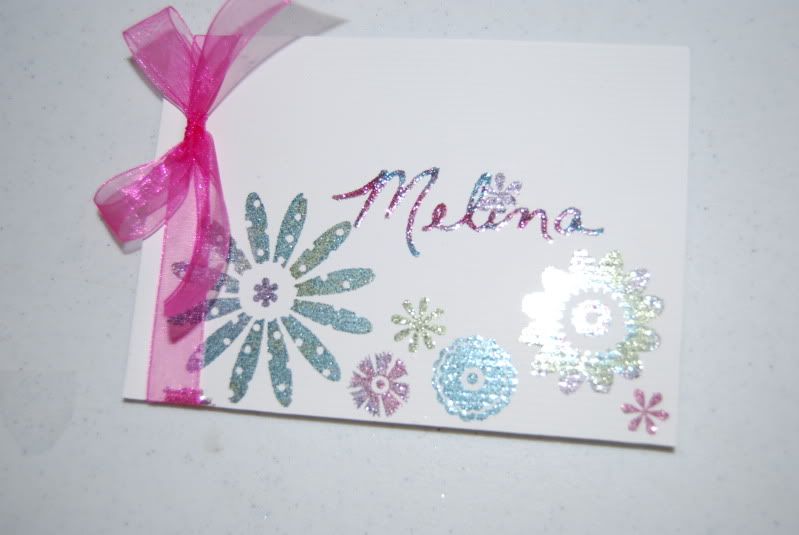
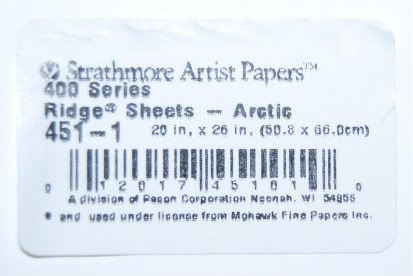
So, this is a fairly simple project. The album is for 4x6 photos. I started out with a posterboard size sheet of Acid Free artist board found at Hobby Lobby in the painting department. The original size of the board was 20 inches by 26 inches. Here is a photo of the UPC tag from the poster board if you would like to see the actual description.
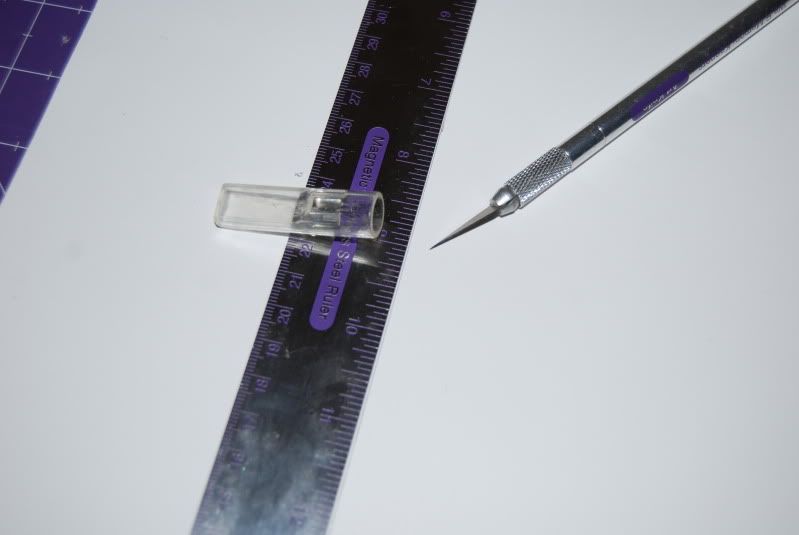
I first needed to cut the board down to the right size. As I don't have a paper trimmer that large it was time to break out my handy dandy ruler and exacto knife. I cut it down to 4.5 inches by 12.75 inches. This allowed for a 0.25 inch margin all around the photos.
After cutting to the correct dimentions I needed to score the paper to allow for the spine and where the front and back covers will open. I layed out the board lenghtwise and scored at 6 inches, 6.25 inches, 6.5 inches, and 6.75 inches. I also scored all of the photos at 0.25 inches to allow them to be turned in the book as well.
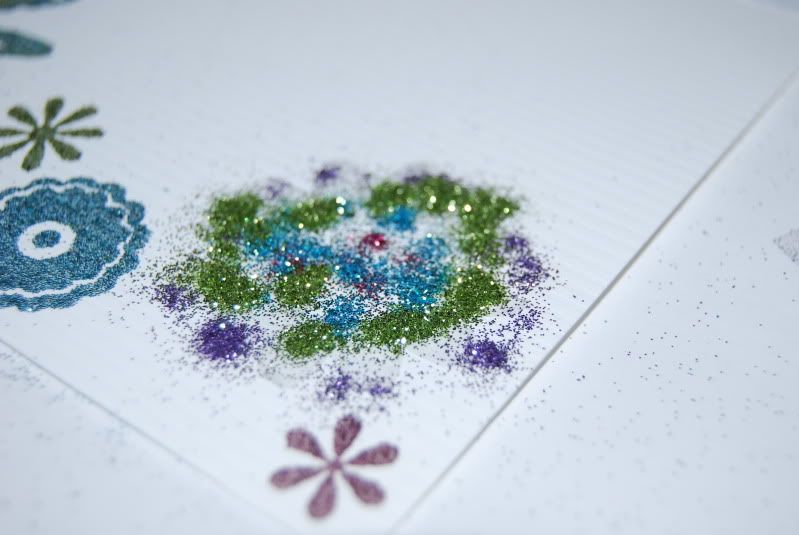
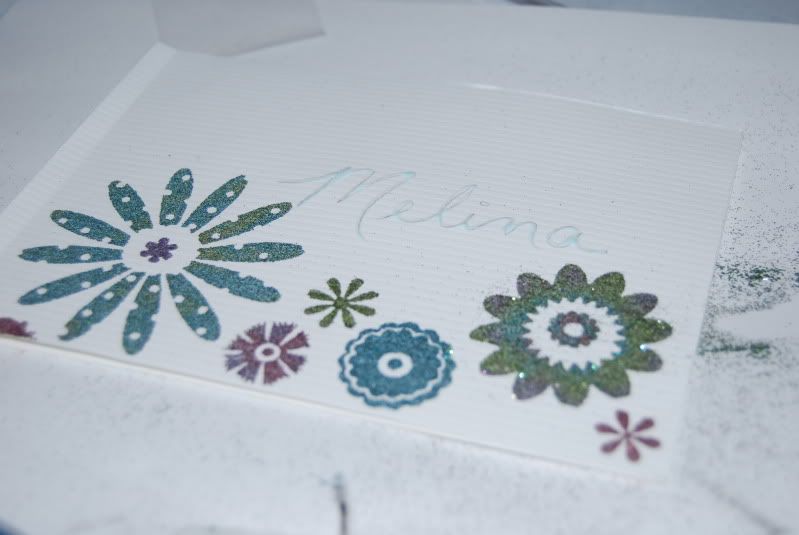
From there it was simply a matter of decorating the cover. I used some flower/ glue rub ons and added glitter. I plan on using my cricut to decorate my son's album, but as this is for a 6 year old and I know she will play with it I want to keep it simple. To create a multi color flower I just added bit of glitter and rubbed it in with my fingers. It was a bit messy, but the end result was worth it. PLUS I LOVE GLITTER!
After glittering the the flowers I wrote Melina's name on the ablum with my favorite glue for glitter (more on that later) then glittered her name as well in a multi color theme.
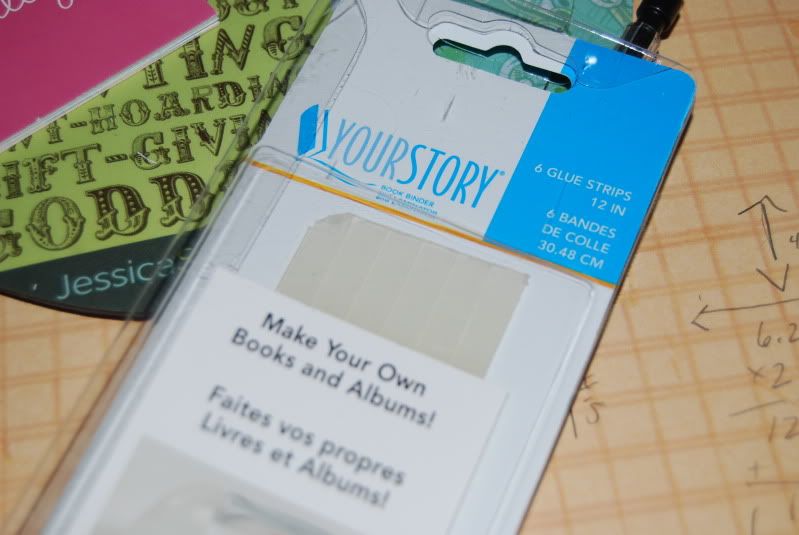
Finally I cut a strip of your story binding glue 4 inches long and placed the glue and photos in the cover, and then heat set them using the yourstory machine. For the finishing touch I added a pink bow.
December 5, 2010
New toy
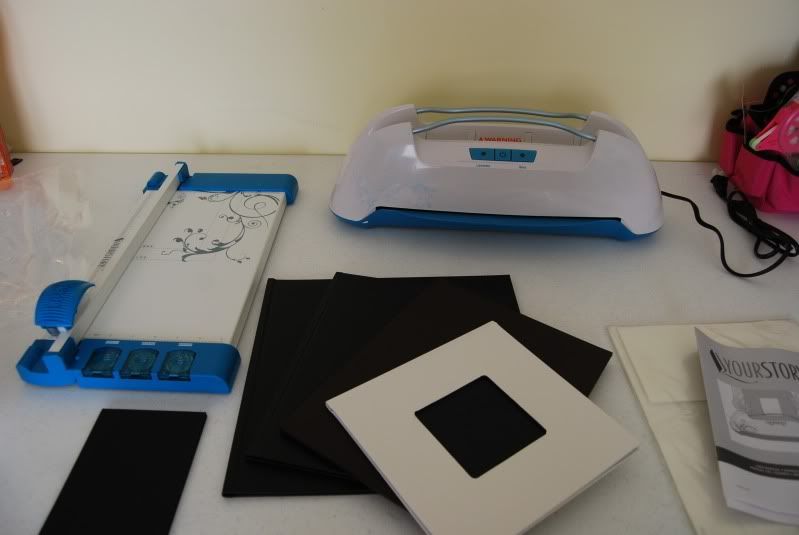
I recently purchased the ProvoCraft Yourstory Machine. If you are unfamiliar with it, the machine is a book binding machine and a heat seal laminating machine. I have a few projects planned for this week using this machine, so be sure to stay tuned. For now here is a look at what I got in the bundle.

November 17, 2010
Cricut Circle Ornament Challenge
Please be kind. I know that the video quality is not wonderful here, but I really wanted to show exactly what this ornament can do. I used my gypsy quite a bit in this project. I started with a square box from bags tags boxes and more, but I just couldn't get the house to weld to the box in a way that woud really work. So, I placed a square box on layer 1 then opened a new layer (with layer 1 visable and basically used it as a pattern) I used basic shapes to form the sides of the box and the bottom then welded the house to two of the sides to create a box with no lid. I had to make the lid by hand with a ruller and lots of glue but I think it worked out just fine. I also used a bit of cuttlebug to emboss the house (retro kitchen stripes) to look like siding, and the little trees are also from CB dies. Here are a few pictures of the final project, but I will be uploading a video as well- not a tutorial, just a highlight of the features. Thanks for stopping by.
November 12, 2010
Explosion Box
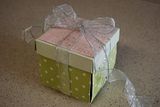
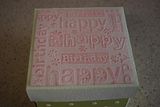
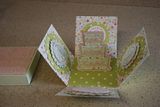
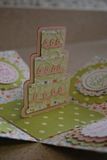
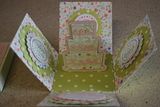
I just love this little explosion box. I created it for a friend's 40th birthday as her "card". I used my cricut to create the pop up cake in the center, my nestibilites dies to do the circles and scallops, and I created the box by hand. The top of the box was embossed using the cuttlebug. I know that there are easier ways to do this, but I was very happy with the results. I plan on trying it again soon and doing a full tutorial.


November 11, 2010
Messy Room
I have been trying to get motivated to organize my craft room for months, but just can't seem to get it done. I have a small space (but I am thrilled to have it). This was our nursery as you may have noticed it still has some "winnie the pooh" accents. I know I need to get them out of there, but I think I am a little attached to them. I thought I would show a few pictures of my space here so that I might publicly embarrass myself & maybe get motivated to it organized. If you have any suggestions for organization feel free to leave me a comment.
November 5, 2010
Myrtle Beach June 2010
I always seem to be behind in my scrapbooking. There will always be another trip that needs to be added to the books. Another outing that needs to be scrapped... For the last few days this layout has been driving me crazy. I couldn't seem to get it just right. I'm still not 100% happy with how it turned out, but I am glad I am done with it for now.
I used create a critter for the sandcastle and the crab, Paperdolls for everyday for the bucket and shovel, and a Martha Stewart punch for the edge on the accent strip.
I used create a critter for the sandcastle and the crab, Paperdolls for everyday for the bucket and shovel, and a Martha Stewart punch for the edge on the accent strip.
Subscribe to:
Posts (Atom)


