
So, first the finished product then a few photos from along the way. This is a classic "Korker" style bow often used for little girl hair ribbons. I love these bows and use any excuse to make them. I have made them for friends with little girls, but have never had the opportunity to make on for myself. When I started thinking about this project I knew I wanted to do it Korker style.

So, now you may be asking yourself, how do you make those cute curly bows. Here is a quick overview of the process with a few photos to help. If you have any questions please leave a message and I will try to answer them. As I am new to blogging and this is my first set of step by step instructions, I'm sure I will miss something along the way.
To begin you will need:
wooden dowel rods
wooden clothes pins
grossgrain ribbon
needle and thread
scissors
a ruler
and access to an oven
a foil baking pan or foil lined cookie sheet

Begin by preheating your oven to 200 degrees F.
You will need to wrap ribbon around the entire lengh of the dowel rod and secure it at both ends with a wooden clothes pin.


Once you have completed wrapping your dowel rods with ribbon place them in the baking pan. For this project I used 2 types of ribbon each spool was 3 yards- that amount of ribbon wrapped 6 dowel rods completly with a little ribbon left over.


The next step is to bake the ribbon for 20 minutes in the preheated oven. After baking allow the ribbon to cool. When the ribbon is cool remove the ribbon from the rods and cut into 3 inch segments.


Now begin threading the pieces onto your needle. In this case I alternated the colors, but you do whatever works for you and the look you desire.
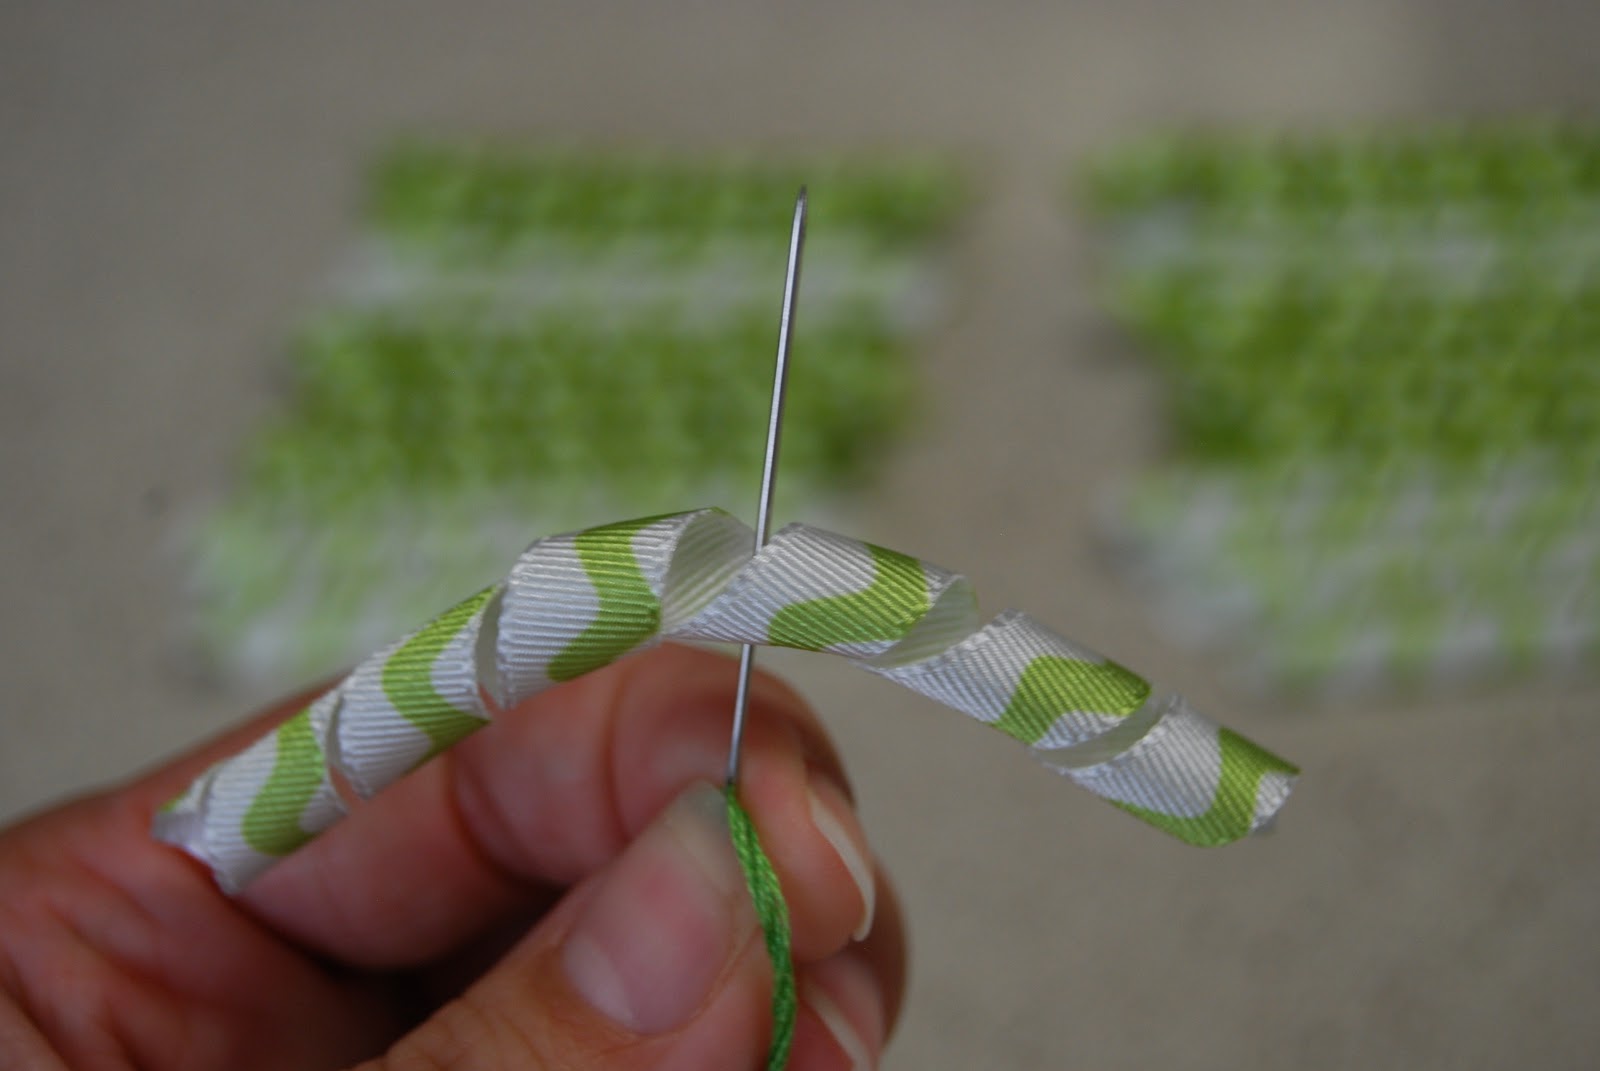

After threading all the pieces onto the needle I reversed the needle and went back thru the entire lot of ribbon- I did this several times makeing several stitches thru all of the ribbon. Next, I took a scrap of ribbon about 12 inches long and sewed it to the korker to give a loop to attach to my bags.


Missie
This is AWESOME Missie!!!! Gonna make some with my girl!
ReplyDeleteThanks Hun! Please don't laugh too hard at my blog...it has a long way to go before it looks good, but I'm glad you enjoyed this project
ReplyDeleteI love this! I'm so going to make some. Please show us how to make more bows!!!! I love bows my sister spends so much money of them for her daughter and I'd love to beable to make them for her instead! I'm glad you decided to make this public!
ReplyDeleteThanks for showing how to do this I have been wanting to do some of these myself.
ReplyDeleteGreat job, Missie! These are so cute...I'm going to give these bows a whirl. TFS.
ReplyDeleteKathryn
Awesome! Your directions were great and so is your blog! Thank you!
ReplyDeleteGreat directions!! What a cute project. Thank you for sharing.
ReplyDeleteWhat an adorable project and I'd never think of putting the ribbon in the oven!!
ReplyDelete